
You want to know how long primer needs to dry before you can start painting, and the honest-to-goodness answer is: it depends. I’ve seen more paint jobs ruined by impatience than any other single mistake. That 30 minutes to 24 hours printed on the can? Think of that as a best-case scenario—achieved in a perfect lab, not your humid Connecticut basement.
The Real Answer to How Long Primer Needs to Dry
Jumping the gun and painting over tacky primer is a recipe for disaster. It leads to peeling, bubbling, and a finish that just won't last. To give you a reliable starting point, you first need to know which type of primer you're working with. Each has its own chemical makeup and its own schedule for drying and, more importantly, curing.
These aren't just textbook numbers; this is what we see in the field on projects across Connecticut and New York, assuming ideal conditions (around 70°F with 50% humidity).
Here’s a quick breakdown to get you started:
Primer Drying Times At a Glance
This table gives you a quick reference for the typical 'dry-to-touch' feel versus when a primer is actually 'ready-to-recoat'. Remember, these are just starting points.
| Primer Type | Dry to Touch | Ready to Recoat |
|---|---|---|
| Latex-Based | 30-60 minutes | 1 hour |
| Oil-Based | 6-8 hours | 24 hours |
| Shellac-Based | 20-30 minutes | 45-60 minutes |
Let's dig into what these timelines mean in the real world.
A Closer Look at Primer Types
Latex Primers: These are your go-to for most interior drywall jobs. They’re popular for a reason—they dry fast. You can usually touch them without leaving a fingerprint in about 30 to 60 minutes, and they’re often ready for paint within an hour. Simple and effective for standard jobs.
Oil-Based Primers: When we need serious adhesion or have to block tough stains like water marks or heavy tannin bleed from wood, we reach for an oil-based primer. These demand patience. They'll feel dry to the touch in 6-8 hours, but you absolutely must give them a full 24 hours to cure before painting. Rush this, and you'll compromise that bulletproof finish you were after.
Shellac Primers: Think of these as the special forces of primers. Got a stubborn smoke smell, a persistent pet odor, or a Sharpie masterpiece from your toddler? Shellac is what you need. They dry incredibly fast, sometimes ready for paint in as little as 45-60 minutes. They're the ultimate problem-solvers for sealing away the worst stains and smells for good.
This chart gives you a clear visual of how those recoat times compare.
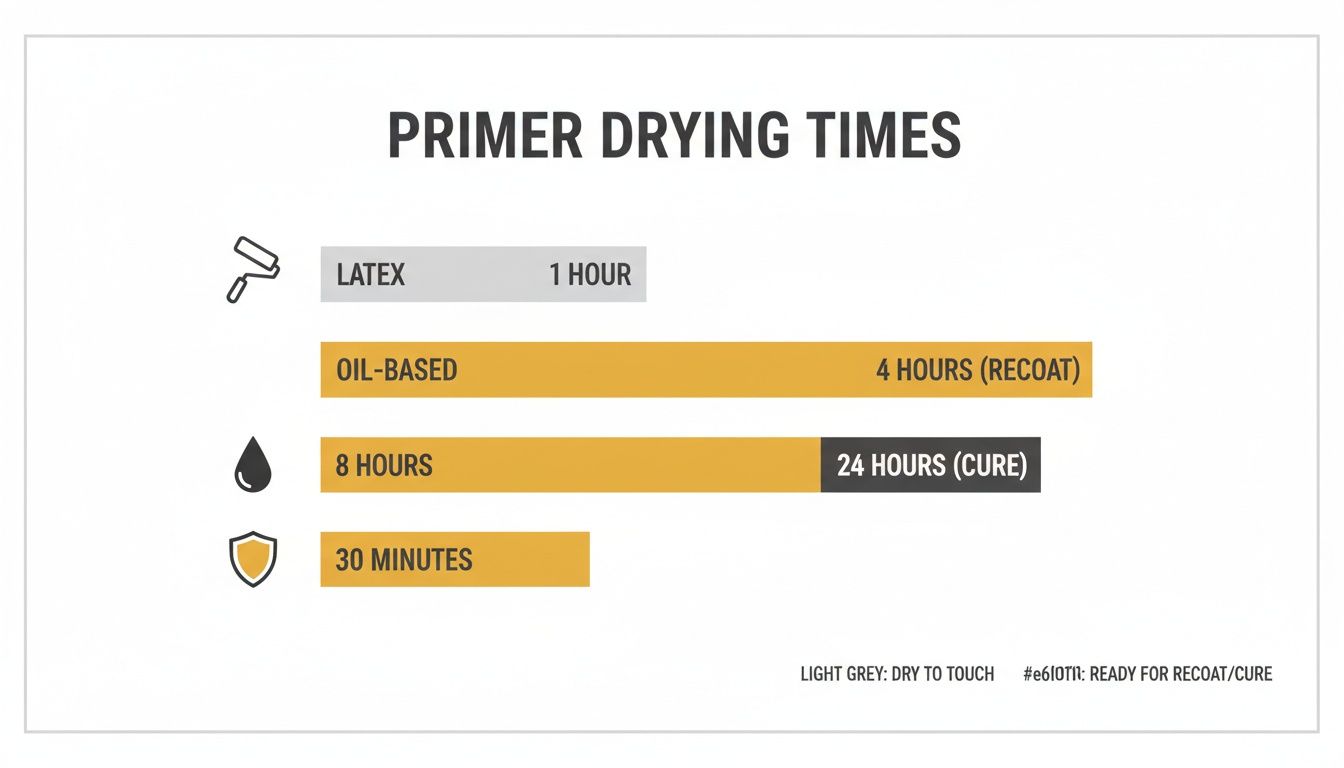
As you can see, there's a big gap between when a primer is "dry to the touch" and when it's fully "cured" and ready for your topcoat. We'll get into how to test for that in a bit. But proper surface prep is just as critical as drying time. If you're working with walls that have seen better days, make sure you're prepping them correctly for a flawless finish. Cutting corners at any stage will only cost you more time and money later.
Choosing Your Primer and Understanding Its Dry Time
Walk into any paint store, and you'll see a wall of primers. It’s easy to get overwhelmed, but picking the right one is the first—and most critical—step toward a finish that lasts. The primer’s chemical makeup doesn't just affect how it performs; it completely dictates how long you need to wait before that first coat of paint.
I’ve seen countless projects go sideways because the wrong primer was used or, more often, because it wasn't given enough time to cure. Let’s break down the three main types you'll encounter and what to expect from each in the real world.
Latex-Based Primers: The Everyday All-Star
Latex, or water-based, primers are what most people reach for. They're perfect for general interior work, like prepping new drywall or painting over existing flat-finish walls. We love them for their low odor, fast drying, and easy soap-and-water cleanup. In perfect conditions, a good latex primer is ready for paint in about one hour.
But here's the catch: being water-based, they are extremely sensitive to the environment. On a humid summer day in Fairfield County, we’ve seen latex primers take two or even three hours to fully dry. If you try to rush it and paint over a damp primer, the topcoat will just slide around, refusing to stick. It’s a frustrating waste of time and paint.
Oil-Based Primers: The Heavy-Duty Stain Blocker
When you need serious performance, you bring in an oil-based (alkyd) primer. This is our non-negotiable choice for blocking tough stains, priming glossy surfaces like old trim, or sealing woods that are notorious for "tannin bleed"—think cedar, redwood, or even stubborn knots in pine. Tannins are natural oils in the wood that will eat right through a latex primer and stain your beautiful new paint job.
An oil-based primer creates an impermeable barrier that water-based products simply can't match. It’s the only reliable way to permanently trap stubborn stains and guarantee your white trim stays truly white.
The tradeoff for that incredible blocking power is time. An oil-based primer might feel dry to the touch in 6-8 hours, but it's not ready for paint. You absolutely must give it a full 24 hours to cure. Rushing this step is a recipe for disaster, leading to peeling and adhesion failure down the road. Plus, the fumes are strong, so make sure you have plenty of ventilation.
Shellac-Based Primers: The Ultimate Problem Solver
Think of shellac primer as the specialist you call in for the absolute worst-case scenarios. We use it to solve the toughest problems: sealing in odors from heavy smoke or pets, locking in water stains that even oil primers struggle with, or covering up a kid's permanent marker mural on the wall.
Its biggest advantage is speed. Because it's alcohol-based, shellac dries incredibly fast. It can be dry to the touch in 20-30 minutes and ready for a topcoat in as little as 45-60 minutes. This can be a lifesaver when you're on a tight schedule.
However, that speed comes at a price:
- Potent Fumes: The alcohol solvent has a very strong odor. A respirator and excellent ventilation aren't just recommended; they're required.
- Specialized Cleanup: Forget soap and water. You’ll need denatured alcohol to clean your brushes and any drips.
- Brittle Finish: Shellac creates a glass-like seal, which can be more brittle than oil. It’s fantastic for spot-priming specific problems but not always the best choice for priming entire walls, where a more flexible primer might be needed.
Ultimately, choosing the right product is about matching its strengths to your project. A simple bedroom repaint? Latex is your best friend. Those old, stained wood window frames? Only oil will do the job right. And for that lingering smoke smell you need gone now? Shellac is the hero. Understanding these differences is what separates an amateur paint job from a professional one.
What Really Affects Primer Drying Time
Ever followed the directions on the primer can to the letter, only to find the surface is still tacky hours later? You’re not alone. The time printed on that label is a best-case scenario, measured in a perfect lab. Out here in the real world, a few key factors dictate how long your primer actually needs to dry before you can paint.
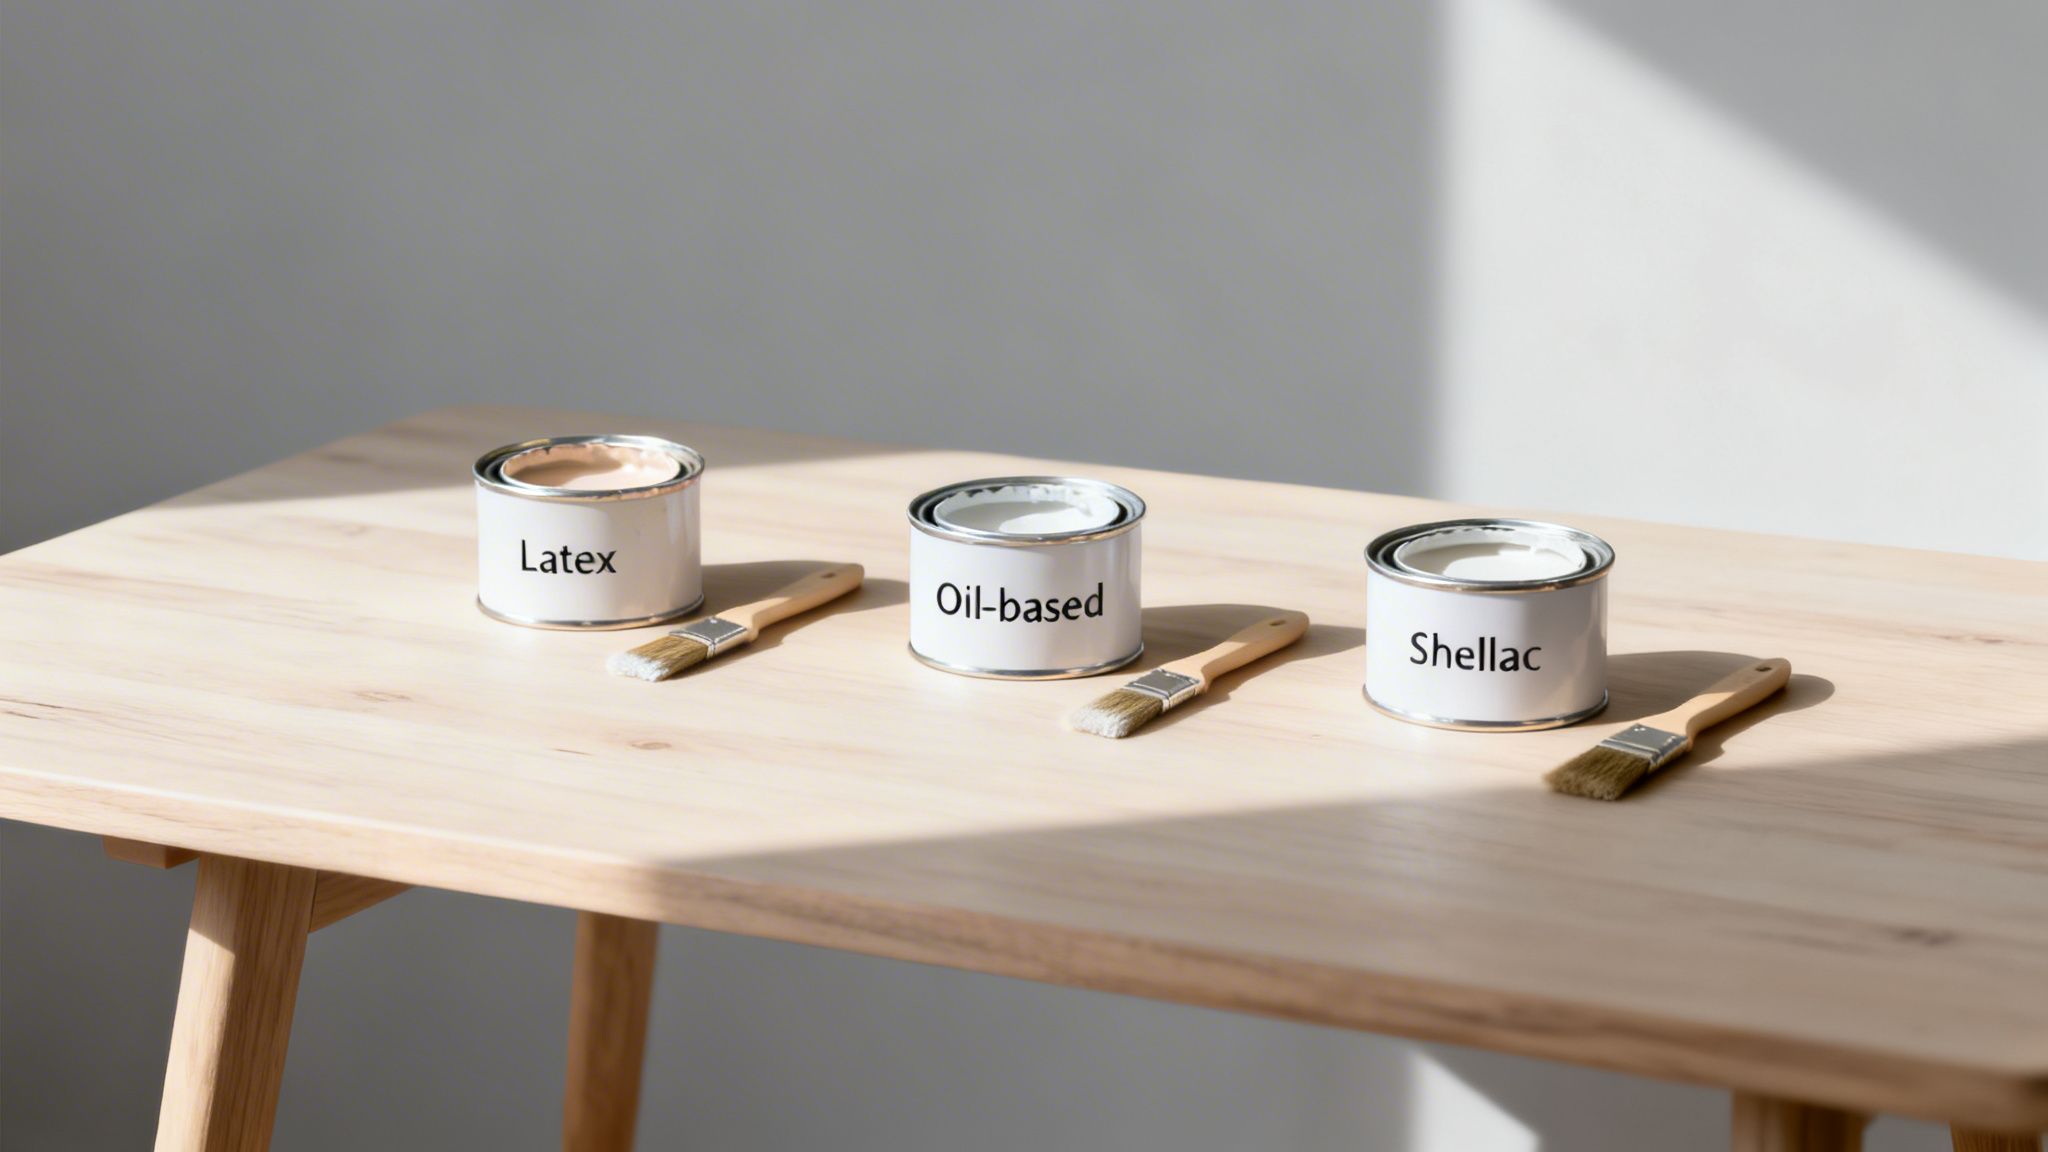
Understanding what’s happening on your walls is the secret to avoiding a sticky mess and getting a finish that lasts. Let’s break down what’s really going on.
Temperature and Humidity: The Two Biggest Culprits
Temperature and humidity are the power couple of paint drying. They can make or break your project timeline. Think of primer curing like a chemical reaction—and like most reactions, it grinds to a halt in the cold. A temperature drop from a perfect 70°F to 50°F can easily double the drying time for both latex and oil-based products.
Humidity is just as big a problem, especially for water-based latex primers. When the air is already thick with moisture, the water in the primer has nowhere to evaporate. We see this constantly in Fairfield County during those muggy summer days; a latex primer that should be ready in an hour can stay tacky for three, four, or even more.
A great rule of thumb we use on the job is the "Rule of 150." If the temperature (°F) and the relative humidity (%) add up to more than 150, you’re going to have a much longer wait. Plan your day accordingly.
The Importance of Airflow and Ventilation
Next up is ventilation. Stagnant air is your enemy. Without good airflow, the water or solvents evaporating from the primer just hang in the air, creating a humid, solvent-heavy bubble right against your wall. This stalls the whole process.
Just cracking a window often isn’t enough to get the job done. For a reliable fix, set up a box fan in the room, but make sure it’s pointing away from the freshly primed surface. You're not trying to blow-dry the wall. You want to create a gentle, circulating breeze that pulls the moist air out and lets the primer continue to cure properly.
Surface Porosity Matters More Than You Think
The wall itself plays a huge role. Different surfaces drink up primer in completely different ways, which directly impacts how fast it dries.
- Porous Surfaces: Think fresh, unpainted drywall or bare wood. These materials act like a sponge. They’ll pull the liquid (water or solvent) right out of the primer, making it feel dry to the touch very quickly.
- Non-Porous Surfaces: On the other hand, a glossy old coat of paint, metal, or vinyl is non-porous. The primer just sits on top, meaning it can only dry through evaporation into the air. That’s a much slower process.
The Mistake of Applying Primer Too Thickly
Finally, let’s talk about application. It’s the number one DIY mistake we see: slathering on one super-thick coat of primer, thinking it will save time. This is a critical error.
When primer goes on too heavy, the top layer “skins over” and dries first, trapping wet primer and solvents underneath. This leaves the film soft and uncured, sometimes for days. When you finally paint over it, the topcoat won’t stick right, leading to peeling, blisters, and a finish so fragile you could scratch it with a fingernail. You’ll have no choice but to sand it all down and start over.
Always apply thin, even coats. It’s the only way to guarantee a solid foundation for your paint.
How to Know for Sure Your Primer Is Ready
Watching the clock is the rookie mistake. That dry time printed on the paint can? It’s a best-case scenario, assuming perfect temperature and humidity. As professional painters, we never just trust the clock. We rely on a few simple, hands-on tests to tell us when a surface is truly ready for its topcoat.
You can use the exact same methods we do on our job sites.
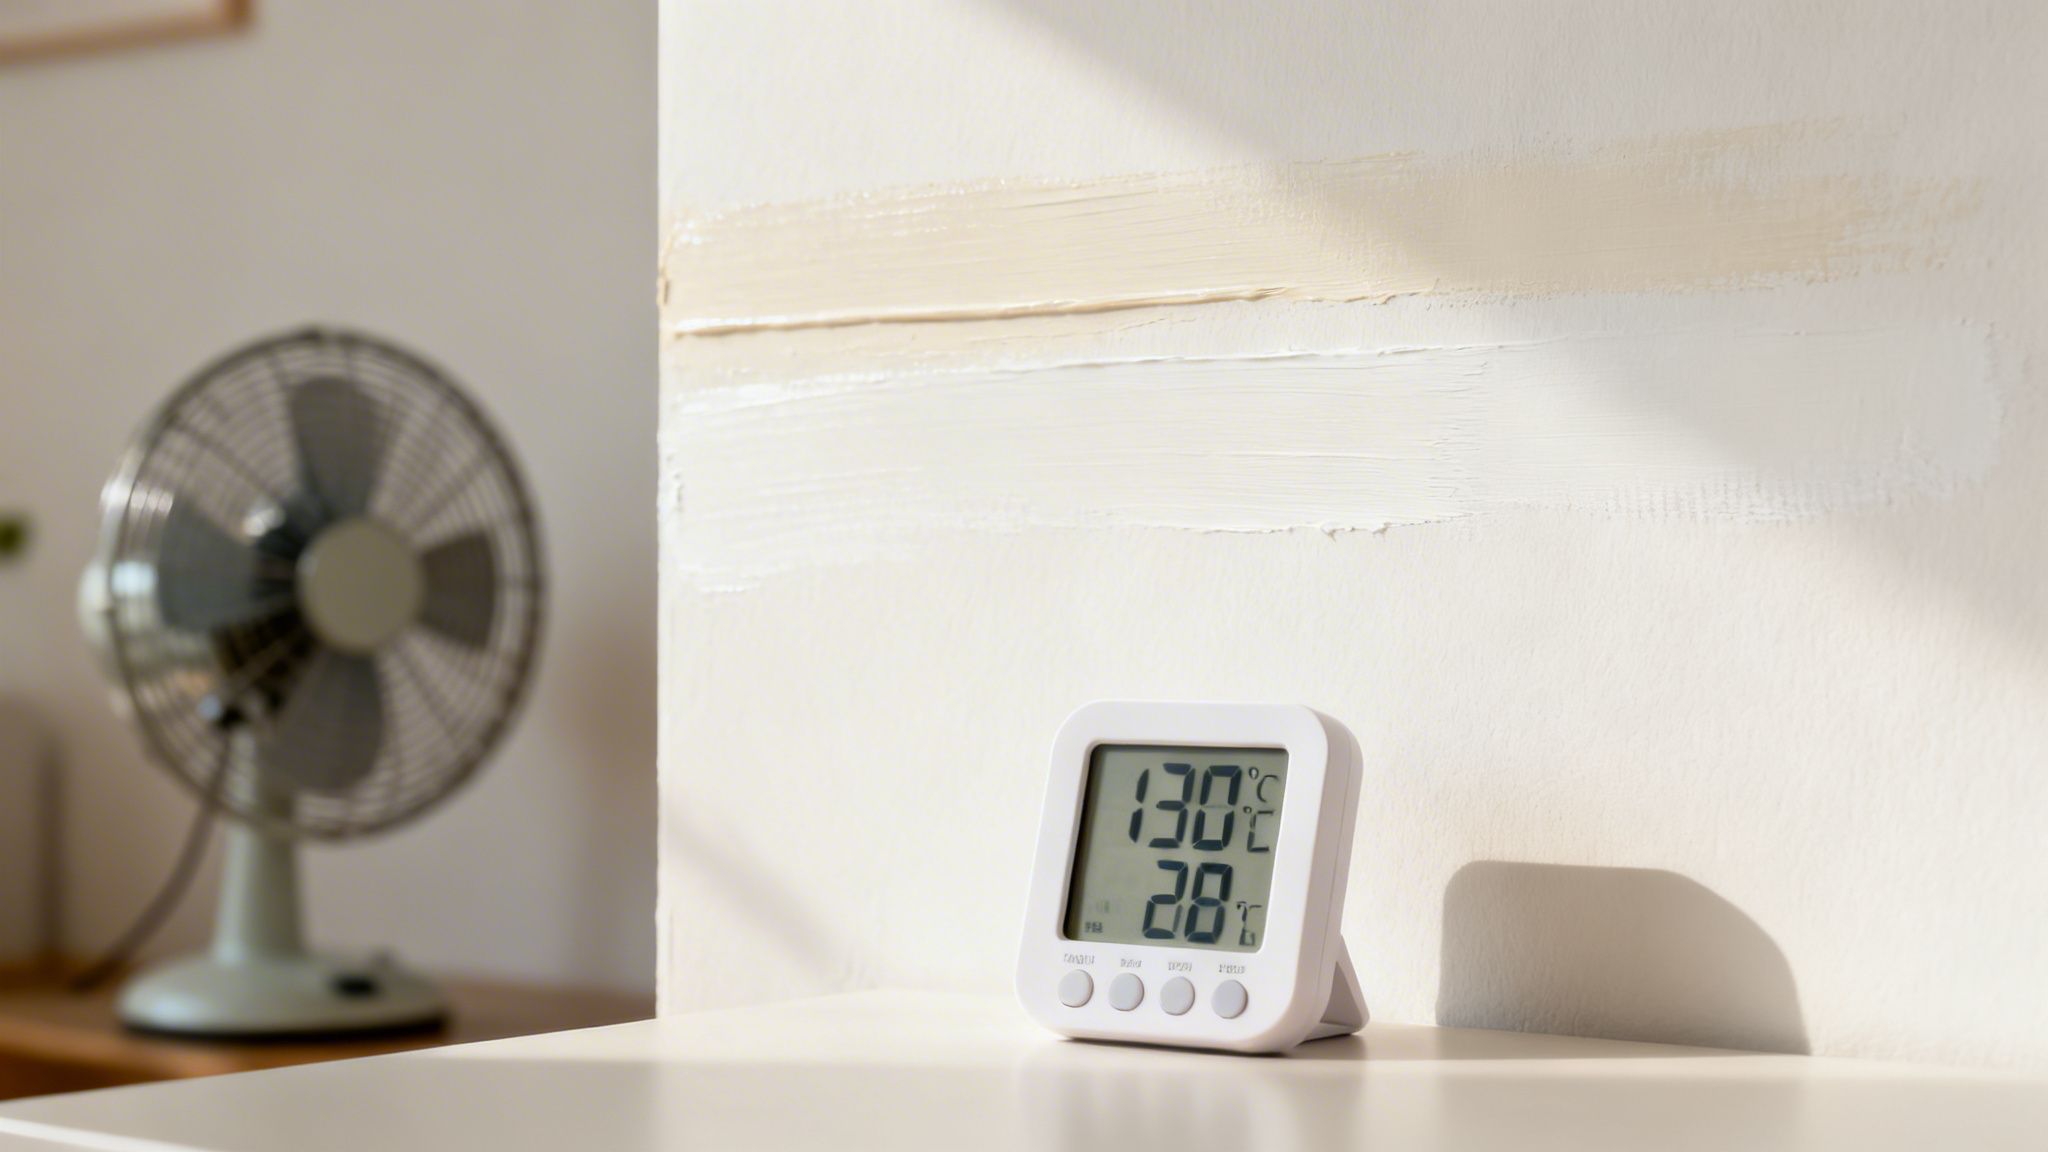
These checks go way beyond just being "dry to the touch." They confirm the primer has actually cured—hardened into a stable, solid foundation. Skipping these tests is asking for a finish that will fail down the road.
Simple Hands-On Primer Tests
Always start these checks in a spot that won’t be obvious later, like the inside of a closet or behind where a big piece of furniture will go.
First up is the Touch Test. Lightly press your fingertip against the primed surface. If you feel even the slightest bit of stickiness or tack, that’s your signal to stop. It means the solvents or water haven’t fully evaporated yet. Don't do anything else—it just needs more time.
If it feels completely dry, you can move on to the real test.
The Fingernail Test is our go-to method for a reason. It’s a foolproof way to check the hardness of the film. Gently but firmly press your fingernail into the primer.
- If it leaves a dent: The primer is still soft. Painting over it now will cause major adhesion problems and leave you with a finish that chips and scratches with the slightest bump. It needs more time to cure.
- If it feels hard and resists the pressure: You’re good to go. The primer has cured into a tough, resilient base that’s ready to grab onto your paint.
This quick physical test is a thousand times more reliable than a stopwatch because it accounts for the actual conditions in your room.
A primer that feels "dry to the touch" is not the same as one that is "cured." Curing is the chemical process that creates a hard, stable foundation for your paint to bond to, and it cannot be rushed.
Advanced Checks for Pros
Sometimes, especially when dealing with tricky surfaces or when the weather isn’t cooperating, we look for more subtle signs that a primer isn’t quite ready.
One common problem is “blocking,” which is just a painter's term for when two painted surfaces stick together—think of a freshly painted door sticking to the frame. If you close a primed door and it feels like it "grabs" even a little when you open it, that primer isn’t fully cured. An extra day of drying now will prevent the fresh paint from pulling right off later.
Another dead giveaway happens when you sand. A fully cured primer should produce a fine, powdery dust when you lightly sand it. If your sandpaper clogs up or the primer rolls into tiny, gummy balls, the film is still soft. That’s an unmistakable sign to step back and wait longer before you even think about painting.
The Final Prep Before Your First Coat of Paint
Thinking your work is done just because the primer feels dry to the touch is a common misstep I see all the time. But the few minutes you spend on surface prep right before painting? That’s what truly separates a good project from a great one.
A perfectly cured primer is the foundation, sure. This final prep, however, is the secret sauce for getting that flawless, professional-grade finish that lasts. This isn't about waiting longer; it's about perfecting the canvas you've just created.
Inspection and Smoothing the Surface
Once you've confirmed the primer is fully cured using the tests we talked about, your next move is a light but critical sanding.
Grab a fine-grit (220) sanding sponge and gently glide it over the entire primed surface. Your goal here isn't to be aggressive or scuff up the wall for grip. Instead, you're just knocking down any tiny imperfections that settled while the primer was drying.
This quick pass accomplishes a few key things:
- It smooths out any minor ridges left by your roller or brush.
- It removes any "dust nibs"—those tiny airborne particles that inevitably land on wet primer.
- It flattens any raised wood grain that might have popped up, which is especially common on trim and doors.
Think of it as polishing a gemstone. The primer did the heavy lifting of adhesion and blocking stains; now, you’re just creating a glass-smooth plane that will accept your topcoat perfectly. The result is a richer, more uniform sheen and a finish that feels as good as it looks.
Meticulous Dust Removal
After sanding, your surface will be covered in a fine, powdery dust. Getting rid of every last particle is absolutely essential. A common mistake here is reaching for a damp cloth, but that can reintroduce moisture, potentially reactivating the primer and undoing all your patient waiting.
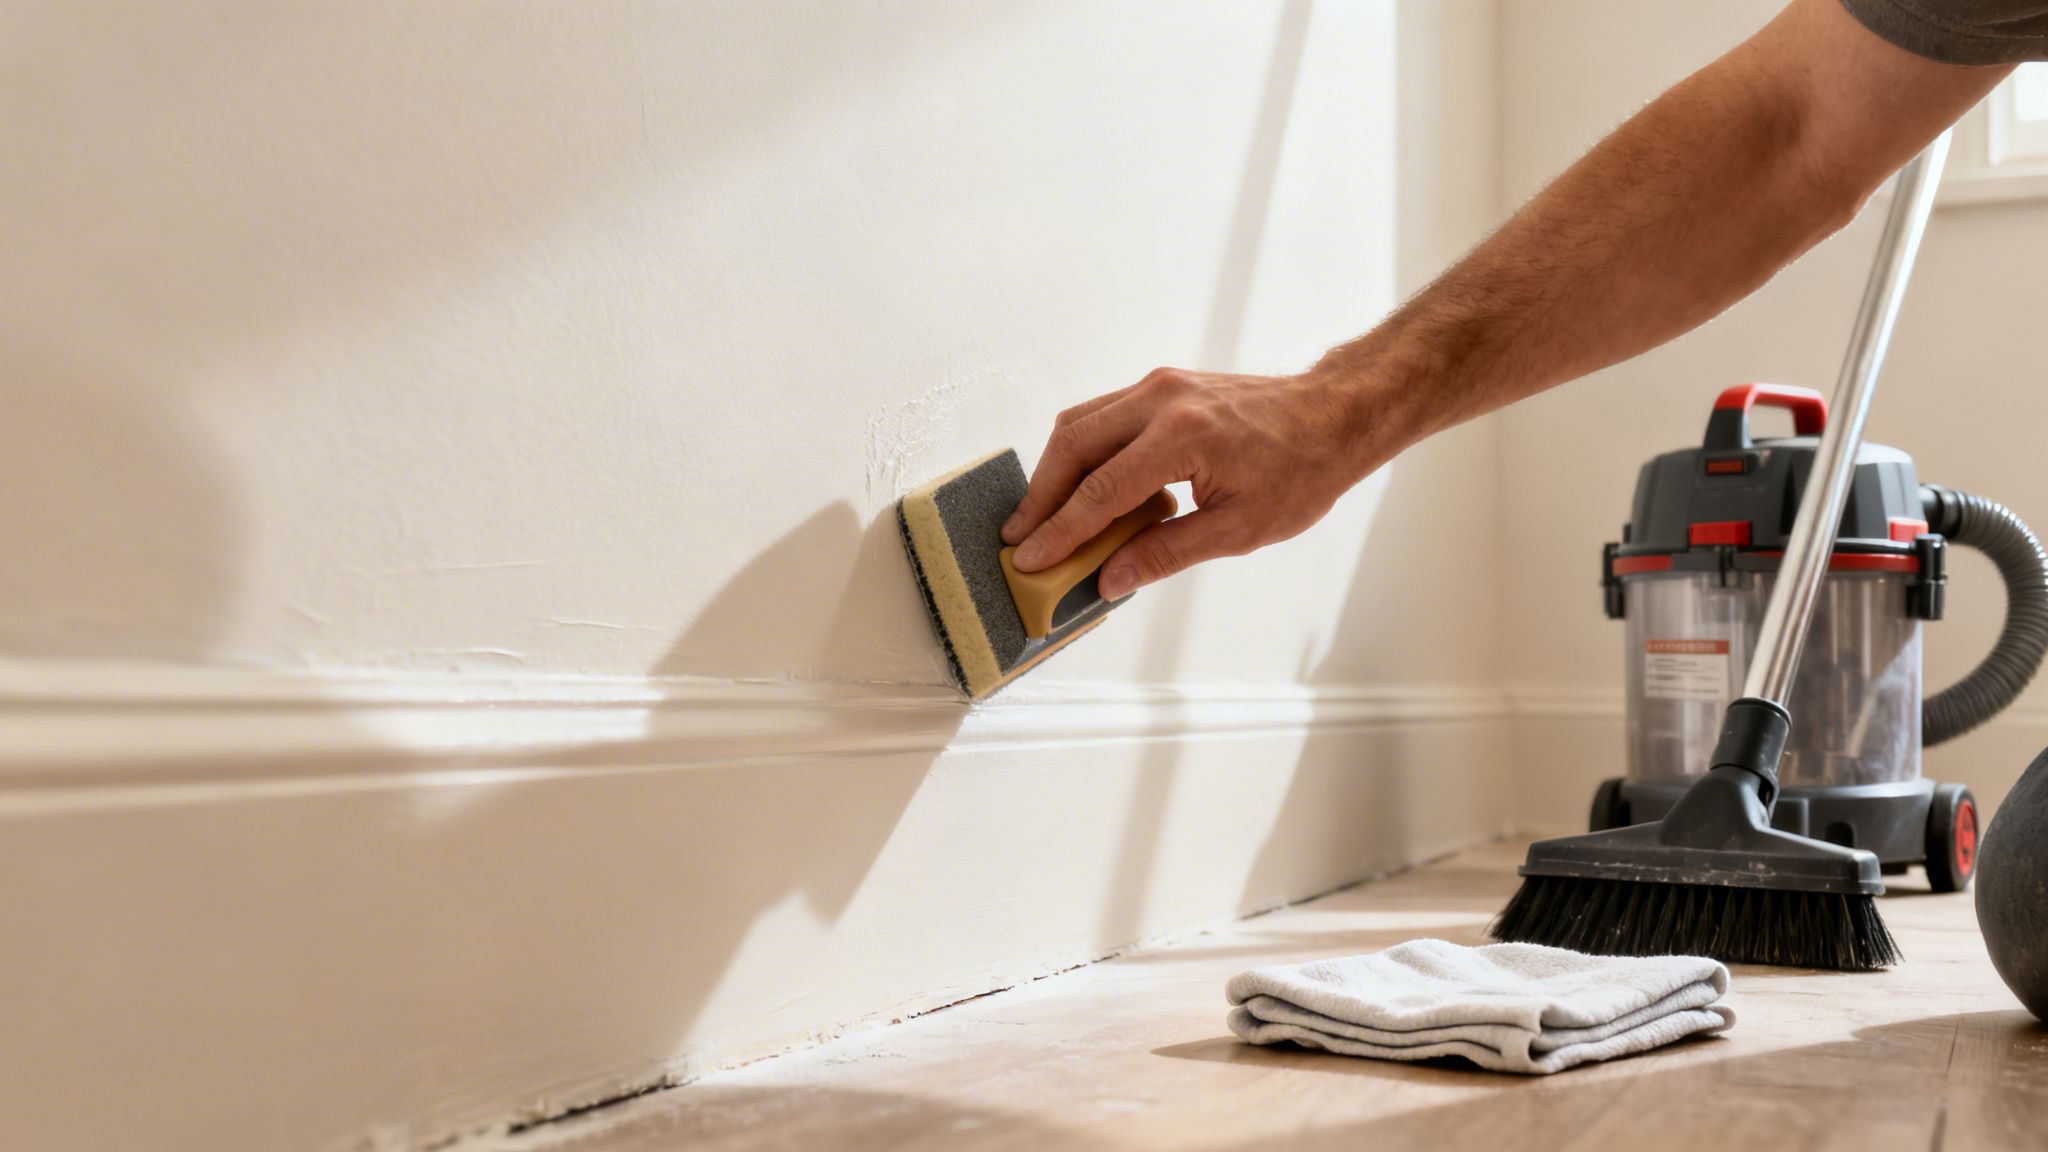
Instead, follow this two-step process for a pristine surface. First, use a shop vacuum with a soft brush attachment to lift away the bulk of the dust. Always work from top to bottom, making sure to get into corners and along all the edges.
Next, go over the entire surface one last time with a tack cloth. This is a specialty cloth with a slightly sticky substance designed specifically to grab and hold onto fine dust without leaving any residue. This step ensures your surface is absolutely spotless. You can see how this meticulous prep work contributes to the stunning interior and exterior finishes on our projects.
Taking these final prep steps might feel tedious, but they are the non-negotiable divide between an amateur result and a durable, professional finish. Rushing this final stage is like building a beautiful house on a dusty foundation—it simply won’t hold up.
When to Partner with a Painting Professional
Sure, priming a wall or two is a perfectly manageable DIY job. But knowing exactly how long must primer dry before painting is just one small piece of a much larger puzzle. There are times when a project's scale or complexity really calls for a professional touch to get the job done right.
Think about large-scale projects, like painting an entire home or a multi-room commercial space. That’s where bringing in a pro makes a world of difference. We have the team, the systems, and the experience to ensure a flawless, consistent finish from room to room, all while staying on a tight schedule.
When Specialized Knowledge Is Key
Some jobs simply have no room for error. If you're dealing with a historic home, for example, you need a crew that respects its unique character and understands the right materials to use.
The same goes for tackling severe smoke or water damage. In those cases, using the correct specialized stain-blocking primers and application methods is non-negotiable if you want to permanently lock away stains and lingering odors. Anything less is just a temporary fix.
Achieving a flawless, mirror-like Level 5 finish also requires a level of skill that comes only with years of hands-on experience and the right equipment.
For builders, designers, and general contractors, partnering with a dedicated painting service like ours eliminates guesswork. We make sure your timelines are met and deliver a superior outcome that reflects the quality of your own work. It’s an investment in peace of mind and a guaranteed professional result every time. To see what we mean, take a look at our company’s commitment to quality finishes.
Common Questions About Primer Drying Times
Even after you've got the basics down, a few specific questions always seem to pop up on the job. We get asked all the time about how long primer needs to dry before painting, but the real-world answer depends on a few important details. Here are some straight answers to the questions we hear most from homeowners.
Do I Need a Second Coat of Primer?
In many cases, yes. Think of it as insurance for your topcoat. A second coat is pretty much non-negotiable if you're making a dramatic color change, like going from a deep red to a clean white. It's also essential for sealing up porous surfaces like new drywall or for locking in tough stains that keep bleeding through.
Just be sure to wait for the full “recoat” time listed on the can—not just the “dry to touch” time. For most latex primers, you’re looking at a wait of one to four hours. Rushing it will only cause the first coat to soften and lift when you roll on the second, wrecking the foundation you just built.
What Happens If I Paint Over Wet Primer?
Painting over wet primer is one of the most common—and costly—mistakes we see. When you rush this step, the paint simply can’t bond to the wall correctly. You’re setting yourself up for peeling, bubbling, and blistering later on.
The solvents trapped in the wet primer will prevent the paint from curing properly, leaving it soft and easy to scratch for days or even weeks. You'll also end up with an uneven sheen and ugly roller marks, forcing you to sand everything down and start over from scratch.
Is Sanding Primer Really Necessary?
Absolutely. A quick, light sanding after the primer has fully cured is the secret to getting that perfectly smooth, professional-looking finish. It does create a lot of fine dust, which is why pros use sanders connected to HEPA dust extractors to keep the air clean.
If you're tackling this yourself, seal off the room with plastic and wear a quality respirator, like an N95 mask. Use a shop vacuum with a brush attachment to get all the dust off the walls. Your final step before that first coat of paint should always be a wipe-down with a tack cloth to grab any dust that the vacuum missed.
When you're ready for a finish that is guaranteed to be flawless and durable, trust the experts. For professional results that stand the test of time, contact CP Painting Company for your free estimate. Learn more about our high-quality painting services.


