
So, how many coats of paint do you really need? Let's get right to it. For nearly every professional paint job, the answer is two coats. This isn't just some arbitrary number we throw around; it’s the gold standard for getting a finish that looks flawless and is built to last.
Think of it as the difference between a quick touch-up and a true, long-term investment in your home.
The Pro Painter's Answer to How Many Coats of Paint You Need
Asking "how many coats" means you're already thinking like a pro. While "two" is the quick answer, the full story is about understanding why this has become the benchmark for quality, especially for homes here in Stamford, CT, and Westchester, NY.
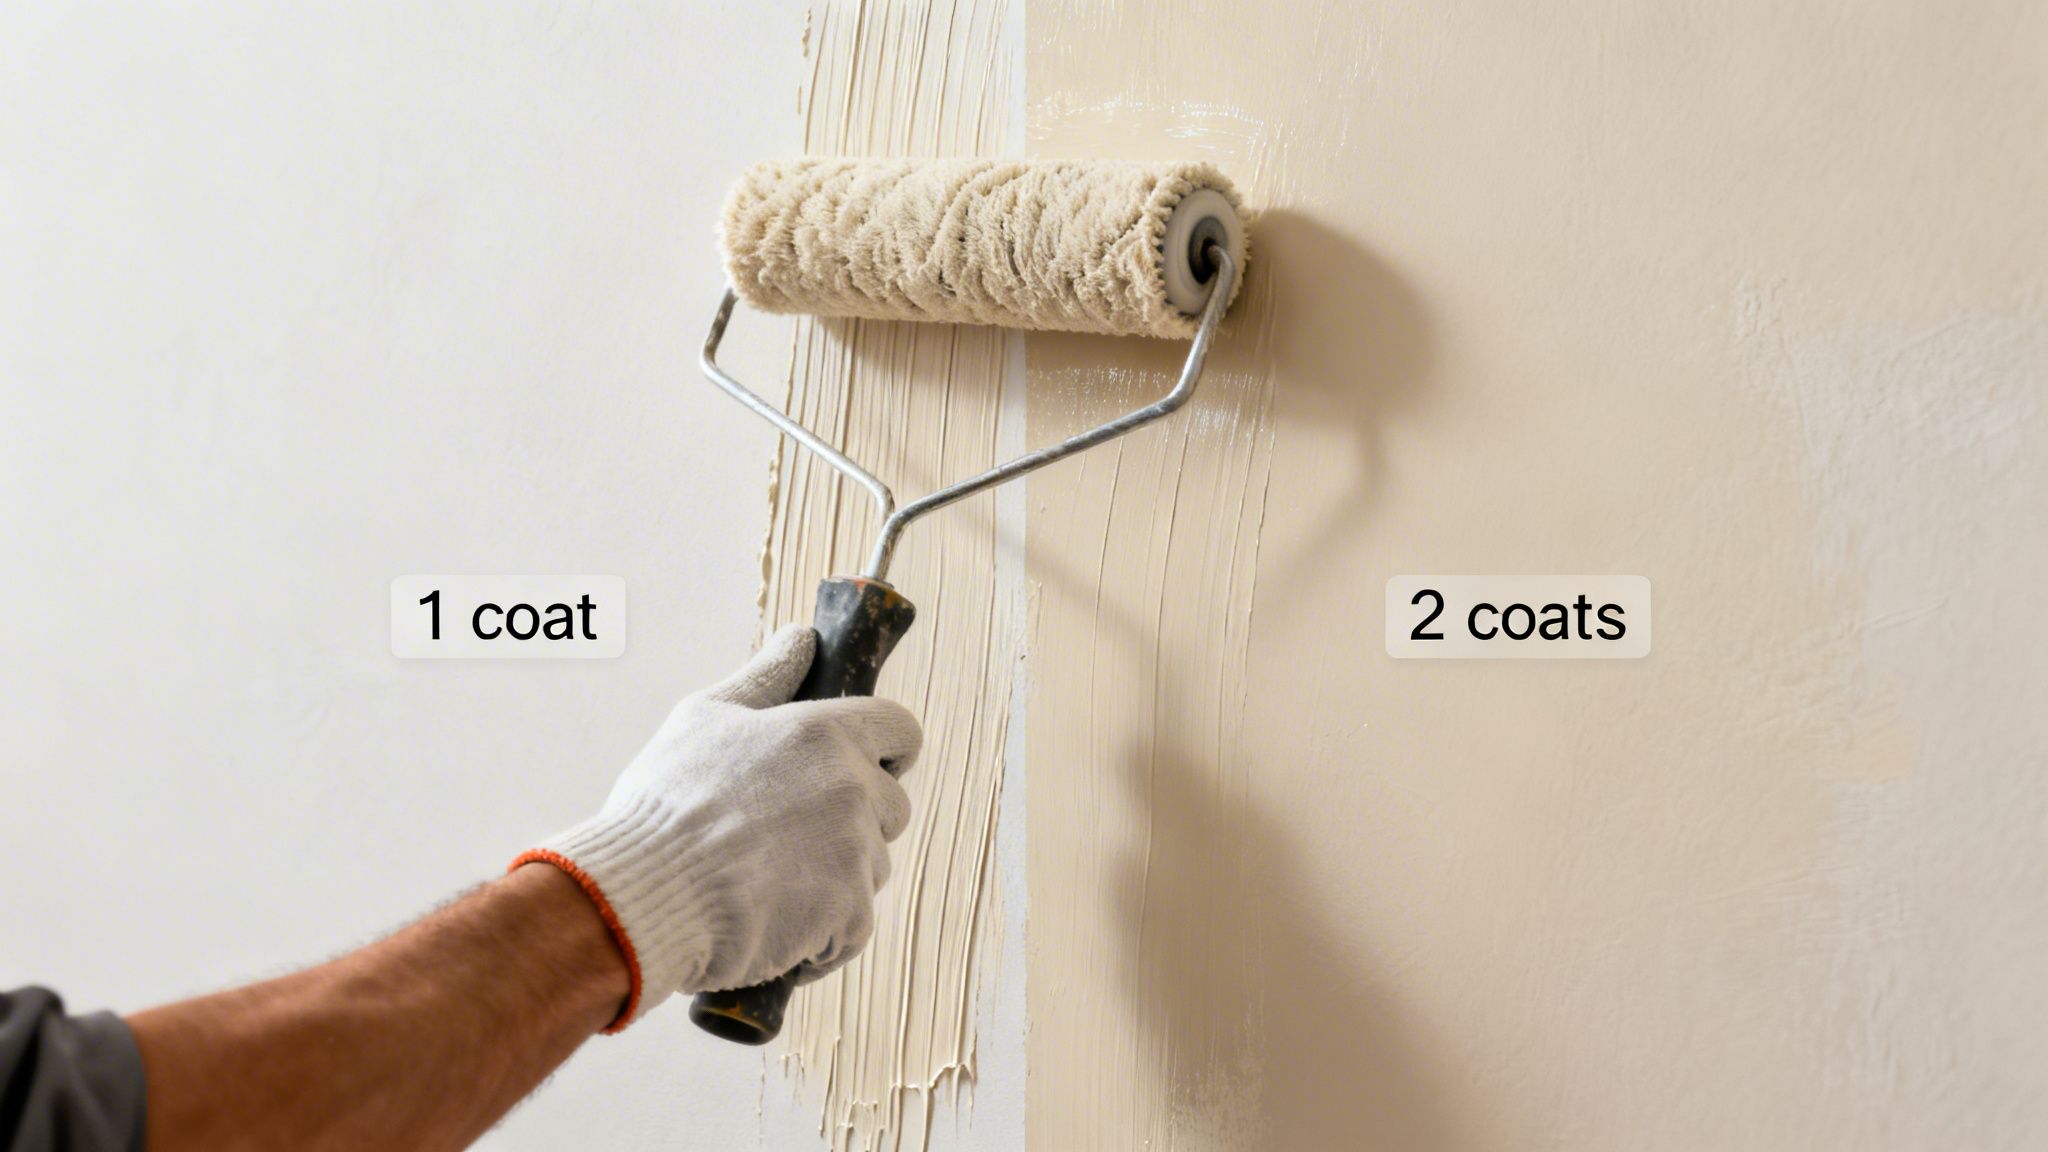
One coat might look okay at first glance, but it almost always leaves behind microscopic gaps. These tiny imperfections result in uneven color and, more importantly, weak protection. A second coat is what bridges those gaps, creating a solid, continuous film that delivers both rich color and real durability.
This two-coat standard isn’t a new trend. It’s a tried-and-true practice backed by decades of paint technology. Industry data from the Painting Contractors Association (PCA) consistently shows that 85% of professional jobs in demanding markets like Connecticut and New York specify two coats over primer for the best possible performance. Why? Because projects with two coats typically last 5-7 years, while a single coat in a busy hallway might start showing wear in just 2-3 years. You can see more expert insights on how we plan projects for maximum coverage and longevity.
When Two Coats Are the Standard
For the vast majority of projects, sticking to the "two-coat rule" is your safest and most reliable strategy. It's the only way to guarantee full coverage, true color saturation, and a uniform sheen that one pass just can't deliver.
This is especially true for these common scenarios:
- New, Unpainted Drywall: Fresh drywall is thirsty. It will soak up that first coat of paint like a sponge, and it will do so unevenly. A second coat is absolutely essential to even things out and create that smooth, professional finish.
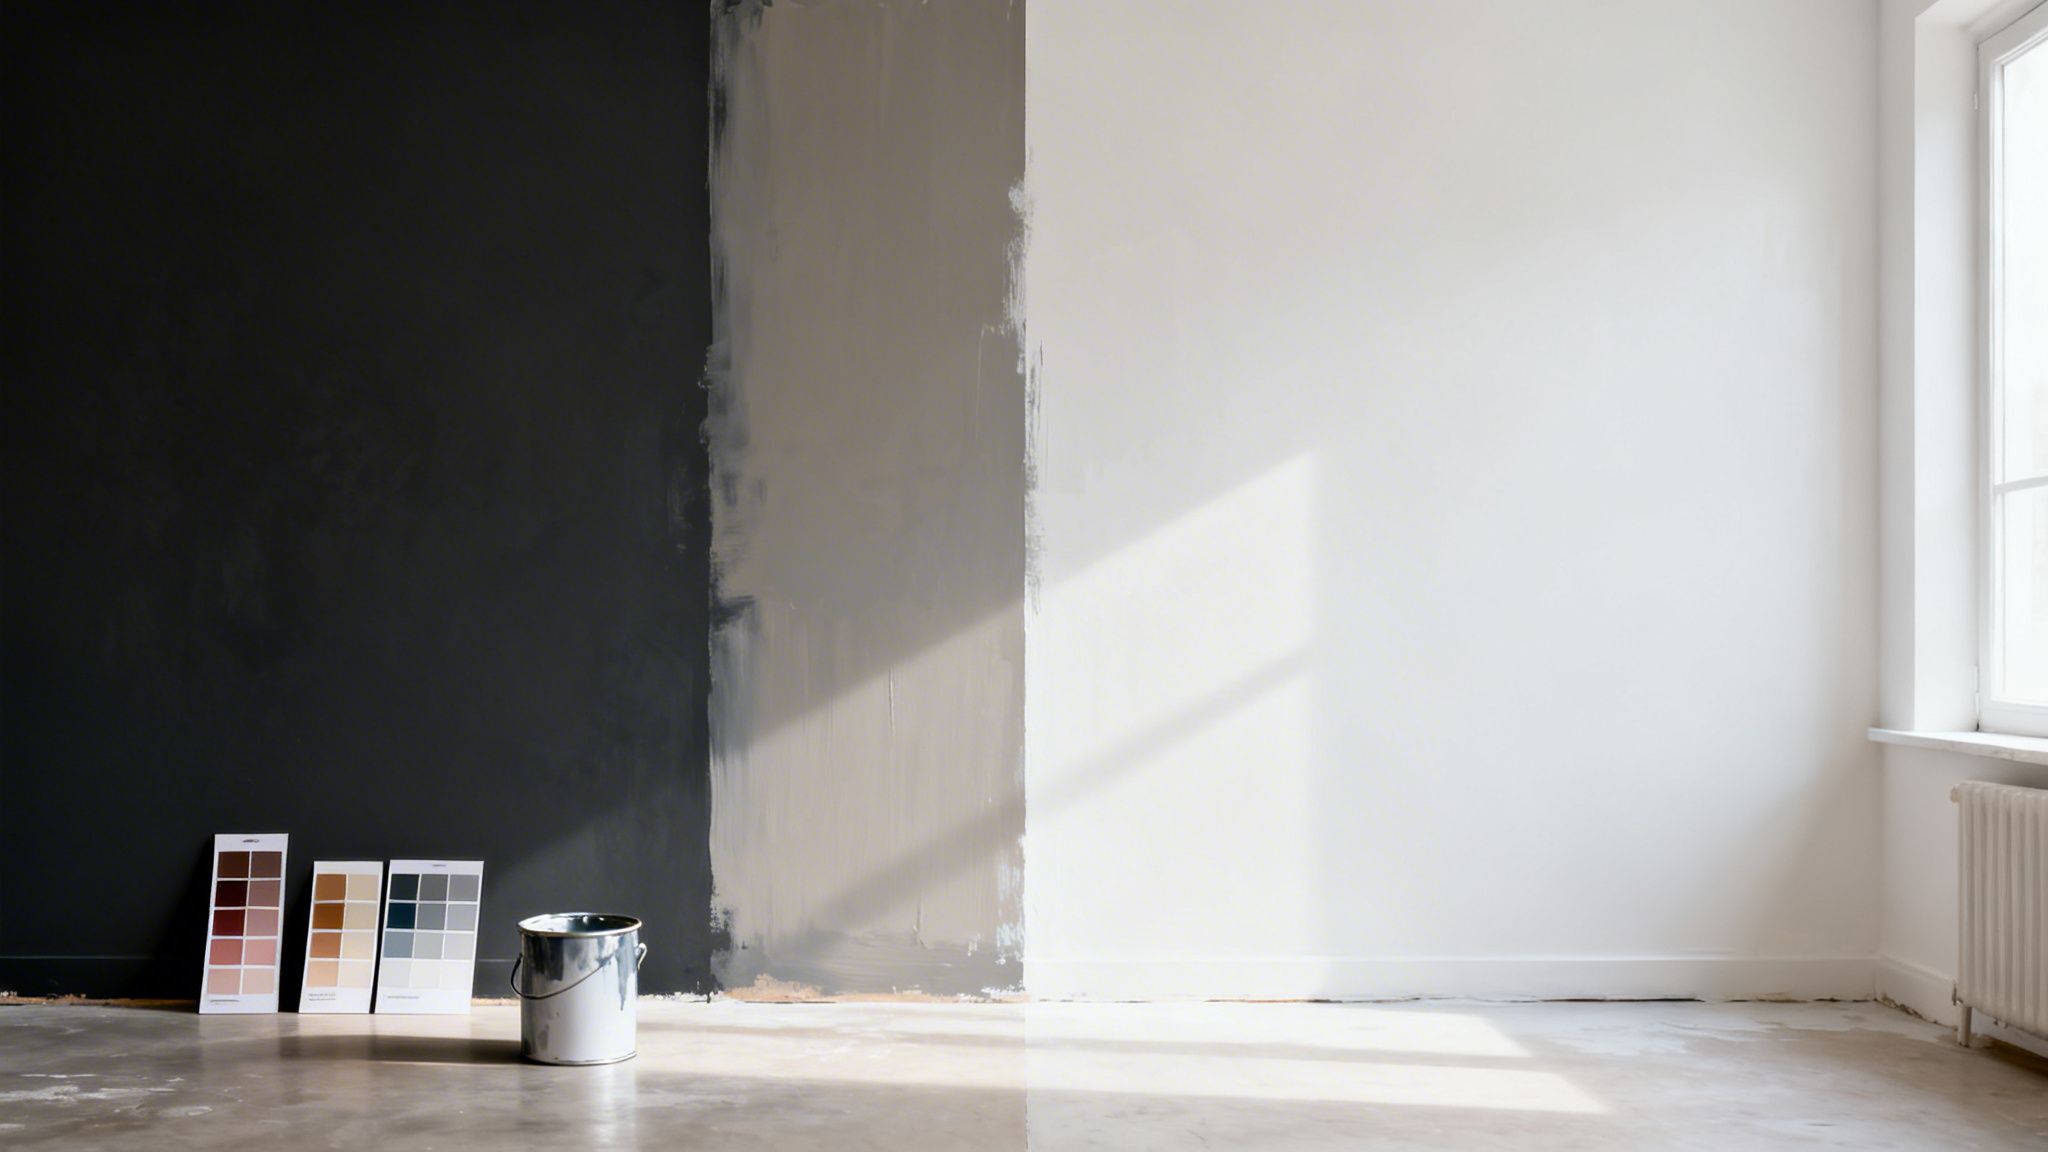
- Significant Color Changes: Going from a dark wall to a light one? Or the other way around? The first coat will almost certainly look streaky and blotchy. The second coat is what does the real work, giving you the opaque, rich color you actually picked out.
- High-Traffic Areas: Think about your hallways, kitchen, and bathrooms. These spaces need a tough paint film that can handle scrubbing, scuffs, and daily life. Two coats provide the thickness needed for this kind of durability.
This simple chart helps visualize when two coats are the default choice for a quality outcome.
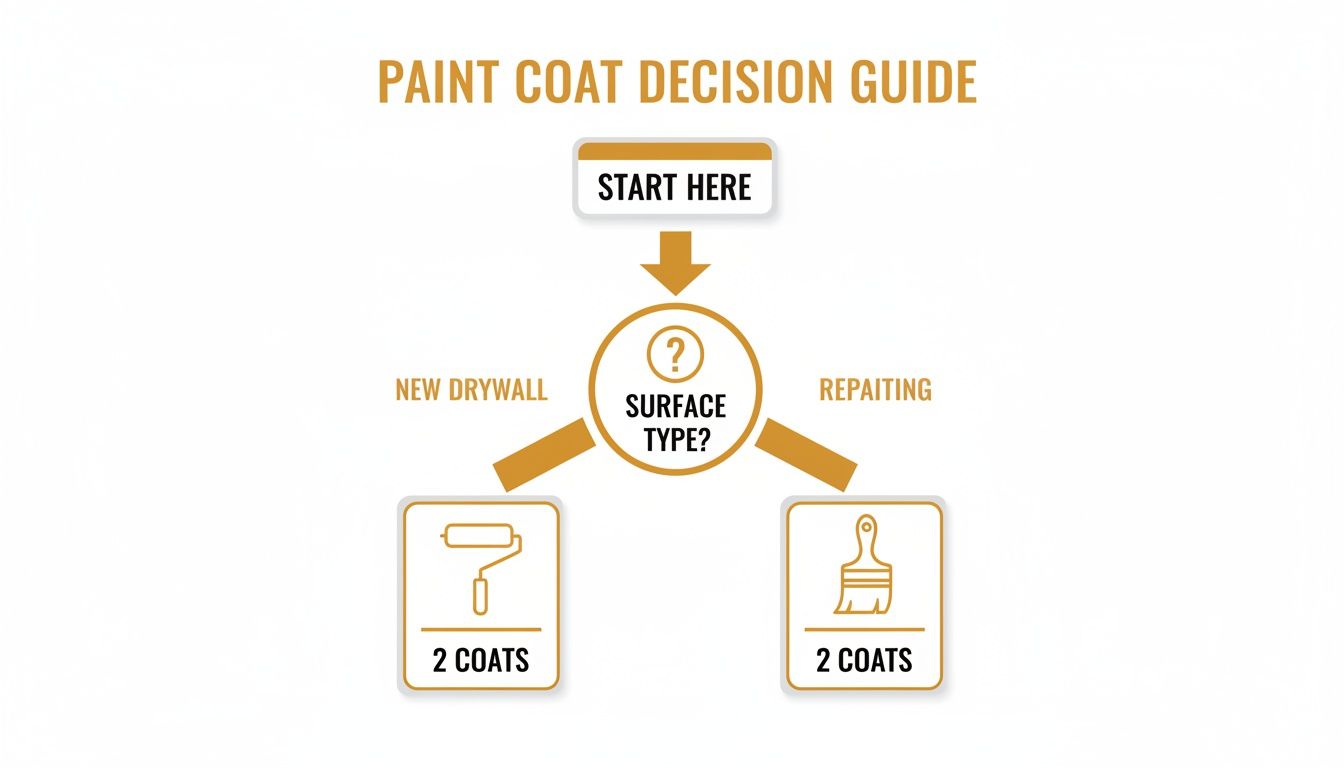
As you can see, whether you're starting fresh with new construction or just giving a room a much-needed update, two coats is the clearest path to a result you'll be proud of.
Quick Guide to Paint Coat Counts
To help you get a clearer picture right from the start, here’s a table that summarizes the recommended coats for the most common projects we tackle. Use this as a baseline to help plan your time and materials. Just remember, things like the quality of your paint and the condition of the surface can always add to the final count. It's worth seeing how a meticulous approach can lead to a truly flawless finish.
| Project Type | Standard Coats (Over Primer) | When to Add More Coats |
|---|---|---|
| Interior Walls | 2 Coats | Dramatic color change; covering stains; using low-quality paint. |
| Ceilings | 1-2 Coats | 2 coats are needed for covering water stains or significant yellowing. |
| Trim & Doors | 2 Coats | High-gloss finishes may require a third thin coat for perfection. |
| Kitchen Cabinets | 2-3 Coats | 3 coats are often recommended for maximum durability against daily use. |
| Exterior Siding | 2 Coats | Harsh weather exposure or porous surfaces like raw wood. |
This quick guide gives you a solid starting point, but every project is unique. The key is to assess the surface, choose the right materials, and never cut corners on that crucial second coat.
Why One Coat of Paint Is a Gamble You Shouldn't Take
The temptation to save a little time and money with just one coat of paint is strong. It feels like an efficient shortcut, but when it comes to your home's appearance and protection, this is one gamble that almost never pays off. Skimping on the number of coats is a decision that, in my experience, almost always leads to regret down the road.
Think of it like applying sunscreen. If you slap on one thin, hasty layer, you're bound to miss spots. Those tiny gaps leave your skin exposed to the sun. The same exact principle applies to paint. A single coat leaves behind microscopic, porous gaps that result in an uneven finish and seriously compromised protection.
Building a Strong and Uniform Paint Film
When professional painters talk about paint film thickness, we're referring to the protective layer left behind after the paint dries. A single coat just creates a thin, weak film that lacks any real depth or durability. It’s simply not thick enough to deliver a solid, uniform color or a consistent sheen.
This is exactly why that second coat is so critical. It fills in all the microscopic holes and valleys left by the first application, building a much stronger, more continuous film. This second layer is what truly delivers the rich color and even finish you expect from a professional job.
The porosity of the wall—how absorbent it is—also plays a huge role here. New drywall or a wall with lots of patched areas will soak up that first coat unevenly, creating a blotchy, inconsistent mess. The second coat corrects all of that, ensuring the final appearance is smooth and seamless.
A single coat of paint is like a raincoat with holes in it. It might look fine from a distance, but it won’t provide the protection you actually need when the elements—or daily life—put it to the test.
Why Durability Depends on Two Coats
A thicker paint film isn't just about looks; it's all about performance. The real durability of a paint job is directly tied to the number of coats you apply. A single, thin layer offers almost no resistance to scuffs, stains, and everyday cleaning.
Here’s why that second coat is absolutely non-negotiable for a finish that lasts:
- Scrubbability: A two-coat finish creates a much tougher, more resilient surface. This is essential in high-traffic areas like hallways, kitchens, and bathrooms where walls need to be wiped down regularly. A single coat will often wear away or get discolored with even gentle cleaning.
- Stain Blocking: While a good primer is your first line of defense, a robust two-coat system provides an extra barrier against old stains seeping through or new spills setting in.
- Color Richness: The true, vibrant color you picked out at the store almost never reveals itself with just one coat. The second application is what provides the opacity needed for the color to look deep and saturated, not washed out and weak.
The Regional Impact in Connecticut and New York
For us homeowners in Connecticut and New York, the debate over one versus two coats is pretty much settled by our climate. The region's significant humidity and wide temperature swings put immense stress on painted surfaces, both inside and out.
A single coat of paint just doesn't have the structural integrity to expand and contract with these constant changes. This leads to premature paint failure, including frustrating problems like cracking, peeling, and blistering. What started as a time-saving measure quickly turns into a costly, time-consuming do-over.
Applying two coats ensures your paint job can withstand our local climate, protecting your investment for years to come. Ultimately, understanding how many coats of paint are needed is the first step toward a successful project that you'll be happy with long-term.
Getting Flawless Interior Walls, Ceilings, and Trim
When you bring your project indoors, the question of "how many coats?" gets a lot more specific. The needs of a sprawling living room wall are completely different from the high-impact trim around your front door. Getting this right is what separates a weekend DIY job from a truly professional, long-lasting finish.
For interior walls, the professional standard is firm: two coats. This isn't just about getting the color right; it's about creating a perfectly uniform sheen and a durable surface that can handle real life. A single coat, even if it looks okay at first, will almost always show its flaws—like roller marks or "flashing" where the sheen looks uneven when the light hits it just right.
The second coat is what truly delivers. It smooths over any of those minor imperfections, builds up the necessary thickness for scrubbability, and ensures the color you picked out is the color you see on your wall—rich, deep, and consistent from one corner to the next.
Painting Ceilings for a Seamless Look
We often call the ceiling the "fifth wall," and for good reason. How you paint it dramatically changes the feel of the entire room. So, how many coats does a ceiling need? It all comes down to its current condition.
- For a Quick Refresh: If your ceiling is in good shape and you're just putting on a fresh coat of the same ceiling white, you can often get away with one generous coat. We do this all the time for a quick, clean update.
- For Covering Stains or New Drywall: But if you're dealing with old water stains, smoke discoloration, or brand-new drywall, two coats are non-negotiable. The first coat (always over a good stain-blocking primer) seals the surface, and the second guarantees that flawless, uniform white finish that hides whatever is underneath.
Think of it like trying to cover a coffee spill on a white shirt with a single paper towel. It might dull the stain, but you can still see the mark. The second coat is what makes it truly disappear.
The Special Case of Interior Trim and Doors
When we talk about interior trim, doors, and baseboards, the conversation shifts from looks to hardcore durability. These surfaces are the unsung heroes of your home, taking all the bumps from vacuums, scuffs from shoes, and constant touching.
For this reason, trim and doors require a minimum of two coats of a high-quality, durable paint. Using a tough acrylic-alkyd or urethane enamel is absolutely key here. These paints are engineered to cure to a much harder finish than regular wall paint, giving you the resilience these high-touch areas demand.
A busy hallway in a Stamford, CT, home, for example, is going to see far more abuse than the trim in a quiet guest room up in Litchfield County. For those high-traffic zones, a lot of pros (including us) will even recommend a third thin coat for maximum protection against chips and dings. It's a small extra step that can add years to the life of your paint job.
Painting interior doors, in particular, requires a specific technique to get that smooth, brush-mark-free surface. If you're tackling that project, you might want to learn more about the best practices for painting doors, which often involves three light coats for a perfect factory-like finish. Ultimately, the number of coats depends on both the surface and how you use it every day. A high-quality finish on doors, for instance, can elevate the look of an entire room.
You can see how professionally painted doors and trim create a stunning visual impact, just like in this beautifully finished residential project.
Protecting Your Home With the Right Exterior Coats
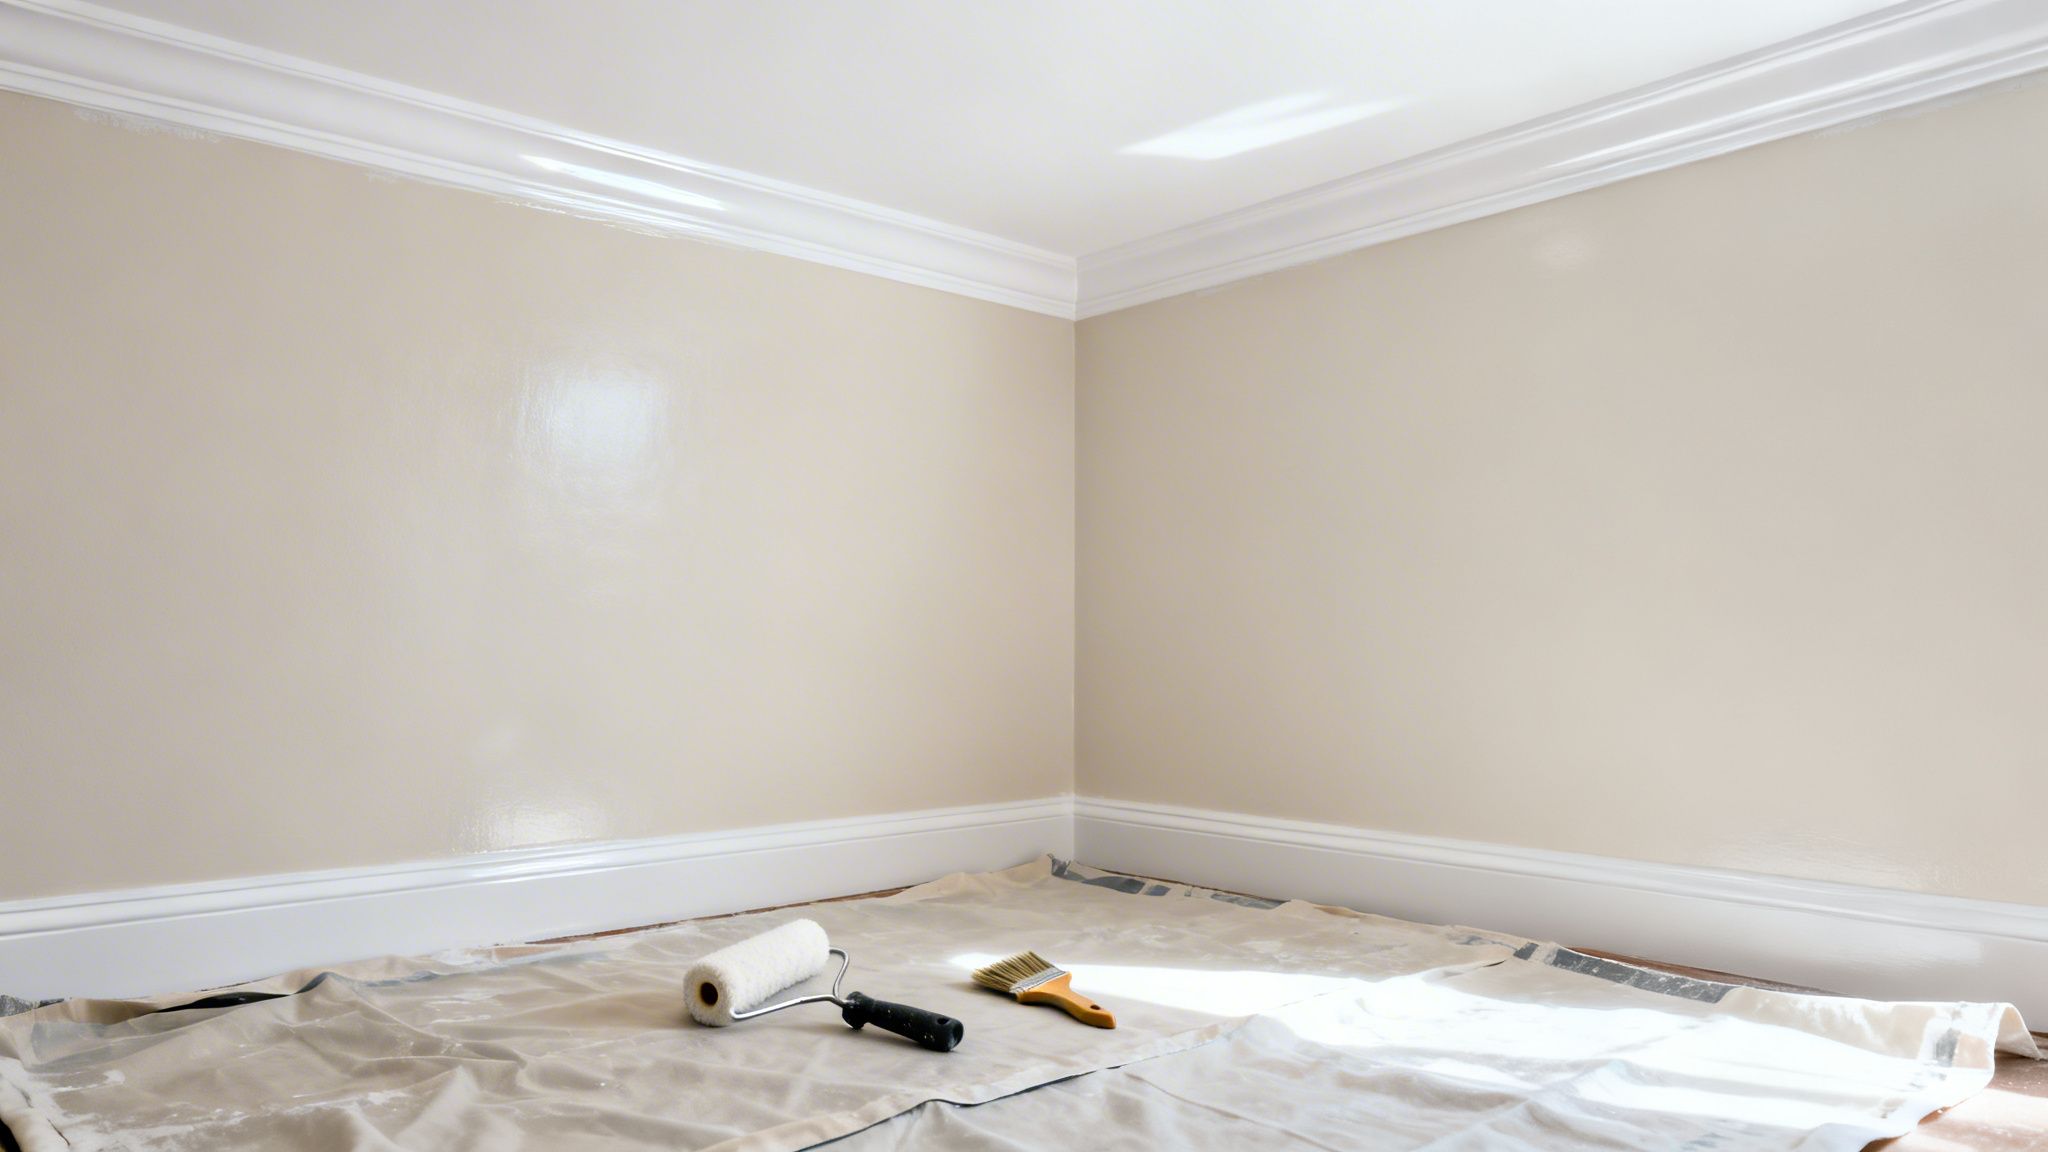
When you take the paint can outside, the rules change entirely. The stakes get a whole lot higher. Unlike the controlled, predictable environment inside your home, your exterior is in a constant battle with the elements. Because of this, at least two top-quality coats of exterior paint are the absolute minimum for survival and longevity.
Think of it this way: your exterior paint is your home's armor. A single, flimsy coat is like thin sheet metal—it offers almost no real defense and will dent, fade, and fail under the first serious assault. That second coat adds the thickness and strength needed to create a formidable shield against Mother Nature's relentless attacks.
The War Against Weather in CT and NY
For any home in Connecticut or New York, exterior paint isn't just about curb appeal; it's a critical line of defense. Our region’s climate throws everything it has at your siding, from blistering summer sun to brutal winter ice.
Two coats are essential for combating these specific threats:
- UV Radiation: The sun's ultraviolet rays are incredibly destructive. They break down paint binders and cause your beautiful colors to fade prematurely. A single coat is just too thin to offer meaningful protection, whereas a two-coat system provides a robust barrier that reflects UV light and preserves your color integrity.
- Moisture and Humidity: From the salt spray along the Fairfield County coast to heavy downpours across the state, moisture is paint's number one enemy. A thick, seamless two-coat finish is what stops water from seeping into your siding, preventing rot, mold, and mildew before they can ever start.
- Freeze-Thaw Cycles: Those punishing freeze-thaw cycles we get every CT winter cause building materials to expand and contract. A flexible, two-coat paint film has the elasticity to move with your siding, which prevents the cracking and peeling that often plagues homes with just a single, brittle coat.
How Siding Material Affects Coat Count
Not all exterior surfaces are created equal. The material your siding is made of plays a huge role in determining how many coats of paint you'll ultimately need for a durable, long-lasting finish. Different substrates absorb paint differently, which directly impacts coverage and adhesion.
For instance, a home with porous, unfinished wood siding in Middlesex County will literally drink up that first coat of paint. In this case, the initial application acts more like a primer, sealing the thirsty wood so the second coat can build a protective film on top. Trying to get by with just one coat here would be a disaster, resulting in a blotchy, under-protected mess.
On the other hand, a home with pre-primed fiber cement or existing vinyl siding might seem less absorbent. But even on these smoother surfaces, two coats are still required to achieve proper adhesion, true color saturation, and the film thickness needed to withstand years of harsh weather. Skipping that second coat is a gamble that almost always leads to premature peeling and flaking.
Statistically, exterior surfaces demand 2-3 coats globally. Recent U.S. Department of Energy data shows 92% of homes in temperate zones like Connecticut's coastline require at least two for proper UV protection, as single coats can fade 50% faster. In fact, a significant 65% of commercial bids in major markets like NYC and Tolland County, CT, now specify three coats for facades, as one or two layers often fail 30% sooner in areas with urban pollution. Discover more insights about paint coat statistics and durability on toptierpropainting.com.
The Long-Term Value of a Second Coat
Applying the right number of coats is a direct investment in your home's future. A professionally applied two-coat exterior paint job can easily last for a decade or more. By contrast, a single coat might look okay for a season, but it will likely start showing signs of failure within just a few years, forcing you into a costly and time-consuming repaint. For more on how to plan for a successful project, you might be interested in our guide to achieving stunning and durable paint finishes.
When you commit to those two coats, you're not just painting. You are safeguarding your home from structural damage while locking in its beauty and value for years to come.
How Dramatic Color Changes Affect Your Coat Count
Making a big color change is one of the most satisfying parts of any painting job. It's the moment you really get to redefine a room. But this is also where understanding how many coats of paint you’ll need becomes absolutely essential. The more dramatic the shift, the more work it takes to get a perfect finish.
Think of paint less like a solid sheet of color and more like a semi-transparent film. A single coat of light paint just doesn't have the muscle to completely hide a dark, rich color underneath. The old color will always "ghost" through, creating a muddy, uneven look that’s a far cry from the crisp, clean color you picked out.
This isn’t a sign you bought bad paint; it’s just the science of how pigments work. Going from a light color to a dark one presents a similar challenge, though it's often a bit easier. The whole game is about building up opacity, layer by careful layer.
The Role of Opacity and Light Reflectance Value
To get why dramatic changes are so tricky, we need to look at two simple ideas: opacity and Light Reflectance Value (LRV). Opacity is just what it sounds like—the paint's ability to cover what's beneath it. High-quality paints usually have better opacity because they’re packed with more titanium dioxide, the key white pigment that provides hiding power.
LRV, on the other hand, is a scale from 0 (absolute black) to 100 (pure white) that tells you how much light a color reflects. A deep navy blue might have an LRV of 5, while a soft off-white could be an 85. The bigger the gap between your old color's LRV and your new one's, the more coats you’ll need to bridge that divide.
Going Light Over Dark: This is the ultimate test of any paint's hiding power. Covering a dark brown (LRV 10) with a light greige (LRV 65) is a huge jump. Your first one or two coats will inevitably look streaky and blotchy as that dark base fights to show through.
Going Dark Over Light: This is generally less demanding. Painting that same navy blue (LRV 5) over a builder's beige (LRV 70) is easier because dark pigments have strong hiding abilities. Still, you'll need two solid coats to get that rich, even color without any light spots winking through.
Why Primer Is Your Secret Weapon
For any major color shift, primer isn't just a recommendation—it's a necessity. But not just any old primer will do. Using a tinted primer can slash the number of topcoats you'll need.
Imagine you're painting a pure white over a black wall. Instead of slogging through three or even four coats of your expensive topcoat paint, you can start with a single coat of gray-tinted primer. This gray base does the heavy lifting, neutralizing the black so your white topcoats have a much easier job.
For interior designers in New Haven County, CT, eyeing that perfect pop, grasp this: color contrast dictates coats. Drastic shifts often require three coats, a significant increase from the two needed for similar tones. Stats reveal that light-over-dark jobs—like those in Stamford condos ditching 1980s browns—may require 3-4 coats to fully bury old pigments, as dark hues can show through 60% more than neutral bases. You can learn more about estimating paint coverage on hispaint.com.
This one simple step saves you time, money, and a whole lot of frustration. For anyone in Westchester County or NYC looking to make a bold statement, starting with the right tinted primer is the pro’s secret. It ensures the vibrant, pure color you chose from the swatch is the exact color you get on your walls.
Your Top Questions About Paint Coats Answered
Even with a solid plan, you're bound to have questions once the paint cans are open and the rollers are out. To clear up any of that last-minute uncertainty, we've gathered the queries we hear most often from homeowners right here in Connecticut and New York.
Here are the straight, no-nonsense answers you need to get the job done right.
Do Paint-and-Primer-in-One Products Mean I Only Need One Coat?
This is easily one of the most common points of confusion, and the short answer is a hard no. While these products are a fantastic step up in paint technology, they are absolutely not a "one-coat wonder."
Think of a "paint and primer in one" as a superior first coat, not a magical all-in-one solution. It does a great job sealing the surface and giving your topcoat something solid to grab onto. But you still need that second coat to get the true, rich color, a uniform sheen, and the durable finish you’re paying for.
For almost every project, especially when going over new drywall or making a big color change, professionals will always apply two full coats. The marketing is about convenience and better performance, not about skipping the fundamentals.
How Long Should I Wait Between Applying Coats of Paint?
Patience here is non-negotiable. Rushing the recoat time is a classic DIY mistake that can ruin a perfectly good paint job. For most water-based latex paints—the go-to for interior projects—you should wait 2 to 4 hours before applying the next coat.
But here's the critical part: always check the specific instructions on the paint can. Recoat times vary by brand, formula, and most importantly, the weather.
In the humid summers we get along the Connecticut coast, extending that wait time to a full 4-6 hours is a smart move. High humidity slows everything down, meaning the paint takes much longer to cure properly.
If you jump the gun and apply that second coat too soon, you can literally pull the first layer right off the wall. This leads to ugly bubbling, peeling, or a tacky, uneven texture that’s a nightmare to fix. And if you're using oil-based paints, the wait is much longer—plan on a full 24 hours between coats.
If My First Coat Looks Perfect, Do I Really Need a Second?
It’s tempting, isn't it? You’ve just finished the first coat, you step back, and it looks pretty darn good. Why do it all over again? The answer is a definite yes, and that second coat is your insurance policy for both beauty and durability.
What looks perfect in one light can reveal subtle streaks, faint roller marks, or an uneven sheen called “flashing” the moment the morning sun hits it from a new angle. These little imperfections are often invisible until the paint is fully cured and you see it in different lighting.
Even more importantly, the second coat doubles the thickness of the protective paint film. This is what gives you the scrubbability, stain resistance, and overall toughness that makes a paint job last. For a finish that can stand up to the realities of a busy home, that second coat is non-negotiable.
How Many Coats of Paint Do Kitchen Cabinets Need?
Kitchen cabinets are in a league of their own. They are high-impact, high-touch surfaces that demand an extremely robust finish. Unlike a quiet bedroom wall, they have to endure daily abuse from hands, cooking splatters, and constant opening and closing. Skimping here will lead to chips, peels, and a lot of regret.
The process for painting cabinets is meticulous for a reason. After you’ve done the crucial prep work—thorough cleaning, degreasing, sanding, and applying a high-adhesion bonding primer—plan for a minimum of two topcoats. Make sure you're using a premium cabinet-grade paint, like a urethane-alkyd enamel, for the best results.
In fact, many pros (including us) will often apply a third thin coat for maximum durability. This is especially important for the high-wear spots around knobs and pulls. When it comes to cabinets, more is definitely better. The extra time and material pays for itself with a factory-like finish that looks beautiful for years.
Ready to transform your space with a flawless, durable finish? The experts at CP Painting Company deliver precision and quality for homeowners and businesses throughout Stamford, CT, Fairfield County, and Westchester County. Get your free estimate from us today!


