
So, you're thinking about painting your home's brick exterior. It's a big decision, and it’s about so much more than just picking a new color. Done right, it can completely transform your home's look, boost its curb appeal, and—most importantly—protect your investment for years to come.
A fresh coat of paint can take a dated facade and give it a clean, modern feel that makes it a standout in the neighborhood. We've seen it time and time again.

But the real value, especially for homeowners here in Connecticut and New York, is the protection a proper paint job offers. Our weather is tough, with constant freeze-thaw cycles, driving rain, and sticky humidity. That's where painting becomes more than just a cosmetic upgrade.
It's All About Protection
Here's something a lot of people don't realize: unsealed brick is porous. It acts like a sponge, soaking up moisture. Over time, that can lead to some serious, and seriously expensive, problems.
- Moisture Damage: When water gets trapped inside the brick and freezes, it expands. This causes the face of the brick to flake or crumble off, a process called spalling. It also wrecks the mortar, which can threaten the structural integrity of your walls.
- Efflorescence: Ever see that chalky white powder on a brick wall? That's efflorescence. It happens when water seeps into the brick, dissolves the natural salts inside, and then evaporates on the surface, leaving the salt deposits behind. It's a clear sign you've got a moisture problem.
- Mold and Mildew: Damp, shady brick is the perfect breeding ground for mold and mildew. Not only is it ugly, but it can also be a health concern for your family.
A professional paint job acts as a shield. The key is using the right materials that create a barrier against water getting in, while still allowing any moisture already trapped inside the brick to get out.
The single biggest mistake we see is people using standard exterior paint on brick. It’s like wrapping your house in a plastic bag. It traps moisture, causing the brick to rot from the inside out and the paint to peel and fail in just a couple of years. You absolutely have to use a breathable, mineral-based or high-quality acrylic masonry paint.
Knowing how to paint your brick exterior correctly is all about ensuring it lasts. This guide will walk you through the entire process, from properly evaluating your brick to picking the right paint, so you can achieve a durable, professional-grade finish that adds real value and beauty to your home.
Prepping Your Brick for a Perfect Finish
I’ve seen it a hundred times: a beautiful, expensive coat of paint starts peeling off a brick house in less than two years. The reason is almost always the same—the prep work was rushed or skipped entirely. A great paint job isn't about the final coat; it’s about the hard work you put in before the can is even opened.
Think of it this way: what you do now determines whether your paint job lasts a decade or just a single season. This is the single most common failure point for DIY projects, but taking the time to get it right is the secret to a professional, long-lasting finish.
First, Play Detective: Inspect and Repair Your Brick
Before you even think about paint colors, grab a coffee and take a slow walk around your house. You're looking for any signs of trouble that paint will only cover up, not fix. Water is the enemy of any masonry project, and these clues will tell you if it's already causing problems.
Here’s what to look for:
- Crumbling Mortar: Poke at the joints between the bricks. If the mortar is soft, cracked, or falling out, it needs to be repaired. This process is called repointing or tuckpointing, and it’s absolutely critical for keeping water out.
- Spalling: See any bricks where the face is flaking, chipping, or popping off? That’s spalling, a clear sign that moisture has gotten inside, frozen, and expanded. Painting over spalling brick is a waste of time and money; the paint will just fall off with the damaged surface.
- Efflorescence: Notice a chalky, white powder on the surface? That’s efflorescence. It's salt left behind as water evaporates out of the brick, and it's a flashing red light for an active moisture issue that has to be solved first.
Ignoring these problems is like putting a small bandage on a major wound. You have to fix the source. Painting over bad mortar or efflorescence traps moisture, which will rot the brick from the inside out and guarantee your new paint job fails.
Proper prep is the first step toward getting the results you want. It’s what protects your home and boosts its value.
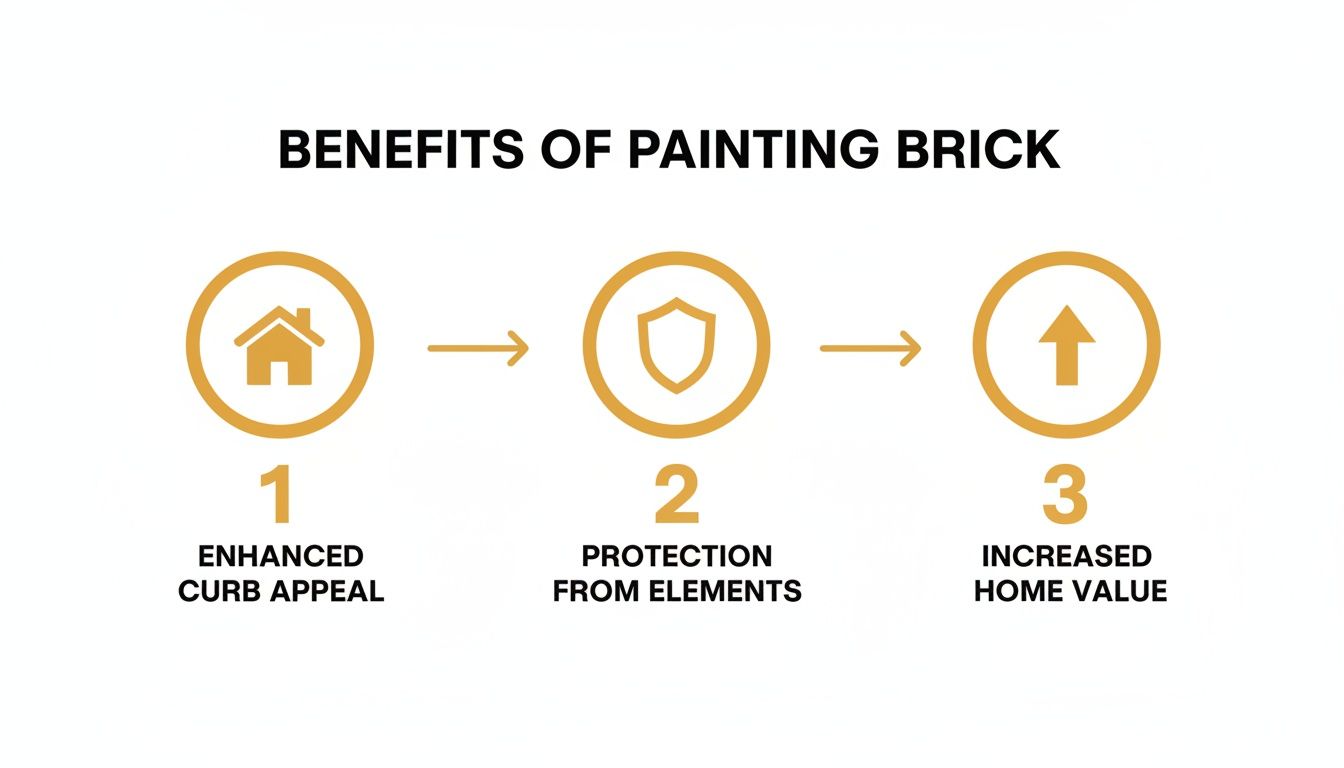
As you can see, a great paint job starts with a solid foundation, leading to better curb appeal, crucial protection for your brick, and an increase in your home's overall value.
A Deep Clean Is Non-Negotiable
After your repairs have fully cured, it’s time for a thorough cleaning. Every bit of dirt, mildew, and grime has to go, or the primer simply won’t stick. For minor dirt, you might get away with a bucket of TSP (trisodium phosphate) solution and a stiff, non-metallic brush.
For years of built-up grime, a pressure washer is your best friend—but you have to be careful. Too much pressure will blast away mortar and permanently scar the face of the brick.
Pressure Washer Best Practices
| Setting/Technique | Recommendation | Why It Matters |
|---|---|---|
| Pressure (PSI) | 1,200 – 1,500 PSI maximum | Prevents gouging the brick or blowing out mortar. |
| Nozzle Tip | Use a 25 or 40-degree fan tip | Disperses the water stream for a gentler clean. |
| Distance | Keep the nozzle 12-18 inches from the wall | Reduces the direct force of the water on the surface. |
Once you’re done washing, give the walls a final rinse with plain water from your garden hose to remove any cleaning residue. You need a completely clean surface for the next steps.
The Critical Drying Period
This is the hardest part for any homeowner eager to see results: you have to wait. Brick is like a sponge; it soaks up a massive amount of water. If you paint over it while it's still damp, you're trapping that moisture inside. As it tries to escape, it will push the paint right off the wall, causing bubbles and massive peeling.
So, how long do you wait? It depends on the humidity, sun, and airflow, but plan on at least 2 to 4 full days of dry weather. My rule of thumb is to wait until the brick looks and feels bone-dry, then add one more sunny day just to be safe.
Patience here pays off. The painting and wall covering contractors market is projected to grow from $229.73 billion in 2025 to $237.54 billion in 2026, a trend driven by homeowners who want a quality finish that lasts. In our service areas of Stamford, CT, and across Fairfield County, we know that professional prep work prevents up to 30% of moisture-related facade damage. For more on industry trends, you can explore the full research on painting contractor growth.
Choosing the Right Primer and Paint
You’ve done the demanding prep work, and now it's time for the rewarding part. But walking into a paint store can be overwhelming. For a brick exterior, the choices you make here are absolutely critical. Using the wrong primer or paint is the fastest way I've seen homeowners undo all their hard work, leading to peeling, bubbling, and trapped moisture.
The entire success of your project hinges on two things: proper adhesion and breathability. Your primer gets you the first, and your paint delivers the second. Get these right, and you're on your way to a finish that looks incredible and protects your home for years.
The Foundation: A High-Quality Primer
Trust me on this: you cannot skip priming brick. It’s non-negotiable. Brick is incredibly porous and has a high pH—it's alkaline—which can literally eat away at standard paint. This is why you need a specialized alkaline-resistant masonry primer.
Think of this primer not as just a base coat, but as a problem solver. It seals that porous surface, stopping the brick from soaking up your expensive topcoats like a sponge. It also creates a neutral, stable surface for the paint to grab onto, ensuring a strong bond and preventing a chalky, uneven finish.
A good masonry primer acts as the ultimate mediator between your brick and the paint. It stops the brick’s natural alkalinity from attacking the paint film and ensures the bond is strong enough to withstand Connecticut's freeze-thaw cycles and humid summers.
Applying one solid coat of a quality masonry primer, like KILZ 2 Latex Interior/Exterior Primer, will save you from needing a third or even fourth coat of paint later. That’s a real savings in time, money, and frustration.
Breathability Is Everything for Exterior Brick Paint
Now for the main event—the paint itself. The single most important quality for any paint you put on brick is breathability, or what pros call vapor permeability. Your brick walls need to breathe. They have to release any moisture that gets inside, and if your paint traps that water vapor, you're heading for disaster. Trapped moisture leads directly to spalling (flaking brick), mold, and catastrophic paint failure.
You really have two main options for breathable paint on brick exteriors.
- Mineral-Based Paints: These are the classic, time-tested choices like limewash and silicate paints. They don’t just sit on the surface; they form a chemical bond with the brick, becoming part of the masonry itself. This gives you maximum breathability and a beautiful, natural matte finish that ages gracefully.
- High-Quality Acrylic Latex Paints: Modern formulas have come a long way. The best acrylic latex paints designed for masonry are highly durable, flexible, and engineered to be vapor permeable. They offer great color retention and are often a bit more user-friendly for DIYers to apply.
It is absolutely crucial to select a paint specifically labeled for masonry or stucco and brick. Products like Behr Masonry, Stucco & Brick Paint or Romabio Masonry Flat are designed with the right balance of durability and breathability. Whatever you do, avoid standard exterior house paint. It will fail.
Exterior Brick Paint Comparison
To help you decide, let's break down the two main categories. The choice between a mineral-based paint and an acrylic latex often comes down to the look you want, your budget, and how you feel about long-term maintenance. A historic home in Fairfield County might look stunning with a classic limewash, while a more modern structure could benefit from the crisp finish of an acrylic.
| Paint Type | Key Feature | Best For | Average Lifespan |
|---|---|---|---|
| Mineral Paint (e.g., Limewash) | Exceptional breathability; penetrates the brick. | Achieving a timeless, matte, or patinaed look. | 15-20+ years, may need refreshing. |
| Acrylic Latex Masonry Paint | Durable, flexible, and easy to apply. | A uniform, solid color finish with wide availability. | 7-15 years. |
Ultimately, both are excellent choices when you follow the manufacturer's instructions to the letter. The key takeaway is this: read the label and ensure the product you choose is specifically designed for porous, alkaline surfaces. This careful selection is what guarantees your painted brick will not only look fantastic but will also stand up to whatever our New England weather throws at it.
Application Techniques The Pros Actually Use
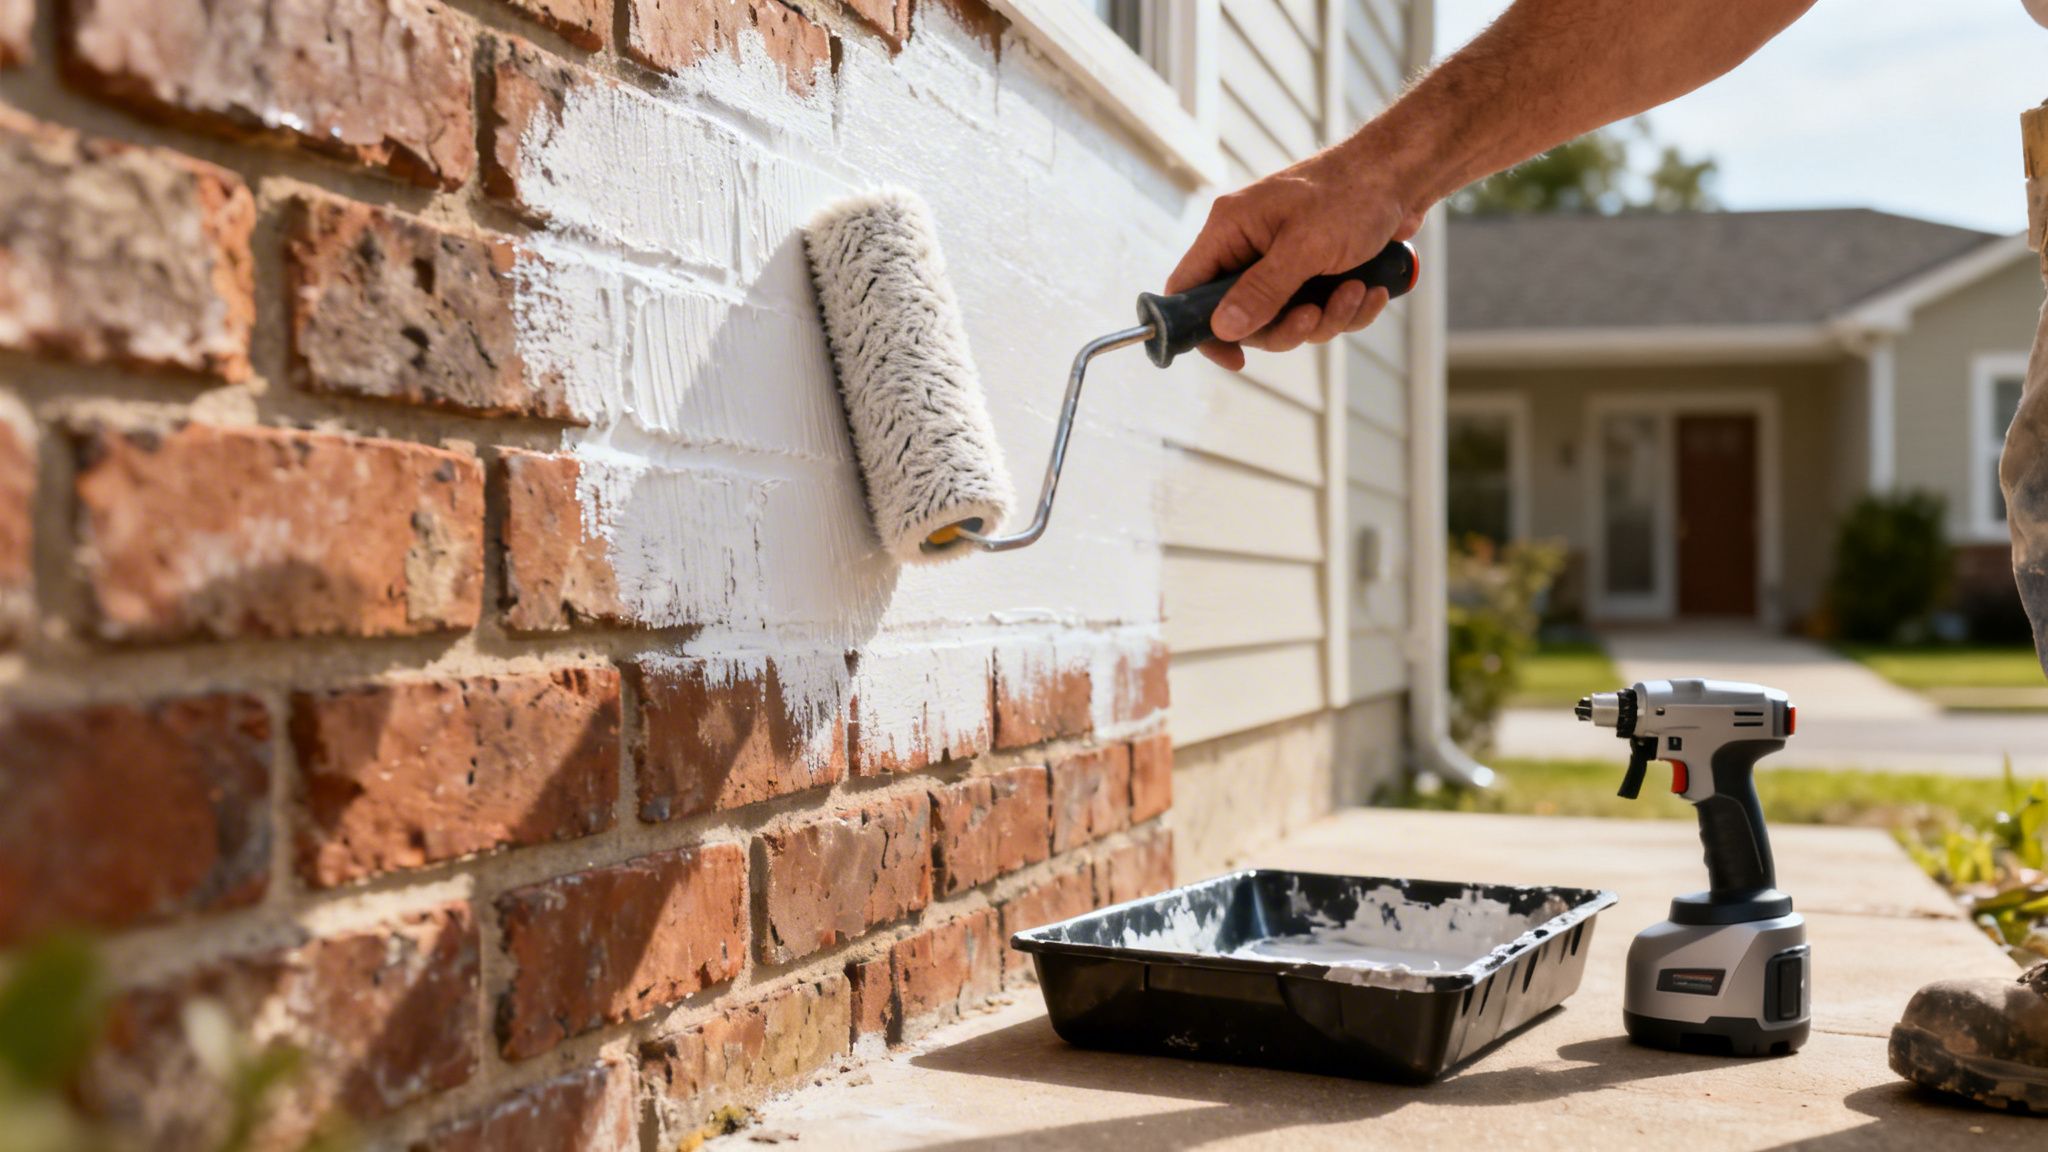
With your surfaces prepped and materials ready, it’s time to get that paint on the wall. The method you choose isn’t just about speed—it dramatically affects the final look and how long your paint job will last. We'll go beyond the basic instructions and share the real-world techniques our pros use that make all the difference.
Your first big decision is the tool. The three main players are the roller, the brush, and the airless paint sprayer. Each has its job, and honestly, the best results often come from using a combination of all three.
Mastering The Roller And Brush Method
For most DIY projects and smaller homes, you can't go wrong with the classic roller-and-brush combo. But the secret isn’t in the rolling; it’s in the roller itself. Brick is incredibly textured, and a standard roller will skate right over the pits, pores, and mortar joints, leaving you with a spotty mess.
You absolutely must use a high-nap roller, something with a pile depth between ¾-inch and 1¼ inches. This thick, shaggy texture is what pushes paint deep into the brick’s surface and fills those recessed mortar lines for complete coverage.
Here’s how our team approaches it:
- Load It Right: Get the roller fully saturated in your paint tray, then roll it back over the ribbed section a few times. You want it loaded, not dripping. An overloaded roller is just asking for drips and runs down your wall.
- Work in Sections: Focus on small, manageable areas, about 4×4 feet at a time. This helps you maintain a "wet edge," which is crucial for preventing the ugly lap marks that appear when wet paint overlaps dry paint.
- Back-Brushing Is Non-Negotiable: After you roll a section, immediately grab a quality nylon/polyester brush and work the paint into the mortar joints. This technique, called back-brushing, forces paint into every crevice and smooths out any thick spots the roller left behind.
I can't stress this enough: cutting in around windows, doors, and rooflines is where a steady hand with a brush pays off. A 2.5-inch angled sash brush is your best friend for creating those crisp, clean lines that give the whole project a sharp, professional finish.
The roller-and-brush method gives you fantastic control and a thorough finish, but be warned: it’s hard work. On a larger home, this approach can easily add days to your project.
When To Use A Paint Sprayer
For pure speed and efficiency, nothing comes close to an airless paint sprayer. A sprayer atomizes the paint, laying down a fine, even coat that covers huge areas in a fraction of the time. It’s a game-changer for getting paint into deep mortar joints and rough brick textures in a single pass.
However, a sprayer isn’t a point-and-shoot solution. There’s a learning curve to applying an even coat without causing drips or "hot spots" where the paint is too thick. You can see how the pros do it in this visual guide on proper spraying techniques.
If you decide to go with a sprayer, these tips are critical:
- Mask Everything: And I mean everything. Overspray is the biggest downside of a sprayer, and it will find its way onto windows, trim, your neighbor's car… you name it. Take the time to thoroughly mask off anything you don’t want painted.
- Keep It Moving: Hold the sprayer tip about 10-12 inches from the wall and use a steady, consistent sweeping motion. Overlap each pass by about 50% to guarantee an even coat without visible lines.
- Back-Rolling Is Still A Must: Even when spraying, best practice is to have a second person follow behind with a roller (this is called back-rolling). It does two things: it pushes the paint firmly into the brick’s pores for a stronger bond and gives the finish a more uniform texture.
Applying Thin Coats And Respecting Dry Times
Whether you’re rolling or spraying, the goal is always to apply thin, even coats. Slapping on a thick coat might feel like a shortcut, but it’s more likely to sag, drip, and take forever to cure. The professional standard is simple: one full coat of primer, followed by two thin topcoats of paint.
Patience is a virtue, especially when it comes to drying. Always check the paint can for the manufacturer’s recommended recoat times. If you jump the gun and apply the second coat before the first is ready, you risk pulling up the bottom layer and creating a real mess.
Proper painting is all about protection. The global market for brick cladding systems was valued at USD 248.9 billion in 2023 and is only growing, largely because protecting these systems is so vital. A quality paint job seals porous brick, slashing water absorption by up to 90% and preventing costly moisture damage that affects an estimated 15-20% of untreated brick structures each year. For instance, on our projects in Westchester County, NY, our team often uses specialized elastomeric coatings to give brick homes the flexibility they need to survive the region's harsh freeze-thaw cycles.
Avoiding Common Mistakes and Maintaining Your Finish
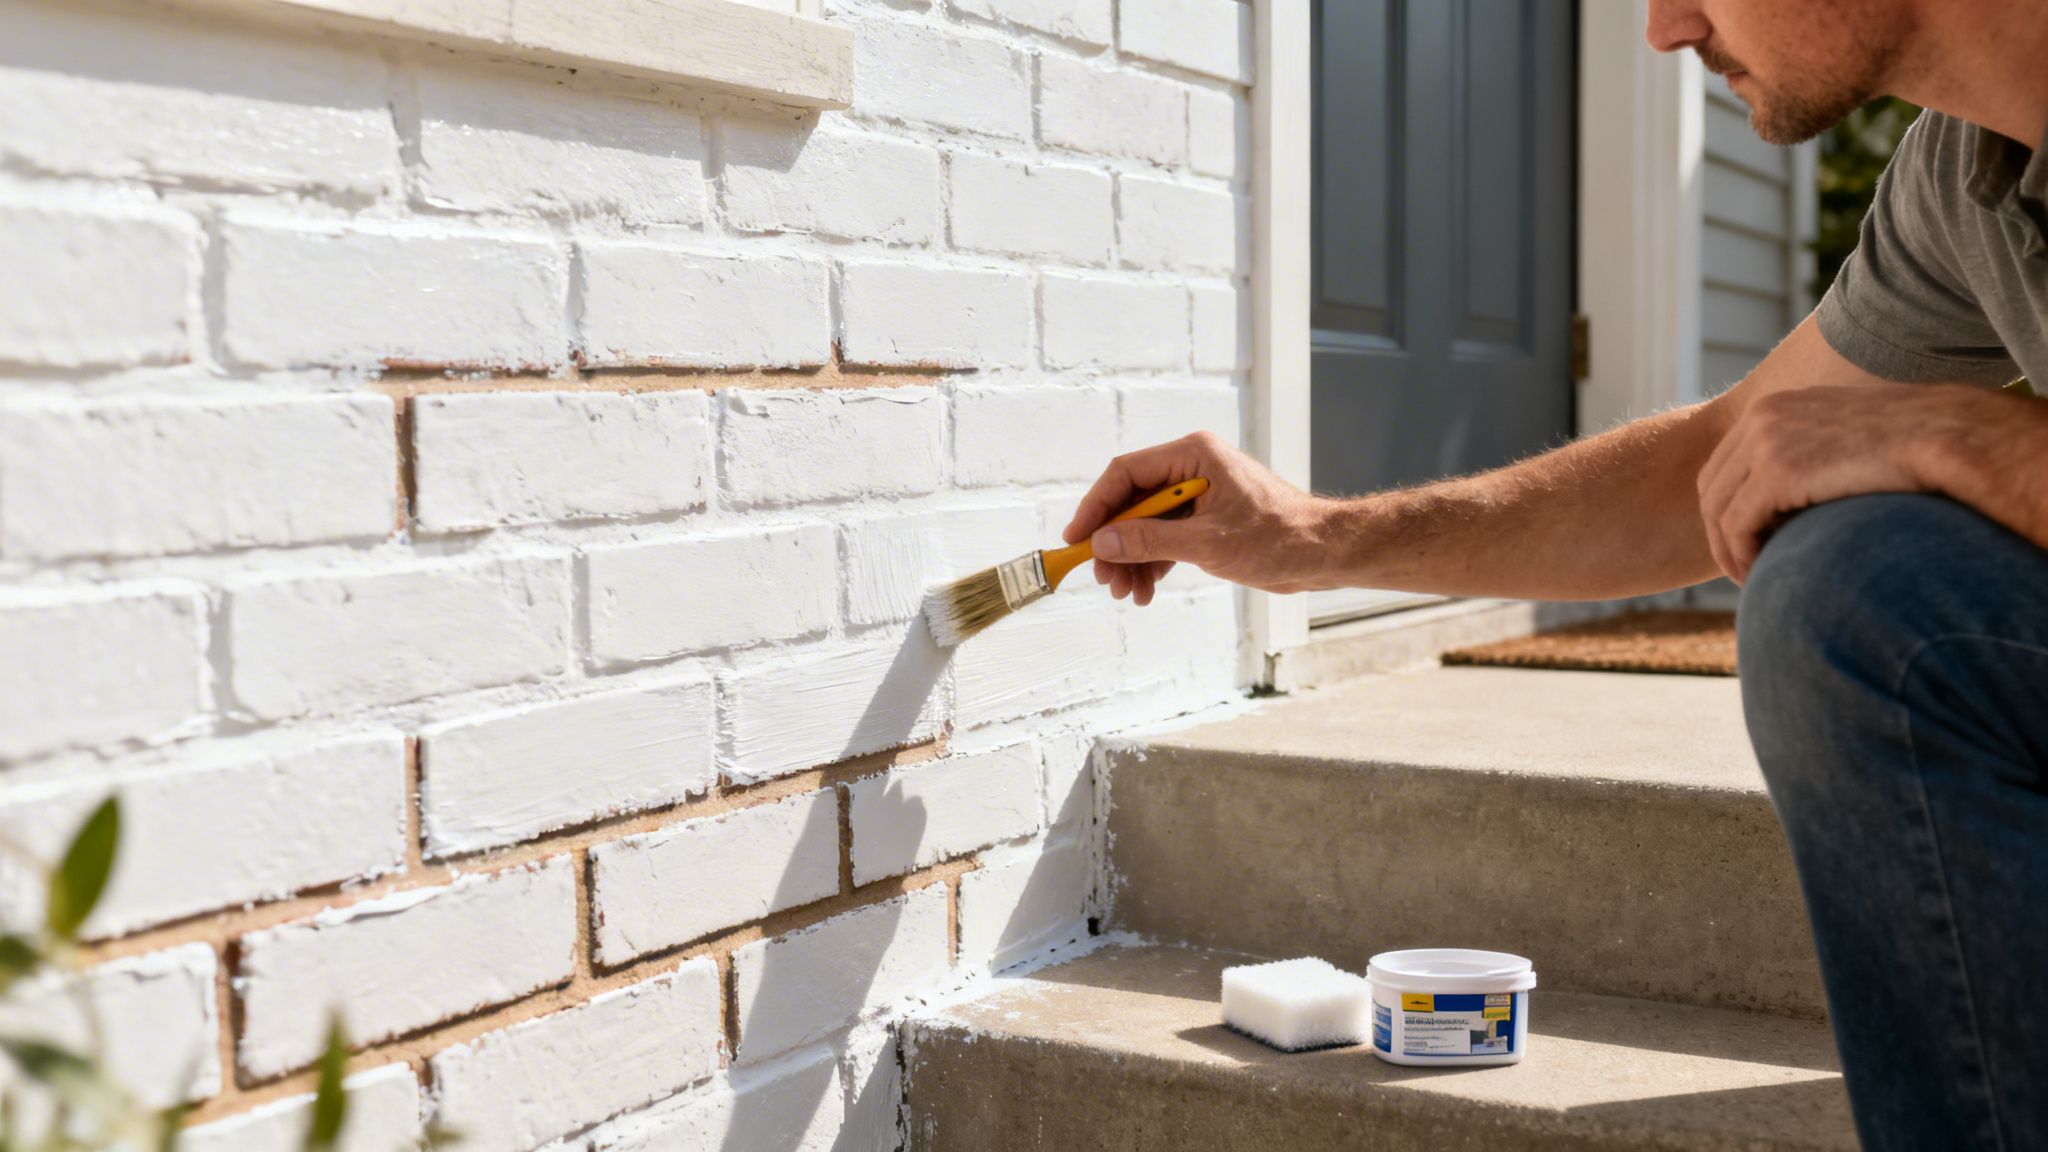
You’ve put in the hours—the prep, the painting—and your brick exterior looks fantastic. But all that hard work can be undone by a few common, and completely avoidable, mistakes that turn a beautiful finish into a peeling nightmare.
Knowing how to paint a brick exterior is as much about dodging these traps as it is about the application itself. This is where your investment of time and money is either protected for years or wasted in a single season. Let's cover the absolute "don'ts" of brick painting and then talk about how to keep that finish looking flawless.
The Most Common—And Costly—Painting Mistakes
The difference between a paint job that lasts a decade and one that fails in a year often comes down to sidestepping a few critical errors. These aren't just minor cosmetic issues; they can lead to major problems that damage both the paint and the brick underneath.
- Painting on Damp Brick: This is the cardinal sin of exterior painting. If you apply primer or paint to a brick wall that hasn't completely cured and dried, you're essentially trapping moisture inside. As that water vapor tries to escape, it will literally push the paint right off the surface, causing bubbles, blisters, and massive peeling.
- Skipping the Masonry Primer: We can't stress this enough. Brick is porous and has a high pH (alkaline). Applying regular paint directly to it is like building a house on a foundation of sand. Without a proper alkaline-resistant masonry primer, the paint simply won't bond correctly and is guaranteed to fail.
- Using the Wrong Kind of Paint: Grabbing standard exterior paint off the shelf is a recipe for disaster. Most house paints create a non-permeable film that suffocates the brick, trapping any moisture that gets in and causing the brick to crumble from the inside out. You must use a breathable paint, like a mineral-based product or a high-quality acrylic latex specifically made for masonry.
The real-world consequence of these mistakes? A finish that fails within just two to three years, forcing you to strip everything off and start from scratch. It's an expensive, frustrating lesson that’s easily avoided by doing things right the first time.
Your Long-Term Maintenance Schedule
A freshly painted brick home looks incredible, but the job isn't quite finished when you put the brushes away. A simple, proactive maintenance plan is the key to making that paint job last and keeping it looking sharp. Think of it as easy annual upkeep to protect a major investment.
Here's a straightforward schedule our pros recommend:
- Annual Gentle Wash: Once a year, usually in the spring, give your painted brick a gentle cleaning. A simple rinse with a garden hose is often enough to wash away dust and pollen. For any stubborn grime, use a soft-bristled brush with a mild, pH-neutral detergent and rinse it thoroughly. Never use a pressure washer, harsh chemicals, or aggressive scrubbing.
- Inspect for Damage: While you're cleaning, take a walk around and do a visual inspection. Look closely for any small chips, cracks, or spots where the paint might be compromised from minor impacts or settling. Pay extra attention to corners, window sills, and areas near gutters and downspouts.
- Perform Touch-Ups Promptly: The secret to a long-lasting finish is tackling small issues before they become big problems. If you find a small chip, clean the spot, lightly sand the edges of the intact paint, and use a small artist's brush to apply a dab of primer followed by your topcoat. This simple step prevents moisture from getting behind the paint film and causing wider failure.
The global market for exterior paint is expected to hit USD 27.1 billion by 2034, a clear sign that homeowners are investing in durable, attractive finishes. Hiring professional painters in areas like Middlesex County or Tolland County ensures your project benefits from decades of experience, meets all Connecticut Department of Consumer Protection standards, and avoids common issues like efflorescence or peeling that plague roughly 25% of DIY jobs. You can learn more about the demand for quality exterior coatings by reviewing the latest market analysis.
When to Hire a Professional Painter
There’s nothing quite like the satisfaction of a DIY project, but painting a brick exterior is a whole different ballgame. Knowing when to trade your roller for a phone call can be the smartest decision you make for your home—and your sanity. Some jobs just have "professional" written all over them from the start.
For starters, any multi-story home immediately ramps up the safety risks and logistical headaches. If you’re looking at working off tall ladders or renting scaffolding, it’s a job best left to insured professionals who navigate those heights every day. Likewise, if your initial inspection turned up widespread damage like crumbling mortar or spalling brick, you're dealing with underlying issues that need an expert touch before a single drop of paint is applied.
The Value of Professional Expertise
Hiring a contractor isn't just about getting the job done faster; it's about guaranteeing a high-quality finish that actually lasts. Pros bring an efficiency and arsenal of equipment that’s simply out of reach for most homeowners.
Here's what you're really paying for with a pro:
- Commercial-Grade Equipment: We're talking high-end airless sprayers and proper scaffolding that deliver flawless, even coverage in a fraction of the time it would take with a roller.
- Deep Product Knowledge: An experienced painter knows exactly which breathable paint systems and primers stand up to Connecticut's demanding climate. This isn't a guessing game.
- Guaranteed Results: Professionals understand that perfect prep is everything. This is how you avoid the common pitfalls that cause 90% of all paint failures, like bubbling, peeling, and fading just a few seasons later.
Ultimately, hiring a professional painter buys you peace of mind. They handle the entire process, from navigating local regulations with the Connecticut Department of Consumer Protection to ensuring a finish that protects your investment for a decade or more.
If the scope of your project feels overwhelming or you’re unwilling to settle for anything less than a perfect finish, it's time to get a professional estimate. You can see the kind of durable, high-quality finish we deliver on exteriors like yours.
Frequently Asked Questions About Painting Brick
Even after laying out the whole process, a few questions always seem to pop up. As a painter, I hear the same concerns from homeowners time and again. Let's tackle them head-on so you can feel confident about your project.
Is It Really a Bad Idea to Paint a Brick House?
This is probably the biggest myth out there, and it comes from seeing paint jobs go horribly wrong. The horror stories are true, but they all have one thing in common: the wrong paint or a rushed prep job.
Problems start when someone slaps a standard, non-breathable paint over unprepared brick. Moisture gets trapped behind that paint layer, and it has nowhere to go. This is what causes blistering, peeling, and, over time, can even damage the brick itself.
But when you do it right—thoroughly cleaning, repairing, and priming the surface before using a high-quality, breathable masonry paint—it’s a completely different story. A proper paint job acts as a protective shield, guarding your brick from the elements and giving your home a clean, updated look that can seriously boost its curb appeal.
How Long Does Painted Brick Last?
When done correctly with premium materials, a professional paint job on brick can easily last 7 to 15 years. The lifespan really comes down to the quality of the prep work, the specific paint used, and your local climate.
A rushed job with cheap, non-breathable paint might start to bubble and peel in as little as 3-5 years. Taking the time to do it right from the start pays off for years to come.
Can You Pressure Wash Painted Brick?
Yes, but you have to be incredibly careful. If you absolutely must use a pressure washer, stick to a very low-pressure setting—under 1,500 PSI—and use a wide, 40-degree spray nozzle.
Hold the wand at least a foot away from the brick and use smooth, sweeping motions. Too much pressure is a surefire way to blast the paint right off and gouge the brick and mortar underneath. For routine cleaning, a garden hose and a soft-bristled brush are a much safer bet.
What Is The Best Color To Paint A Brick House?
This is where your personal taste comes in, but some colors are classics for a reason. Crisp whites, soft off-whites, and modern grays give a timeless, sophisticated look. We've also seen a huge surge in dark, moody colors like deep charcoal and navy blue, which make a powerful statement.
The key is to consider your home's fixed elements, like the roof color, window trim, and landscaping.
- Always test your colors. Brick’s texture can make paint look different than it does on a flat swatch.
- Paint a small sample on a part of the house that isn't front-and-center.
- Look at the sample at different times of the day to see how it changes in the morning sun versus the evening shade.
This small step makes all the difference and ensures you’ll love the final result.
When you're ready for a flawless, professional finish that protects and enhances your home, trust the experts at CP Painting Company. We bring years of experience and top-tier materials to every project.
Get Your Free Estimate Today


