
If you’ve ever found yourself staring at tired, dated kitchen cabinets and dreaming of a fresh start, you’re not alone. Painting them is one of the smartest, most impactful upgrades you can make to your home, and it’s a project I’ve guided countless homeowners through. It’s about more than just a color change; it’s a full-blown transformation for a fraction of the cost and headache of a total replacement.
With the right approach—which always starts with meticulous prep work—you can get a finish that looks like it came straight from a custom shop.
The Real Value of Painting Your Kitchen Cabinets
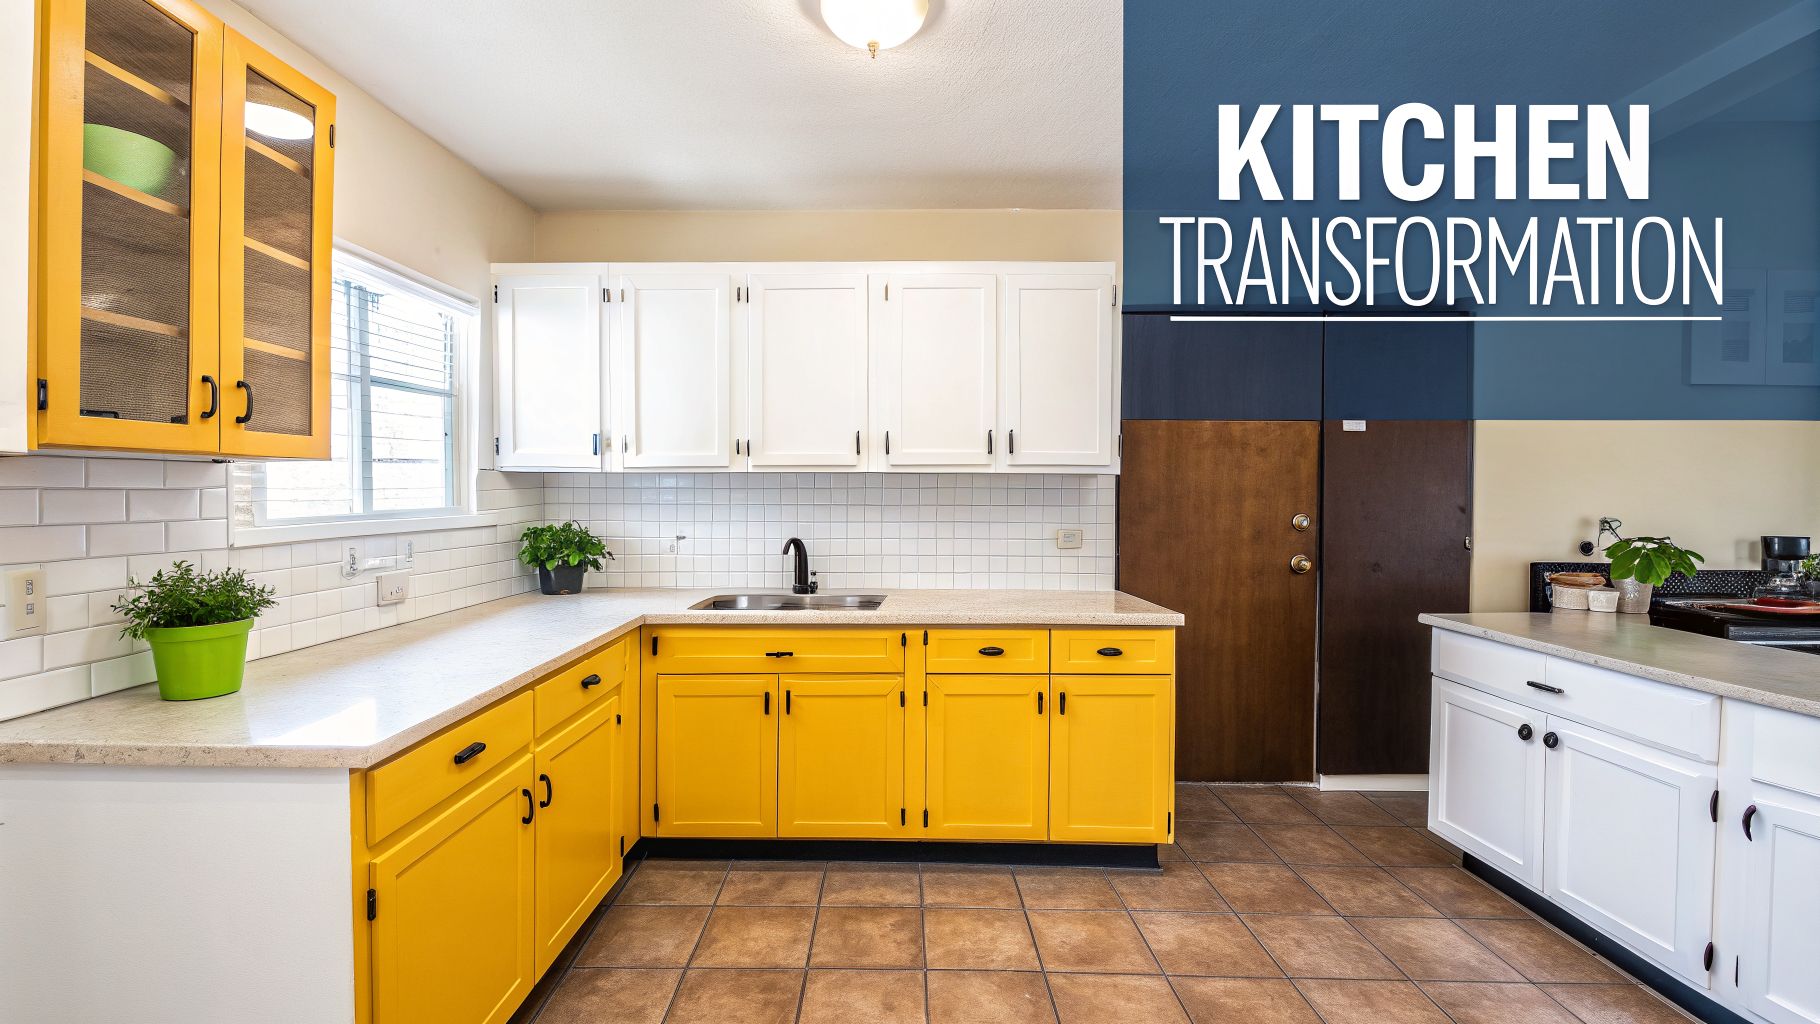
Deciding to paint your cabinets is a fantastic investment. It’s a strategic move that pays off in both daily enjoyment and home equity. A professional-quality paint job can instantly pull a dated kitchen into the modern era, making the entire space feel brighter, cleaner, and more welcoming.
The financial upside is hard to ignore. A complete cabinet replacement is a massive, disruptive project that can easily run into the tens of thousands. Painting, on the other hand, delivers that same "wow" factor for a tiny fraction of the cost.
Maximize Impact and Minimize Cost
This is why we're seeing a huge shift in the kitchen renovation market. Over 70% of homeowners are now opting to refinish their existing cabinets instead of tearing them out. This simple choice can slash project costs by 40-70% when compared to a full replacement. We're talking a project that often comes in under $5,000 versus $15,000 or more for brand-new cabinetry. You can discover more insights about these kitchen cabinet painting trends and see how much homeowners are saving.
This guide is designed to empower you to tackle the project yourself. But for homeowners in Stamford, Fairfield County, and Westchester County who want a guaranteed, factory-like finish without lifting a finger, CP Painting Company is here to help. We manage the entire process, from prep to the final coat, ensuring a durable and beautiful result every single time.
A professional paint job not only revitalizes your kitchen's look but also adds tangible value to your property. It’s a powerful selling point that appeals to modern buyers looking for updated, move-in-ready homes.
Aesthetic Freedom and Future Flexibility
Beyond the immediate savings, painting opens up a world of design possibilities. You are no longer stuck with the honey oak or dark cherry you inherited. This newfound freedom lets you:
- Adapt to Evolving Styles: Want to match new countertops or a trendy backsplash? A simple color change is all it takes—no need for another major renovation.
- Express Your Personality: This is your chance to choose from an endless spectrum of colors. Go for a timeless neutral or a bold, contemporary hue that makes the kitchen uniquely yours.
- Enhance Your Home's Atmosphere: Color is a powerful tool. You can use it to make a small kitchen feel larger, brighten a dark room, or give a basic space a dose of sophistication.
By choosing to paint, you’re not just updating your kitchen for today. You’re giving yourself the flexibility to let it evolve with your style for years to come. This guide will walk you through every step to get it done right.
Gathering Your Tools for a Flawless Finish
A professional-looking cabinet finish isn't something that just happens when you crack open a can of paint. It's the direct result of careful, methodical preparation—and that starts with having every single tool and material you need before you even think about starting. We’ve all been there: that mid-project run to the hardware store for the one thing you forgot. A clear list is your best defense against that frustration.
Think of this as assembling your mission-critical gear. Each item on this list plays a specific, vital role in creating that smooth, durable surface you're picturing. Trust me, investing in quality supplies now will pay you back tenfold in the final look and longevity of your work.
Your Prep and Repair Essentials
This first set of tools is all about creating the perfect canvas. From my experience, skimping on prep is the single biggest mistake you can make. It’s a surefire way to guarantee your new paint job will fail, sometimes within months. This is where you deal with years of accumulated kitchen grime, dings, and other imperfections.
- Degreaser: Your kitchen cabinets are covered in a thin, invisible layer of grease from cooking. You need something strong to cut through it. A trisodium phosphate (TSP) substitute is a fantastic, easy-to-find choice that works wonders.
- Sandpaper or Sponges: You’re not trying to strip the old finish completely, just "scuff" it up. I recommend having both 120-grit for the initial scuff sand and 220-grit for smoothing things out between coats. Sanding sponges are a lifesaver for getting into the detailed profiles on cabinet doors.
- Wood Filler: Have any nicks, dings, or old hardware holes you want to make disappear? A high-quality, paintable wood filler is non-negotiable.
- Painter’s Tape: Don't just grab the cheapest roll. A premium tape like FrogTape or a quality 3M blue tape creates much sharper lines and stops paint from bleeding underneath.
- Drop Cloths and Plastic Sheeting: Protect your countertops, floors, and appliances. I like to use canvas drop cloths on the floor since they're less slippery, and then drape lightweight plastic over everything else.
The goal of sanding isn't to take off the old finish. It's to create a microscopic texture—what we call "tooth"—that gives the new primer a surface to grab onto. This mechanical bond is absolutely critical for long-term adhesion.
The Painting and Finishing Arsenal
With your surfaces prepped, it's time to shift focus to your application tools. The quality of your brushes and rollers will directly translate to the smoothness of your finish. Cheap brushes shed bristles and cheap rollers leave a fuzzy texture, which is the last thing you want on a cabinet door.
You'll need a few specific items designed for fine-finish work, not the standard gear you'd use for painting walls.
Key Application Tools:
- 2-Inch Angled Sash Brush: This is your detail weapon. It's perfect for cutting in clean lines, painting intricate trim, and getting into the corners of recessed door panels.
- 4- to 6-Inch High-Density Foam or Mohair Mini-Rollers: These are the real secret to getting a spray-like finish without a sprayer. They lay down a beautifully thin, even coat of paint and minimize that stippled "roller texture."
- Paint Trays: A couple of small trays that fit your mini-rollers are all you need.
- Painter’s Pyramids: These little plastic tripods are a game-changer. They let you elevate your cabinet doors so you can paint one side, then immediately flip it and paint the other without waiting for it to dry completely. It's a huge time-saver.
Primers and Personal Protective Equipment
Finally, let’s talk about the unsung heroes of any cabinet project: the right primer and the right safety gear. A good primer is your absolute best defense against stains and adhesion failure, while PPE is just common sense.
Choosing the right primer is crucial. For most wood cabinets, especially oak or cherry which are notorious for "tannin bleed," a shellac-based primer like Zinsser B-I-N is your best bet. It blocks stains like nothing else. If you're painting over a slick, non-wood surface like laminate or melamine, you'll need a specialty bonding primer.
And please, don't forget your safety:
- Respirator: This is essential, especially when spraying or working with strong-fumed products like shellac primer. Make sure it has the right cartridges for paint fumes.
- Safety Glasses: A must-have for keeping dust and paint splashes out of your eyes.
- Nitrile Gloves: Protects your hands from chemicals and makes cleanup a breeze.
Once your checklist is complete and your gear is all laid out, you're officially ready to move on to the most important phase of the job—the prep work itself.
Your Guide to Critical Pre-Painting Prep Work
This is the moment that separates a good DIY cabinet painting project from a great one. We’ve all seen paint jobs that start chipping and peeling within a year, and 90% of the time, the failure can be traced right back to rushed or skipped preparation. This isn't the most glamorous part of learning how to paint kitchen cabinets, but it is, without question, the most important.
Think of it like building a house. You wouldn't put up walls on a crumbling foundation. In the same way, you can't expect primer and paint to perform miracles on a surface that's dirty, greasy, or too smooth to grip onto. This phase is all about creating the perfect, pristine canvas for that beautiful new color.
The Art of Systematic Disassembly
Before you unscrew a single hinge, grab a roll of painter’s tape and a permanent marker. This simple step will save you from a massive reassembly puzzle later. Every cabinet door and drawer front in your kitchen is slightly different, and putting one back in the wrong spot can lead to uneven gaps and misaligned hardware.
Here's a simple, foolproof labeling system I use on every job:
- Assign a Number: Start at one end of your kitchen and number each cabinet box sequentially (U1, U2 for uppers; L1, L2 for lowers).
- Label the Door: Place a small piece of tape inside the hinge pocket of the door and write the corresponding number on it (e.g., U1).
- Bag and Tag Hardware: As you remove the hinges and screws from that door, place them in a small zip-top bag and label it with the same number (U1).
This process might seem tedious, but trust me, when it’s time to put your kitchen back together, you'll be incredibly grateful you did it. Re-hanging doors will be a quick and painless process instead of a frustrating guessing game.
The Deep Clean Your Cabinets Deserve
Kitchens are workhorses. Your cabinets are constantly exposed to an invisible film of cooking grease, oils, and grime. Paint simply will not stick to a greasy surface. This makes a thorough degreasing a non-negotiable step.
For this, you need a heavy-duty cleaner. A trisodium phosphate (TSP) substitute or a dedicated degreaser like Krud Kutter is ideal. Mix it according to the directions and, using a scrub sponge or rag, methodically wash every square inch you plan to paint. Pay extra attention to the areas around the stove and the knobs, as these spots collect the most buildup.
After cleaning, wipe everything down with a clean, water-dampened rag to remove any chemical residue.
Remember, you are cleaning for paint adhesion, not just for appearance. Even if your cabinets look clean, they are not. This deep clean ensures the primer can form a strong chemical bond with the surface.
Scuff Sanding for a Superior Grip
Now it’s time for sanding, but let's be clear about the goal here. You are not trying to strip the old finish down to bare wood. The objective is to "scuff" the surface, removing the glossy sheen and creating a fine, microscopic texture for the primer to bite into. In the painting world, we call this creating "tooth."
A 120-grit or 180-grit sanding sponge is perfect for this job. A sponge is better than paper here because it will conform to the detailed profiles and curves of your cabinet doors. Lightly and evenly sand every surface that will be painted. When you’re done, the surface should have a dull, matte appearance.
The core workflow for your prep starts with these crucial cleaning and sanding steps.
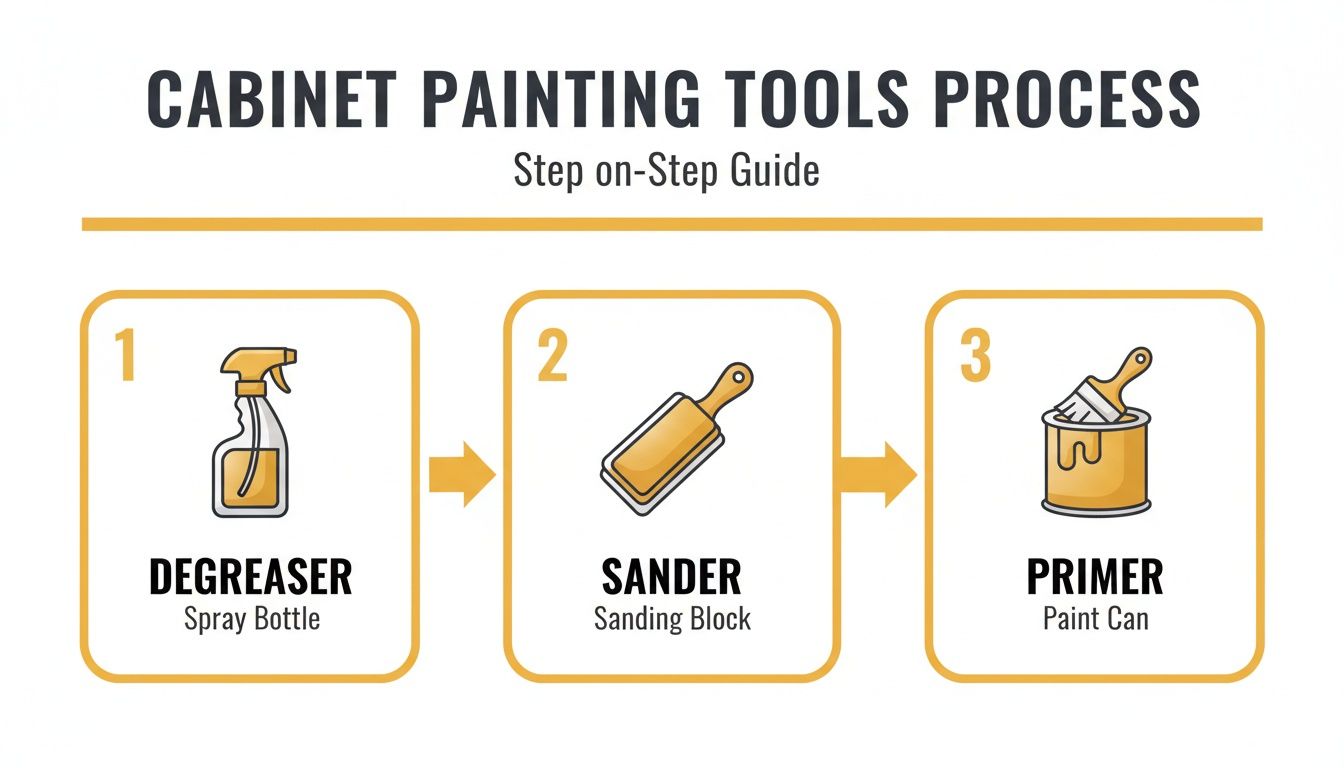
After sanding, you’ll have a fine layer of dust everywhere. Don't wipe it with a damp cloth—that just turns the dust into a muddy paste. Instead, use a vacuum with a brush attachment to remove the bulk of it. Follow up with a quick wipe from a tack cloth to pick up any lingering particles just before you prime.
Creating a Flawless Surface
With your cabinets clean and scuffed, it's time to address any imperfections. Use a high-quality, paintable wood filler to patch any nicks, gouges, or old hardware holes you won't be reusing. Apply the filler with a small putty knife, slightly overfilling the hole to account for shrinkage as it dries.
Once the filler is completely dry, sand it smooth with a 220-grit sanding block, making sure it’s perfectly flush with the surrounding surface. Again, vacuum and use a tack cloth to remove all dust.
The final prep step is taping. Use a high-adhesion painter’s tape to mask off walls, countertops, and the inside edges of your cabinet boxes. Take your time with this to ensure you get perfectly crisp, clean paint lines.
Now, with your prep work complete, you're ready for the transformative part of the project: applying primer.
Choosing the Perfect Paint Color and Sheen
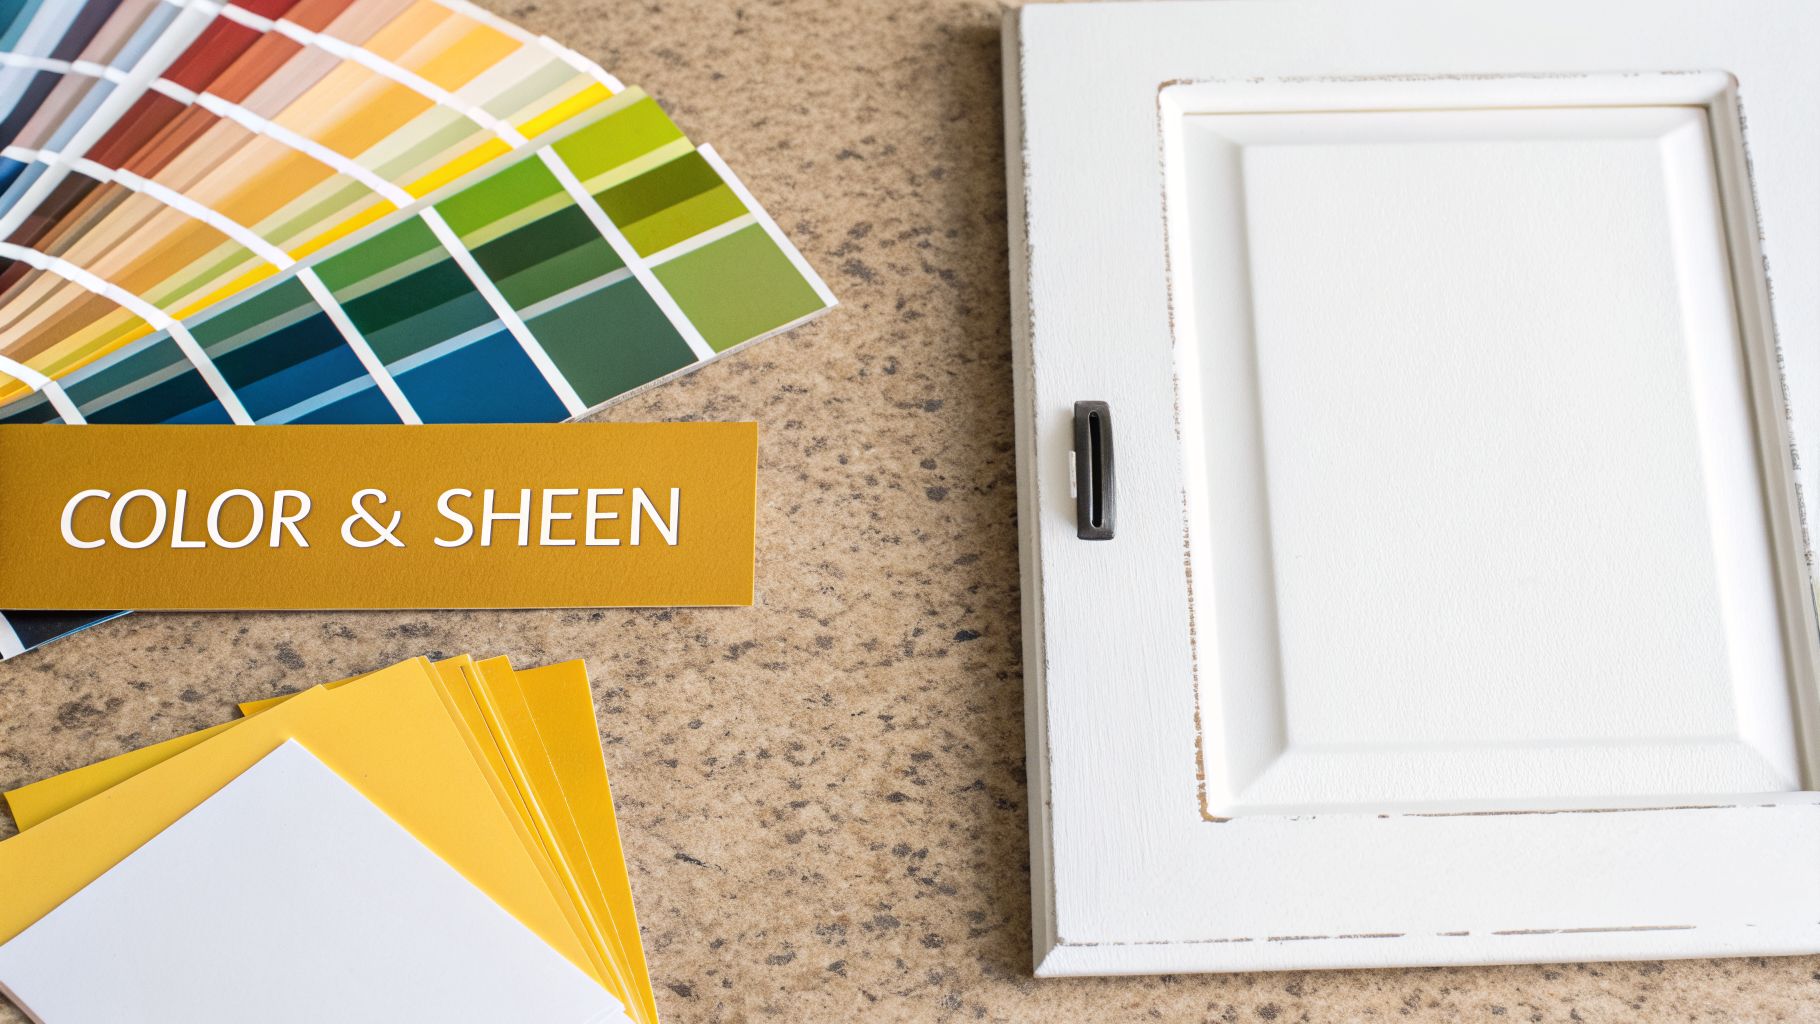
After all that meticulous prep work, you’ve finally made it to the best part of the project—choosing the color and finish. This is where your vision truly starts to come together. The choices you make now will define your kitchen's entire personality for years, so it pays to be thoughtful about both style and real-world durability.
The right color has the power to transform your kitchen from purely functional to absolutely stunning. It sets the mood, whether you’re aiming for a bright and airy feel or something more dramatic and sophisticated.
Finding Your Perfect Cabinet Color
Staring at a wall of paint swatches can feel overwhelming, but looking at current trends is a great way to find your footing. While you should always choose what you personally love, knowing what’s popular can help guide you, especially if you have an eye on your home's future resale value.
Timeless neutrals like warm whites, soft grays, and earthy beiges are always a safe bet, creating a clean, versatile backdrop that never goes out of style. But we're also seeing a major shift toward more expressive colors. Deep, moody greens and sophisticated navy blues have become incredibly popular in kitchens across Connecticut, from New Haven to Fairfield County. These richer tones add a layer of custom-built character that feels both modern and enduring.
Industry data backs this up. A recent kitchen trends report from the National Kitchen & Bath Association (NKBA) found that while 96% of designers still favor neutrals, greens and blues are gaining serious ground, preferred by 86% and 78% of pros, respectively. For anyone painting their kitchen cabinets, this means you can confidently go with a color that feels both personal and on-trend. You can read the full kitchen trends report from NKBA to see what else is shaping modern kitchen design.
Pro Tip: Never, ever choose a paint color based on a tiny chip under the harsh lights of a hardware store. Buy sample pots and paint large swatches on poster board. Move them around your kitchen at different times—see how they look in the morning sun, afternoon shade, and under your artificial lights at night. It's the only way to know for sure.
The Critical Role of Paint Sheen
Once you've locked in a color, your next decision is the paint's sheen, or finish. This is just as important as the color itself, because it directly impacts durability, how easy the surface is to clean, and the final look. In a high-traffic, high-grime area like the kitchen, this is a practical choice, not just an aesthetic one.
Your two best bets for kitchen cabinets are satin and semi-gloss. Here’s a quick guide to help you decide.
Cabinet Finish Comparison Guide
| Finish Type | Appearance | Durability | Best For |
|---|---|---|---|
| Satin | Subtle, velvety glow. Low-reflection. | Good | Hiding minor surface imperfections or downplaying heavy wood grain. Offers a modern, high-end look. |
| Semi-Gloss | Noticeable shine. Reflects light. | Excellent | Maximum durability and easy cleaning in high-traffic kitchens. Makes colors appear slightly brighter. |
Ultimately, if your cabinets have a prominent wood grain you’d rather hide, satin is an excellent choice. If maximum durability and easy cleaning are your top priorities and your cabinet surfaces are smooth, semi-gloss is the undisputed workhorse.
Choosing the Right Type of Paint
Finally, you have to pick the right paint chemistry. In the old days, tough oil-based paints were the go-to for cabinets, but they came with a long list of downsides: harsh odors, high VOCs (volatile organic compounds), and a messy, solvent-based cleanup.
Thankfully, paint technology has come a long way.
Today’s water-based acrylic enamels and urethane-alkyd hybrids give you the best of both worlds. These advanced formulas cure to a hard, durable finish that rivals old-school oil paint, but with the low odor, low VOCs, and easy soap-and-water cleanup of a water-based product. They’re also designed to self-level, which helps minimize brush and roller marks for a smoother, more professional look.
When you’re learning how to paint kitchen cabinets, investing in a high-quality, cabinet-specific paint is one of the smartest moves you can make for a beautiful, long-lasting finish.
Applying Primer and Paint Like a Pro
After all that meticulous cleaning, sanding, and taping, you’ve finally made it to the fun part. This is where your vision starts to become a reality, and all that prep work pays off in a big way. The secret to a finish that looks like it came from the factory is patience.
Rushing the painting stage is probably the most common DIY mistake, and it can completely undermine everything you've done so far. Thin, even coats and proper drying times are your absolute best friends here. Let's walk through the techniques we use to get a smooth, durable finish that will last for years.
The Unskippable Step: Priming Your Cabinets
Think of primer as the critical handshake between your cabinet surface and the final paint color. It’s what ensures your topcoat has a uniform, stable surface to grab onto, guaranteeing a tough bond and a professional look. If you want your hard work to last, skipping primer isn't an option.
Primer does a few crucial jobs:
- Blocks Stains and Tannins: Woods like oak and cherry are notorious for "tannin bleed," where natural oils seep through water-based paint and leave ugly yellow or pink splotches. A high-quality, stain-blocking primer is the only way to permanently seal them in.
- Ensures Powerful Adhesion: Primer is chemically engineered to grip surfaces far better than paint ever could. This creates a tenacious bond that fights off chips and peeling down the road.
- Creates a Uniform Base: It hides minor imperfections and gives you a consistent color foundation. This means you’ll need fewer coats of your more expensive topcoat to get rich, even coverage.
For most wood cabinets, a shellac-based primer is the gold standard because of its incredible stain-blocking power. If you’re working with slick surfaces like laminate or melamine, you'll need a specialty bonding primer designed just for those materials.
Brushing and Rolling vs. Spraying
The biggest decision you'll make during application is how you'll get the paint on the cabinets. Both methods can give you beautiful results, but they cater to different skill levels, budgets, and expectations.
Brushing and Rolling: This is the most accessible method for any DIYer. It requires minimal special equipment and gives you a ton of control. The key is using the right tools—a high-quality 2-inch angled brush for the details and a high-density foam or mohair mini-roller for all the flat surfaces.
Paint Sprayer: Using a sprayer, like an HVLP (High Volume, Low Pressure) system, is the fastest way to get a flawless, glass-smooth finish with zero brush or roller marks. But it comes with a steep learning curve, requires a lot of extra time for masking to control overspray, and involves a much more intensive cleanup process.
For most first-time cabinet painters, I recommend a hybrid approach. Use a quality brush for the detailed inset panels and edges, then immediately go over the flat areas with a high-density foam roller. This combination offers excellent control and a remarkably smooth finish.
Applying Thin, Even Coats of Paint
Whether you're brushing, rolling, or spraying, the golden rule is always the same: two or three thin coats are infinitely better than one thick coat. A thick coat of paint is just asking for drips, sags, and an incredibly long cure time, leaving you with a soft finish that's easy to damage.
Here’s the sequence we follow for painting doors:
- Start with the Back: Always paint the backs of your cabinet doors first. That way, when you flip them over to do the fronts, any minor scuffs from your painter’s pyramids will be on the side no one ever sees.
- Paint the Details First: Use your brush to work the paint into any recessed panels, grooves, or intricate details.
- Roll the Flat Surfaces: Immediately follow with your mini-roller on the flat stiles and rails of the door. This action helps blend everything together seamlessly.
- Maintain a Wet Edge: As you work, always try to paint from a "wet" area into a "dry" one. Overlapping your strokes onto paint that is still wet helps it level out beautifully and prevents those ugly lap marks.
Homeowners are increasingly choosing sustainable kitchen upgrades, driving a 4.7% CAGR in the water-based paints market, which is expected to grow from $24.77B in 2024 to $33.19B by 2032. For us at CP Painting Company, the go-to choice in Stamford, CT, this means delivering green finishes that can slash VOC emissions by up to 80% compared to old-school paints. When done right, a professional finish with quality products can last 10-15 years. You can read more about the growing market for eco-friendly kitchen upgrades.
Finally, respect the dry time listed on the paint can between coats—it's not a suggestion. Rushing this can cause the new coat to re-wet the one underneath it, creating a gummy, frustrating mess. After your final coat, let the paint cure for at least 48-72 hours before you even think about re-hanging your doors and drawers. The longer you can wait, the harder and more durable your new finish will be.
Should You DIY or Hire a Professional?
You now have the full playbook for painting your kitchen cabinets. So, what’s the final call? Is this a project you’re ready to tackle yourself, or is it time to bring in the experts? An honest gut check right now will save you a ton of headaches later. This isn't just about saving a few dollars; it's about what your time is worth and ensuring a result you'll love looking at every day.
A DIY cabinet painting project can be incredibly rewarding, but it’s suited for a certain kind of person. If you've got patience, an eye for detail, and can block off one or two full weekends without life getting in the way, you might be the perfect candidate. A great DIY finish comes down to one thing: following every single prep step without cutting any corners.
When to Call in a Professional
On the other hand, there are some very clear signs that hiring a professional like CP Painting Company is the smarter move. It's not admitting defeat—it's making a strategic investment in your home.
You should seriously consider hiring a pro if:
- Your kitchen is on the larger side. A kitchen with more than 20-25 cabinet doors and drawers is a monster of a project for one person. What a pro can do in a few days could take you weeks.
- You have ornate or detailed cabinets. Those intricate grooves and raised panels look beautiful, but they are a nightmare to sand and paint evenly by hand. A pro with spray equipment can handle them perfectly.
- You absolutely cannot afford mistakes. A professionally sprayed finish is flawless. If you're aiming for that smooth, factory-fresh look, hiring an expert is really the only way to guarantee it.
- Time is your biggest enemy. Remember, your kitchen will be mostly unusable during this project. A pro crew can often get the job done in 3-5 days. A DIY job can easily drag on for a week, sometimes two.
In older homes, especially around Hartford County or Litchfield County, there's a real chance of running into lead-based paint. Professionals are trained in EPA-certified lead-safe practices to keep your family safe and ensure you're compliant with all local Connecticut regulations. This is a huge detail many DIYers don't think about until it's too late.
Hiring a professional is really an investment in peace of mind. You aren't just paying for someone to slap on some paint; you're paying for their expertise, specialized equipment, efficiency, and a durable finish that's backed by a guarantee. For homeowners in our service areas—from Stamford to Westchester County—we pride ourselves on making this an easy and transparent process.
If you're still weighing the pros and cons, the best next step is to get a real number to compare against. We invite you to contact CP Painting Company for a free, no-obligation estimate. It’s the easiest way to make a fully informed decision for your home.
Common Cabinet Painting Questions Answered
Even the most meticulously planned project will have a few head-scratchers along the way. When you’re learning how to paint kitchen cabinets, half the battle is knowing how to troubleshoot on the fly. Let's tackle some of the most common questions we get from homeowners so you can keep your project moving forward.
How Long Does It Take to Paint Kitchen Cabinets?
This is always the first question, and the honest answer is: it depends on your kitchen size and whether you’re brushing or spraying. For the average-sized kitchen, a dedicated DIYer should realistically block out 4-7 days. This timeline isn't just about painting; it covers all the essential prep, multiple coats, and—crucially—the drying and curing time between each step.
A professional crew like ours can usually trim that down to 3-5 days. We have the advantage of efficient systems, dedicated drying racks, and professional-grade sprayers that speed things up considerably without cutting corners.
A key takeaway here is that "dry to the touch" is not the same as "fully cured." Your cabinet doors might feel dry in a few hours, but most modern cabinet paints take up to 30 days to fully harden and develop their maximum durability. Be extra gentle with them for the first few weeks to prevent nicks and chips.
Do I Really Have to Sand Before Painting?
Yes, you absolutely do. But let’s be clear—this isn’t the back-breaking, strip-it-all-down sanding you might be dreading. The goal is what we call "scuff sanding."
All you need to do is lightly go over the existing finish with 120- or 180-grit sandpaper. This quick process dulls the glossy sheen and creates thousands of microscopic grooves, giving the new primer a rough texture—or "tooth"—to bite into. Skipping this step is the #1 reason for a failing paint job; without that mechanical bond, your primer and paint will eventually just peel away.
What Is the Best Paint for Kitchen Cabinets?
Your kitchen cabinets take a beating every day, so you need a paint that's up for the job. Forget standard wall paint. The best products on the market are high-quality acrylic-alkyd hybrids or urethane-reinforced enamels.
These advanced formulas give you the best of both worlds: the hard, durable, self-leveling finish of old-school oil-based paint, but with the easy soap-and-water cleanup and low VOCs of modern water-based products. They are specifically designed to withstand the grease, moisture, and constant contact of a busy kitchen.
Can I Paint Laminate or Melamine Cabinets?
You sure can, but your success hinges entirely on the prep work. Laminate and melamine are slick, non-porous surfaces that standard primer simply can't stick to. It's like trying to paint on glass.
To make it work, you absolutely must use a specialty high-adhesion bonding primer. These primers are chemically engineered to grab onto tough-to-paint surfaces. Once you have a solid coat of bonding primer down, you've created a stable foundation that your topcoats of paint can adhere to beautifully. If you skip this, I can almost guarantee your paint will scratch off with a fingernail.
Authored using Outrank


