
Painting your trim isn't just a final step—it's the detail that gives a room that polished, high-end feel. Anyone who's tackled this knows the difference between a sloppy job and a crisp, clean finish. The secret formula isn't really a secret at all; it comes down to three things: diligent preparation, choosing the right paint and tools, and applying it with professional technique.
Get these steps right, and your DIY project will deliver a huge return on your time, instantly boosting your home's appeal.
Your Blueprint for Professional-Quality Painted Trim
Transforming your trim is easily one of the most impactful DIY projects you can take on. It’s more than just slapping on a fresh coat of paint. It’s about creating clean lines and sharp details that make your entire space feel cohesive and thoughtfully designed.
Think of this process not as a chore, but as a strategic home upgrade. In fact, a quality paint job on interior trim and doors is a project that can really move the needle on your property's value. Data shows that proper trim painting can boost your home's value by up to 109% of the renovation cost, making it one of the smartest improvements you can make. If you're curious, you can discover more insights about the U.S. paint and coatings market and see why meticulous work really pays off.
Choosing Your Paint and Sheen
The two most critical decisions you'll make are your paint type and sheen, as they directly impact both durability and the final look. There's a good reason pros don't just use leftover wall paint on baseboards—trim requires a much tougher formula built to withstand scuffs, bumps, and frequent cleaning.
Pro Tip: Enamel-style paints, especially waterborne alkyds, are the gold standard for trim among professionals. They give you the hard, durable finish of traditional oil-based paints but with the easy soap-and-water cleanup of modern formulas. The best part? Their self-leveling quality helps minimize brush strokes, leaving you with a much smoother result.
Your choice of sheen is just as important. A higher gloss means more durability and an easier-to-clean surface, but it will also highlight every single imperfection in the wood or wall. A lower sheen is more forgiving of flaws but won't be quite as resilient.
Paint and Sheen Selection Guide for Trim
Choosing the right paint and sheen is crucial for durability and aesthetics. This table compares options to help you select the best fit for your project.
| Paint Type | Recommended Sheen | Best For | Durability & Cleanability |
|---|---|---|---|
| Waterborne Alkyd Enamel | Satin or Semi-Gloss | All interior trim, doors, and cabinets for a high-end, durable finish. | Excellent: Cures to a hard, furniture-grade finish that resists scuffs and is easy to wipe clean. |
| Acrylic Latex Enamel | Semi-Gloss or Satin | High-traffic areas like baseboards, door frames, and windows. | Very Good: Flexible and durable, it holds up well to wear and tear. Simple soap-and-water cleanup. |
| Traditional Oil-Based | Semi-Gloss | Exterior trim or interior areas needing maximum durability, but use is declining due to VOCs. | Superior: Extremely hard and resistant to abuse, but requires mineral spirits for cleanup and has a strong odor. |
Ultimately, for most interior projects, a waterborne alkyd or a high-quality acrylic enamel in a satin or semi-gloss finish is your best bet. It strikes the perfect balance between a beautiful look and the toughness needed for everyday life.
Gathering Your Essential Tools and Materials
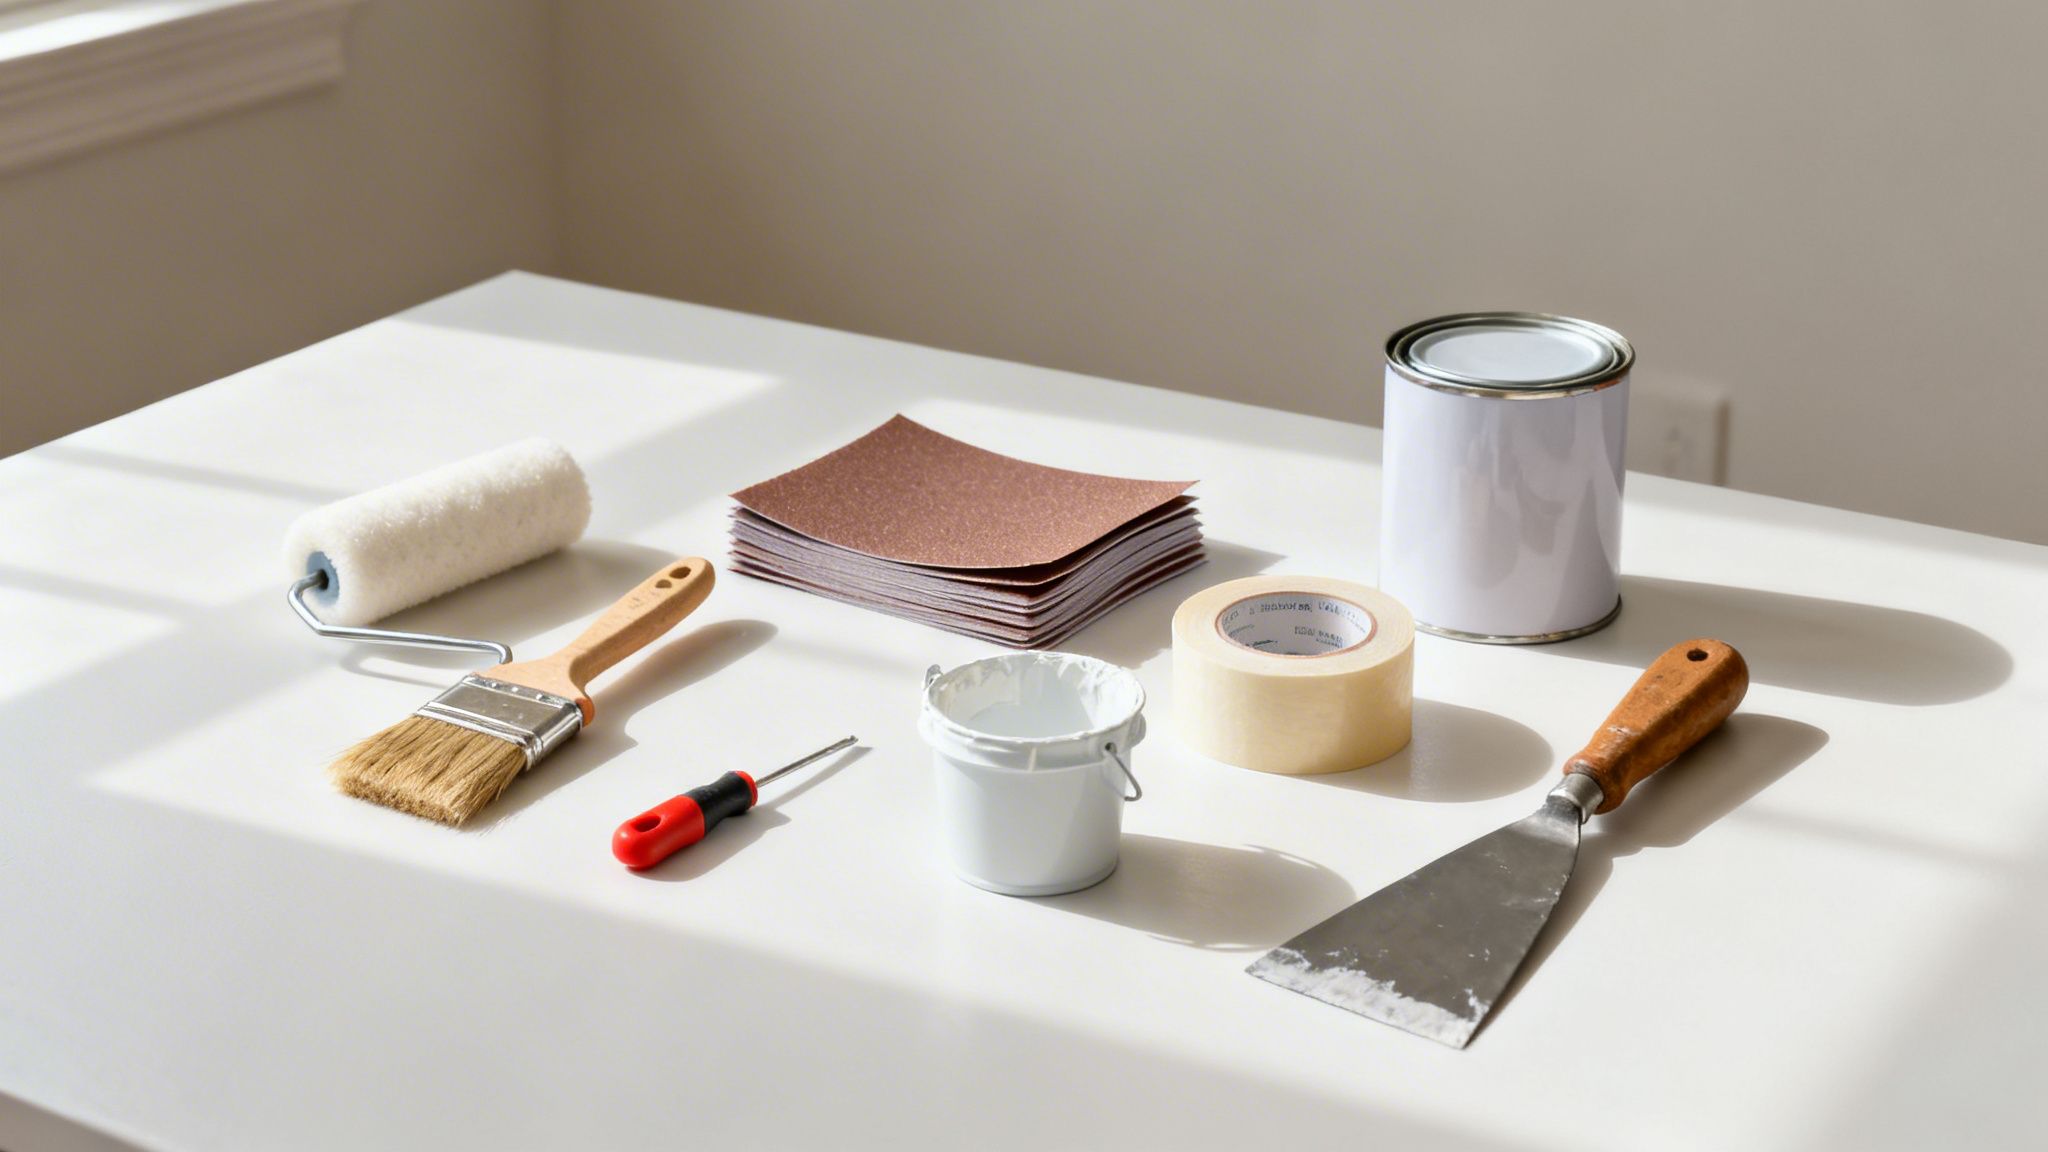
A perfect paint job begins long before a brush ever touches the trim. It all starts with having the right gear, and this is one area where quality makes a world of difference. Instead of just handing you a shopping list, I want to explain the ‘why’ behind each tool, so you understand exactly how it contributes to that flawless, professional finish we’re all after.
Forget trying to paint trim straight from a gallon can. A dedicated paint pail, like a 1-quart mini-pail, is a non-negotiable for any serious painter. It’s lightweight, easy to carry up a ladder, and gives you total control over how much paint you load onto your brush—the absolute key to preventing drips and runs.
Choosing Your Applicators
The tools you use to actually apply the paint are your most important partners on this project. The right brush and roller combo is what will give you those smooth, professional-looking results.
- Angled Sash Brush: For cutting in those sharp lines against walls or navigating detailed trim profiles, a high-quality 2 to 2.5-inch angled sash brush is your best friend. The angled bristles give you superior control for creating crisp, clean edges.
- Mini Foam Roller: On flat, wide surfaces like baseboards or simple door casings, a 4-inch mini roller with a high-density foam cover can lay down an impressively smooth, almost spray-like finish. It’s the secret to eliminating brush marks on those bigger areas.
Choosing the right tools isn't about spending the most money; it's about making smart investments. A quality brush, for example, will not only hold and release paint more evenly but will also last for years with proper care, making it more cost-effective in the long run.
Sanding and Taping Supplies
Prep work is what separates amateur results from professional ones, and that begins with sanding and taping. These steps ensure your paint has something to grab onto and that your lines are razor-sharp.
To create "tooth" for the new paint to grip, you'll need sandpaper. We always start with 120-grit sandpaper for the initial scuff-sanding, especially on old, glossy finishes. It's also smart to keep 220-grit sandpaper handy for a very light sanding between coats, which knocks down any tiny dust nibs and gives you that silky-smooth final feel.
When it comes to painter's tape, they are not all created equal. You have to invest in a quality tape, like FrogTape or 3M ScotchBlue, known for its bleed-resistant technology. A premium tape is your best defense against messy edges and the frustration of paint seeping underneath. You can see more about how we tape for clean, crisp lines in our other expert guides.
Primers and Other Essentials
Finally, don't overlook the foundation of your paint job: the primer. The type you need really depends on the surface you're painting.
- Stain-Blocking Primer: You'll need this for raw wood, especially wood with knots (like pine). It prevents tannins and natural wood resins from bleeding through and discoloring your beautiful new topcoat.
- Bonding Primer: This is absolutely essential for painting over old, slick surfaces like glossy or oil-based paint. It's specifically formulated to adhere where a standard primer would just peel right off.
To round out your toolkit, make sure you have drop cloths to protect your floors, wood filler or spackle for any nail holes, and high-quality caulk to create those seamless transitions between the trim and the wall. Having these essentials ready to go ensures your project will run smoothly from start to finish.
Mastering the Art of Surface Preparation
Ask any seasoned painter their secret to a perfect paint job, and you won’t hear about a magic brush or a special can of paint. They’ll tell you that up to 80% of a great finish is done before you even pop the lid. This is the all-important prep work, and it’s what separates a job that looks good for a few months from a professional-quality finish that lasts for years.
Think of it like building a house—a weak foundation will undermine the entire structure, no matter how beautiful it is. In painting, your prep work is that foundation. Skipping these steps is a surefire way to get peeling, chipping, and a finish that looks tired long before its time.
Start with a Deep Clean
Over the years, trim—especially baseboards, window sills, and door frames—collects an invisible layer of dust, grime, and oils from daily life. Paint simply will not stick to a dirty surface. It's a recipe for failure.
Before you touch a piece of sandpaper, you need to clean every inch of that trim. A bucket of warm water with a few drops of dish soap or a dedicated degreasing cleaner is all you need. Grab a sponge or microfiber cloth, wipe everything down, and then—this is important—rinse with a separate clean, damp cloth to get rid of any soap residue.
A Common Mistake to Avoid: A quick wipe with a dry cloth is not cleaning. That only removes loose dust and leaves behind the very oils and grime that cause paint to fail. Always use a liquid cleaner to properly degrease the surface.
The Critical Role of Sanding for Adhesion
Sanding isn’t about stripping off the old paint. It's about giving the new paint something to grab onto. Most trim has a semi-gloss or satin finish, which is smooth and non-porous by design. Your goal is to "scuff up" that glossy surface, creating microscopic grooves for the new primer and paint to mechanically bond to. We call this creating “tooth.”
You don't need to be aggressive here. A fine-grit sanding sponge or a sheet of 120 to 180-grit sandpaper is perfect. Just apply light, even pressure and sand until the original sheen is gone. You’re just dulling the finish, not removing the color.
After sanding, you’ll have a fine layer of dust that has to go. A tack cloth (a sticky cheesecloth made for this exact purpose) is your best friend here. A vacuum with a brush attachment followed by a damp cloth also works well.
Sealing Gaps with Caulk for a Seamless Look
Now for one of the most satisfying parts of prep: caulking. This is what closes those ugly gaps between your trim and the wall, giving you that clean, seamless, professionally installed look.
Make sure you grab a high-quality, paintable acrylic latex caulk. It stays flexible and cleans up with water.
- Cut the tip: Snip the caulk tube at a 45-degree angle, making a small hole (about 1/8-inch is a good start). A smaller hole gives you way more control.
- Apply steady pressure: Run the tip along the gap, applying smooth, consistent pressure to the caulk gun trigger as you go.
- Smooth the bead: Right after applying, run a damp finger or a caulk-smoothing tool along the bead. This presses it into the gap and wipes away the excess for a clean, concave joint that disappears after painting.
Let the caulk dry completely based on the manufacturer's instructions. If you paint over wet caulk, it will crack and ruin your finish. Be patient.
Making Nail Holes and Dents Disappear
The final prep step is to fill any nail holes, dings, or other imperfections in the trim itself. For small holes, a lightweight spackle or wood filler is exactly what you need.
Using a flexible putty knife, press the filler into the hole, overfilling it just a little to account for shrinkage. Once it’s fully hardened, grab a piece of fine 220-grit sandpaper and sand the patch until it’s perfectly flush with the trim. When you run your finger over it, you shouldn't feel a thing.
This level of detail is what makes a paint job last. Industry data shows that professional trim painting can cut repaint cycles by 40%, extending the life of the finish from every three years to as long as seven. That longevity comes directly from meticulous prep work and proper priming. For a deeper dive into industry benchmarks, you can explore detailed findings on paint and coatings market trends.
With your trim now clean, scuffed, caulked, and filled, you've built the perfect foundation for a stunning, durable finish.
Applying Paint with Professional Technique
Now for the fun part. After all that careful prep work, you’ve finally reached the most rewarding stage of the project—this is where the transformation really happens. Applying paint like a pro isn't about speed. It’s about control, consistency, and knowing how to make the paint and tools work for you.
We'll kick things off with the most important coat: primer. Think of primer as the double-sided tape of the painting world. It's engineered to grab onto that prepped trim surface and create a perfect, uniform base for your topcoat to stick to. Skipping this step, especially on raw wood or glossy old paint, is a recipe for a weak finish that can easily chip or peel down the road.
The prep work you just finished is the foundation for everything that comes next.
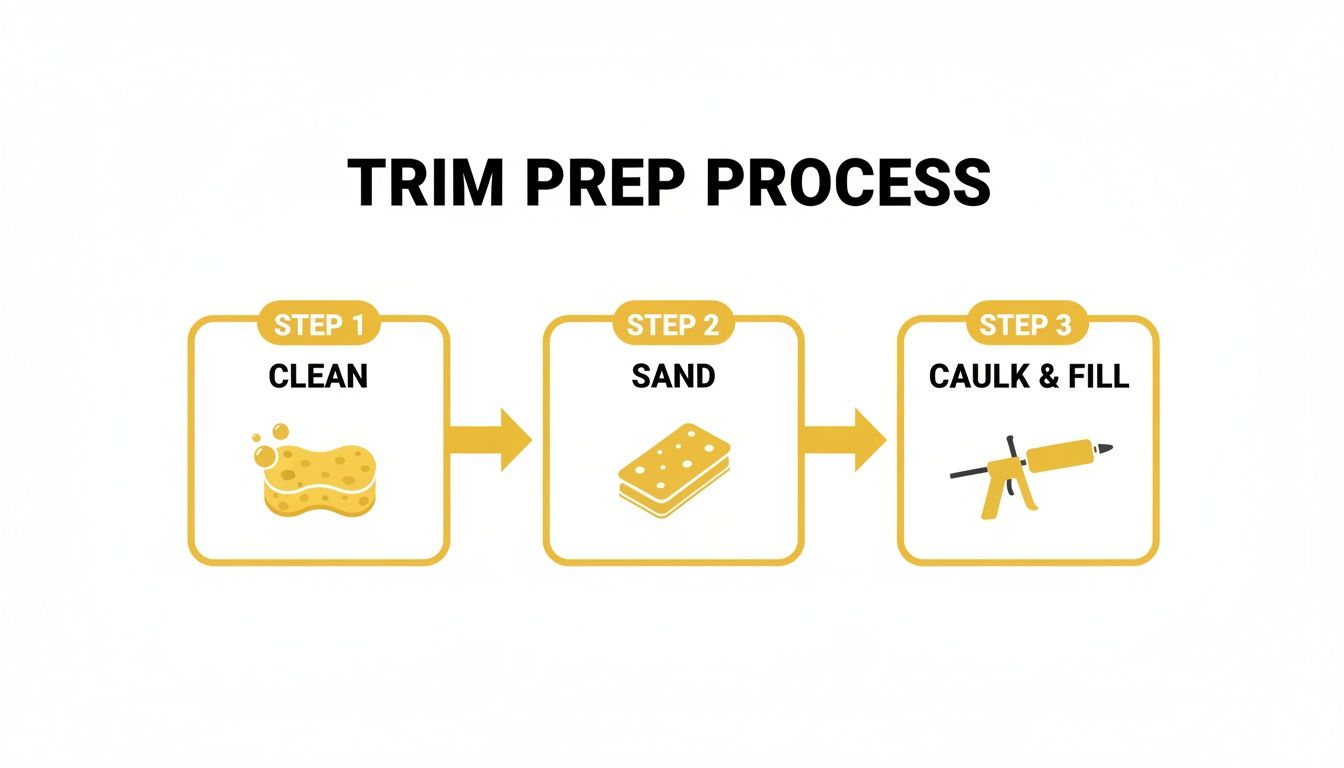
As you can see, those initial steps—cleaning, sanding, and caulking—are what support a durable, professional-looking paint job.
Mastering the Art of Cutting In
"Cutting in" is what we call painting the edges of your trim to create that crisp, clean line against the wall or floor. This is where a high-quality, 2.5-inch angled sash brush becomes your best friend. Those angled bristles give you far better precision and control than a flat brush ever could.
The secret to a perfect cut-in line is all in how you load your brush. Never dip more than the bottom third of your bristles into the paint. This simple rule keeps paint out of the ferrule (the metal band), which is the number one cause of drips and makes the brush a nightmare to clean later.
After loading, give the brush a light tap against both sides of the paint pail to knock off any excess. You want a loaded brush, not a dripping one. Start your stroke by pressing the brush gently against the trim about a half-inch from the wall. As you move, guide the brush over until the bristles fan out just slightly along the edge. That's how you get a perfectly straight line.
The Secret to a Brush-Stroke-Free Finish
Once you've cut in a section of about three to five feet, it's time to fill in the rest of the trim. The goal here is a thin, even coat. A common mistake I see is globbing the paint on too heavily, thinking it will cover better. In reality, that just leads to drips, runs, and a lumpy, amateur finish.
Here’s a proven technique for a buttery-smooth application:
- Apply the Paint: Use your brush to get paint onto the flat part of the trim.
- Spread It Out: Work the paint back and forth, following the grain of the wood, to spread it into a thin, even layer.
- Tip It Off: This is the key. For the final step, make one long, continuous pass with just the tips of your bristles from one end of the section to the other. Use very light pressure. This "tipping off" technique is the secret to making brush marks disappear.
By working in manageable sections, you maintain what painters call a "wet edge." This just means you’re always blending new paint into a still-wet area, which is how you avoid those ugly "lap marks" where different sections overlap. It's especially crucial when using faster-drying latex or acrylic paints.
Don’t expect full coverage with the first coat—that’s not the goal. The primer and the first topcoat are for building the foundation and color base. It's the second topcoat that delivers that final, beautiful, uniform finish.
The paint you choose matters, too. Modern waterborne enamel paints have completely changed the game, offering 95% of the durability of old oil-based paints with 75% fewer VOCs. As a bonus, a semi-gloss sheen on trim can even make a room feel up to 10% larger by reflecting more light—a little trick designers use to enhance a space.
The Correct Painting Sequence
To work efficiently and keep that wet edge going, you need to paint your trim in a logical order. Always start from the top of the room and work your way down. This prevents dust or drips from messing up your freshly painted lower surfaces.
A professional painting sequence looks like this:
- Crown Molding First: If you have it, always tackle the crown molding at the very beginning.
- Windows and Door Frames: Next, move on to the window frames (casings) and then the door frames.
- Doors: Once the frames are done, you can paint the doors themselves.
- Baseboards Last: Finally, finish up with the baseboards.
This top-down approach guarantees a clean, methodical workflow. To see how we put this into practice on real job sites, you can see a visual breakdown of how we handle complex interior painting projects.
The Power of Patience and Two Coats
The final—and most often overlooked—part of a pro technique is simple patience. You have to let that first coat of paint dry completely according to the can's instructions. This usually means four to six hours, but it can take even longer in humid weather.
If you rush this step, the second coat will just re-wet the first, creating a gummy, sticky mess that drags and ruins the smooth finish you worked so hard for.
Once it's fully dry, I like to give the first coat a very light scuff-sand with 220-grit sandpaper. This knocks down any tiny dust nibs or imperfections that settled in the paint, giving you an ultra-smooth surface for your final coat. Always wipe away the sanding dust with a tack cloth before you paint again.
Then, apply your second topcoat using the exact same techniques: cut in, fill in, and tip off. Two thin topcoats will always give you a more durable, smoother, and richer-looking finish than one thick, heavy coat. That right there is the difference between a good-enough DIY job and a truly professional result.
The Final Touches and Professional Cleanup
A great paint job isn’t really finished when you put the brush down. The final steps—those last details and the cleanup—are what truly separate a decent DIY result from a stunning, professional-grade finish. This is where you elevate all your hard work.
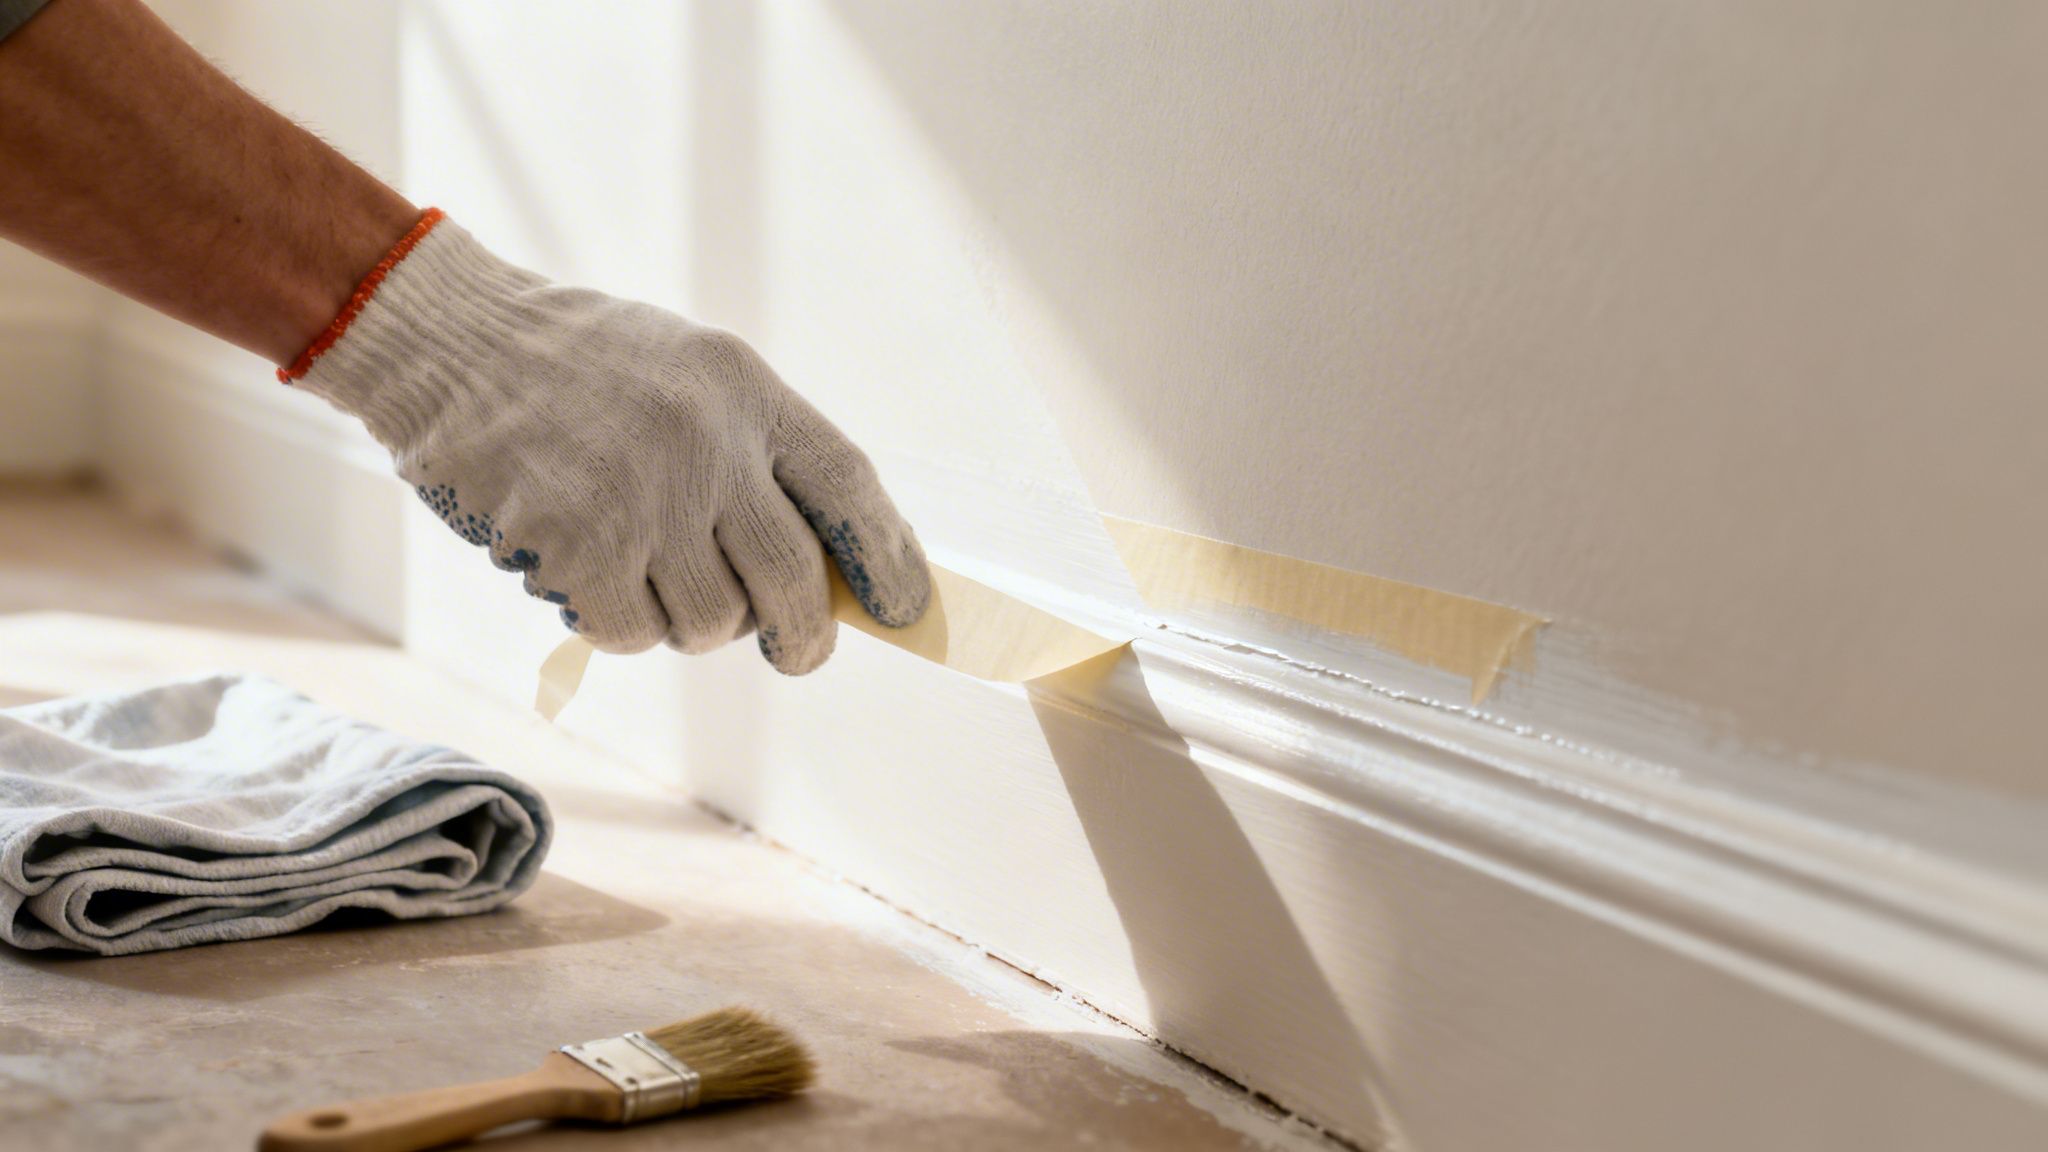
One of the most satisfying moments of any paint job is peeling off the painter's tape to see those perfectly crisp lines you worked so hard for. But timing and technique are everything here. If you wait until the paint is fully cured, you risk the dried paint film tearing right off with the tape. It's a disaster.
The Pro Trick for Perfect Lines: Remove your painter's tape while the final coat is still a little wet but not dripping. This is usually within an hour of application. Pull the tape back on itself slowly at a 45-degree angle. This shearing motion cleanly cuts the paint film, preventing any peeling and leaving behind a razor-sharp edge.
With the tape gone, it's time to step back and give your work a thorough once-over. This quality control check is a non-negotiable step for any pro, and it should be for you, too.
Conducting Your Final Inspection
Look at your freshly painted trim from different angles and in various lighting. What looks flawless in the soft morning light might reveal a tiny drip under a direct overhead fixture. A great trick is to grab a small flashlight and shine it along the surfaces; this low-angle light is fantastic for spotting any inconsistencies you might have missed.
Here’s a quick checklist for your final walkthrough:
- Check for Missed Spots: Scan for any small areas where coverage isn't perfectly uniform.
- Identify Drips or Runs: Find any hardened drips that slipped by while the paint was still wet.
- Spot Smudges or Blemishes: Look for fingerprints, dust specks, or small smudges on that final coat.
- Examine the Lines: Make sure your cut-in lines along the wall are straight and consistent.
Finding a small imperfection doesn’t mean you failed—it’s just a normal part of the process. For tiny touch-ups, a small artist's brush is your best friend. If you find a hardened drip, you'll need to carefully slice it off with a razor blade, lightly sand the spot smooth with 220-grit sandpaper, and then touch it up.
When to Call a Professional Painter
While knowing how to paint trim is an empowering skill, it's just as important to recognize when a project is better left to an expert. Some jobs can quickly snowball beyond a weekend DIY task, and calling a professional is often the smartest, most cost-effective decision in the long run.
Consider hiring a pro if you're up against these scenarios:
- Homes Built Before 1978: There's a significant risk of lead-based paint. Professionals are certified in lead-safe work practices, which involve containment and specialized disposal to keep your family safe.
- Intricate or Ornate Trim: Elaborate crown molding, detailed window casings, or historic millwork demand a level of precision and patience that only comes with years of experience.
- Very High Ceilings or Difficult Access: Painting crown molding on a 15-foot vaulted ceiling involves serious safety risks and requires specialized equipment like scaffolding.
- A Tight Deadline: If you need the job done quickly for an event or before moving in, a professional crew can achieve in days what might take a DIYer weeks to finish.
The value a pro brings goes far beyond just spreading paint. You’re paying for expertise, efficiency, and peace of mind. A reputable contractor carries liability insurance and often provides a warranty, protecting your investment. For more complex projects, you can explore expert advice on how to get the most professional finish for your interiors.
Ultimately, deciding whether to DIY or hire out is a balance of your time, skill, and the project's complexity. For a straightforward baseboard refresh, you now have the skills to get a fantastic result. But for those bigger, more challenging jobs, investing in a professional ensures a flawless, durable finish without the headache.
Answers to Your Top Trim Painting Questions
Even with the best instructions, a few questions always seem to pop up mid-project. Over the years, we've heard them all. Here are my straight-to-the-point answers for the most common hang-ups homeowners face when painting trim.
Getting these details right is what separates a decent DIY job from one that looks truly professional.
Do I Really Need to Sand Trim Before Painting?
Yes, you absolutely do. Sanding is, without a doubt, the single most important prep step. In my experience, skipping it is the number one reason a paint job starts to fail within a year.
Think of it like this: paint needs something to physically grab onto. If your trim already has a semi-gloss or glossy finish, you're not trying to strip the old paint off completely. You're just doing a light "scuff-sand" to take the shine off and create thousands of microscopic grooves.
These grooves give the new primer and paint the “tooth” they need to form a strong mechanical bond. Without it, your new paint is just sitting on a slick surface, waiting to chip or peel. For new, bare wood, sanding smooths out any roughness or mill marks, which is the key to getting that glass-like finish everyone wants.
What Is the Best Paint Sheen for Trim?
For trim, durability is the name of the game. That’s why we almost always steer clients toward a satin or semi-gloss finish. These paints are specifically formulated to handle the daily abuse that trim, doors, and baseboards take.
- Semi-Gloss: This is the classic, go-to choice for trim. It has a noticeable shine that makes architectural details pop. More importantly, its hard, slick surface is incredibly easy to wipe down, making it perfect for high-traffic and high-contact areas.
- Satin: If you find semi-gloss a little too shiny, satin is a fantastic alternative. It offers a more subtle, velvety luster but still provides excellent durability and can be cleaned easily. It’s also a bit more forgiving of minor dings or imperfections in the wood itself.
We strongly advise against using flat or eggshell sheens on trim. While they look great on walls, they simply aren't tough enough to handle the scuffs, bumps, and frequent cleaning trim requires. Stick with satin or semi-gloss to make sure your hard work lasts.
How Long Until I Can Close My Doors or Windows?
This is where patience really pays off. While a fresh coat of modern latex paint might feel dry to the touch in a few hours, it hasn't fully "cured." Curing is the chemical process where the paint film hardens into its final, durable state, and this can take anywhere from a few days to a few weeks.
As a rule of thumb, wait at least 24-48 hours before gently closing any freshly painted doors or windows. If it's particularly cold or humid, you'll want to wait even longer.
If you close them too soon, the still-soft paint on the trim and the frame will stick together. The next time you open it, the paint will peel right off, ruining that perfect finish you just worked so hard to create.
Can I Paint Over Oil-Based Trim with Latex Paint?
Yes, you can—but you have to do it the right way. You cannot just slap water-based (latex) paint directly over an old oil-based finish. It won't stick properly and will eventually peel off in sheets. It's a guaranteed failure.
To make the switch successfully, here’s what you need to do:
- Clean Thoroughly: First, use a good degreaser to get rid of any built-up grime, oils, or polish on the surface.
- Scuff-Sand: Next, sand the entire surface to knock down the gloss and create that all-important tooth for the new paint.
- Apply a Bonding Primer: This is the non-negotiable step. You must apply one full coat of a high-quality bonding primer. These primers are specifically designed to adhere to slick, tricky surfaces like old oil paint, creating the perfect foundation for your new latex topcoat to grab onto.
Follow this process, and your new paint job will be just as durable as if you were starting from a bare surface.
Ready to leave the intricate details to the experts? For a flawless finish without the hassle, CP Painting Company offers precision and quality for homeowners throughout Connecticut and New York. Whether you're in Stamford, Fairfield County, or NYC, our team delivers stunning results backed by years of experience. Visit us online to get your free estimate at https://www.cppaintintct.com and let us bring your vision to life.
Published via Outrank app


