
Painting your garage door is one of the most satisfying DIY projects you can tackle. It completely transforms your home's curb appeal, and the process breaks down into four essential stages: thorough cleaning, meticulous prep, careful priming, and even paint application. Nailing these steps is the key to a durable, professional-grade finish that protects the largest moving part of your home.
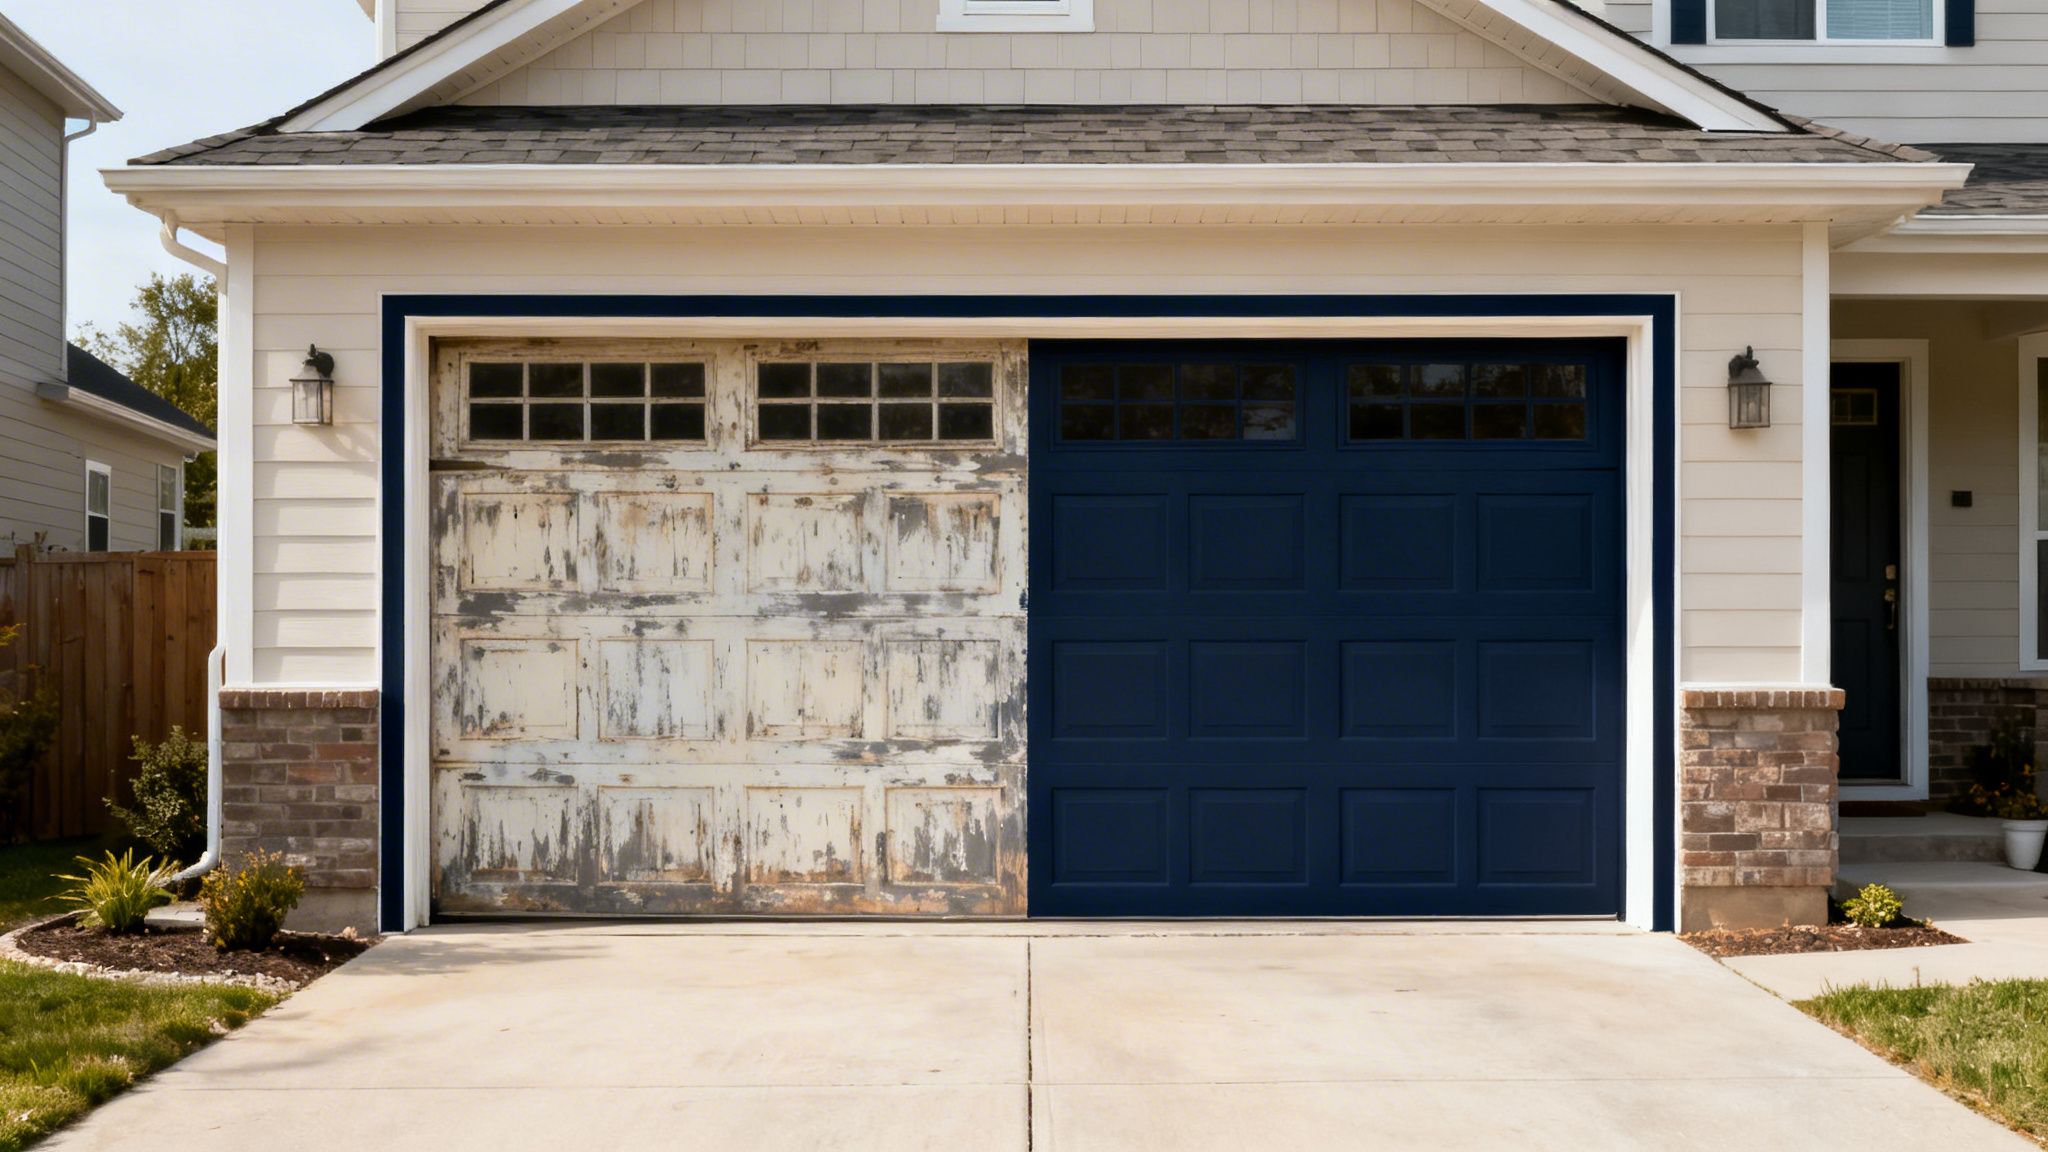
Why Painting Your Garage Door Is a Smart Home Upgrade
A freshly painted garage door does more than just look good; it’s a strategic investment in your home’s value and longevity. It's the centerpiece of your home's exterior, often accounting for up to 40% of your facade. That makes its condition a massive factor in first impressions. A peeling, faded, or rusted door can make even the most well-kept property look neglected.
This is a project with a serious return on investment. A fresh coat of high-quality exterior paint can increase your home's resale value by up to 109% of the project's cost. On the flip side, a worn-out exterior can actually knock 5-7% off potential offers. Suddenly, a weekend project looks like a financially savvy move.
This guide will give you a clear roadmap to getting that flawless finish, from picking the right materials to mastering the application.
The Real Impact on Curb Appeal
Think of your garage door as a blank canvas. The right color and finish can tie together your home’s siding, trim, and landscaping, creating a look that’s polished and intentional. An updated door can modernize an older home, or you can add a pop of personality with a bold color choice. For homeowners across Connecticut and New York, where property presentation really matters, painting your garage door is a high-impact, low-cost renovation.
Take a look at our gallery to see some of these transformations for yourself.
Protecting Your Biggest Investment
A quality paint job is your first line of defense against the elements. For metal doors, it’s all about preventing rust and corrosion. For wood, it’s about sealing out moisture that leads to rot and warping.
Here’s what a professional finish really does:
- Weather Resistance: It creates a tough barrier against rain, snow, and UV rays—which is critical in the harsh weather cycles we get here in the Northeast.
- Increased Lifespan: By stopping degradation in its tracks, a proper paint job can add years to the functional life of your garage door, pushing off a costly replacement.
- Easier Maintenance: A smooth, semi-gloss or satin finish is so much easier to wipe down than a faded, chalky surface. It keeps your home looking its best with minimal effort.
A well-maintained garage door doesn't just enhance your home's beauty; it functions as a critical protective barrier. Neglecting it can lead to expensive repairs down the line, turning a simple maintenance task into a major headache.
Picking the Right Paint and Tools for Your Garage Door
The secret to a killer, long-lasting finish isn't just in the brush strokes—it’s in the cans and tools you choose before you even start. This is probably the most important decision you'll make for this whole project. The wrong stuff will peel, fade, and give up the ghost after one tough New England winter.
Think about it: your garage door takes a beating. It’s a huge surface that gets blasted by direct sun, rain, and snow, not to mention the occasional bump or scrape. Just grabbing any old exterior paint off the shelf is a recipe for having to do this all over again in a year or two. You need paint specifically designed for your door’s material, whether it’s steel, aluminum, wood, or a composite.
What Kind of Paint Should You Use?
This is the first big choice. You're basically looking at two main options: 100% acrylic latex or an oil-based (alkyd) paint. For years, oil-based was the champion of toughness, but modern acrylic latex paints have come a long way. Frankly, they’re the better choice for most garage doors today.
- Acrylic Latex Paint: This is my go-to recommendation for almost any garage door—metal, wood, or vinyl. It’s flexible, so it expands and contracts with temperature swings, which is critical for a big metal or wood surface. Cleanup is a breeze (just soap and water), it has lower VOCs, and it dries much faster.
- Oil-Based Paint: It definitely creates a hard, durable shell. But that hardness is also its weakness. Over time, it can get brittle, leading to cracking and yellowing, especially in direct sunlight. The strong smell, painfully long drying times, and messy cleanup make it a hassle for most DIY projects.
Once you’ve landed on acrylic latex, you need to pick a sheen. This isn't just about looks; it dramatically affects how easy your door is to clean and how well it holds up.
A satin or semi-gloss finish is almost always the right call for a garage door. These sheens create a durable, wipeable surface that shrugs off moisture and dirt way better than a flat or eggshell finish. Your door will stay looking fresh for years.
A Quick Word on Paint Sheens
Here’s the simple breakdown of your best bets:
- Satin: This gives you a nice, subtle glow that’s great at hiding minor dings and imperfections. It's tough and easy to clean without being super shiny.
- Semi-Gloss: A bit more reflective, semi-gloss is even more durable and washable than satin. It’s fantastic for making trim and details pop, but be warned—it will show every single dent on the surface.
I'd steer clear of high-gloss; it can look a bit cheap and plasticky on such a large area. And flat paint? Don't even think about it. It’s a magnet for dirt and mildew.
Building Your Essential Toolkit
Having the right gear is just as crucial as having the right paint. A good setup makes the job go smoother and helps you get those clean, professional-looking results. Don't cheap out on painter’s tape and brushes—you’ll see the difference in the final product, I promise.
Here's your must-have shopping list:
- High-Quality Painter's Tape: Get the good stuff, like FrogTape or 3M ScotchBlue. It’s the key to getting crisp, sharp lines around windows, trim, and hardware.
- Drop Cloths or Plastic Sheeting: You need to protect your driveway and any nearby landscaping from the inevitable drips and splatters.
- Sandpaper or a Sanding Block: A medium-grit (120-150) paper is all you need to scuff up the surface just enough to give the primer and paint something to grab onto.
- A 2-Inch Angled Brush: This is your detail-work hero. It’s perfect for cutting in around edges, windows, and the recessed panels on many doors.
- A 9-Inch Roller with a Napped Cover: Use a low-nap (1/4" or 3/8") roller for smooth metal doors. If you have a textured or wood-grain door, a higher-nap (1/2") roller will work much better.
- Primer: This is non-negotiable. For a metal door, grab a rust-inhibiting primer. For a wood door, you’ll need a high-quality exterior wood primer.
The global paints and coatings industry was valued at USD 226.9 billion in 2026 and it's still growing. For homeowners in Connecticut and New York, this innovation means that investing in garage door painting delivers a huge return. A professional-grade coating can prevent up to 90% of UV-induced fading and add 7-10 years to your door’s lifespan. In coastal areas like Fairfield County, an unprotected steel door can corrode at a rate of 2-3 mils per year, making the right coating choice absolutely critical. You can learn more about these market trends and the impact of quality coatings to make an informed decision for your home.
The Critical Preparation Steps Professionals Never Skip
Let’s talk about a hard truth in the painting world: you can buy the most expensive, top-of-the-line paint, but if you slap it onto a dirty, unprepared surface, you’ve just wasted your money. I’ve seen it happen countless times. The paint looks great for a few months, then the peeling and chipping starts.
Professional painters know that up to 80% of a truly durable, beautiful paint job happens before a can of paint is even opened. Think of it like building a house—a weak foundation guarantees failure. This prep stage is your foundation. It’s where you separate a job that lasts a decade from one that needs redoing next year.
This isn't just about a quick rinse with the hose. It's a methodical process of cleaning, repairing, and priming the surface to create the perfect canvas for that new color.
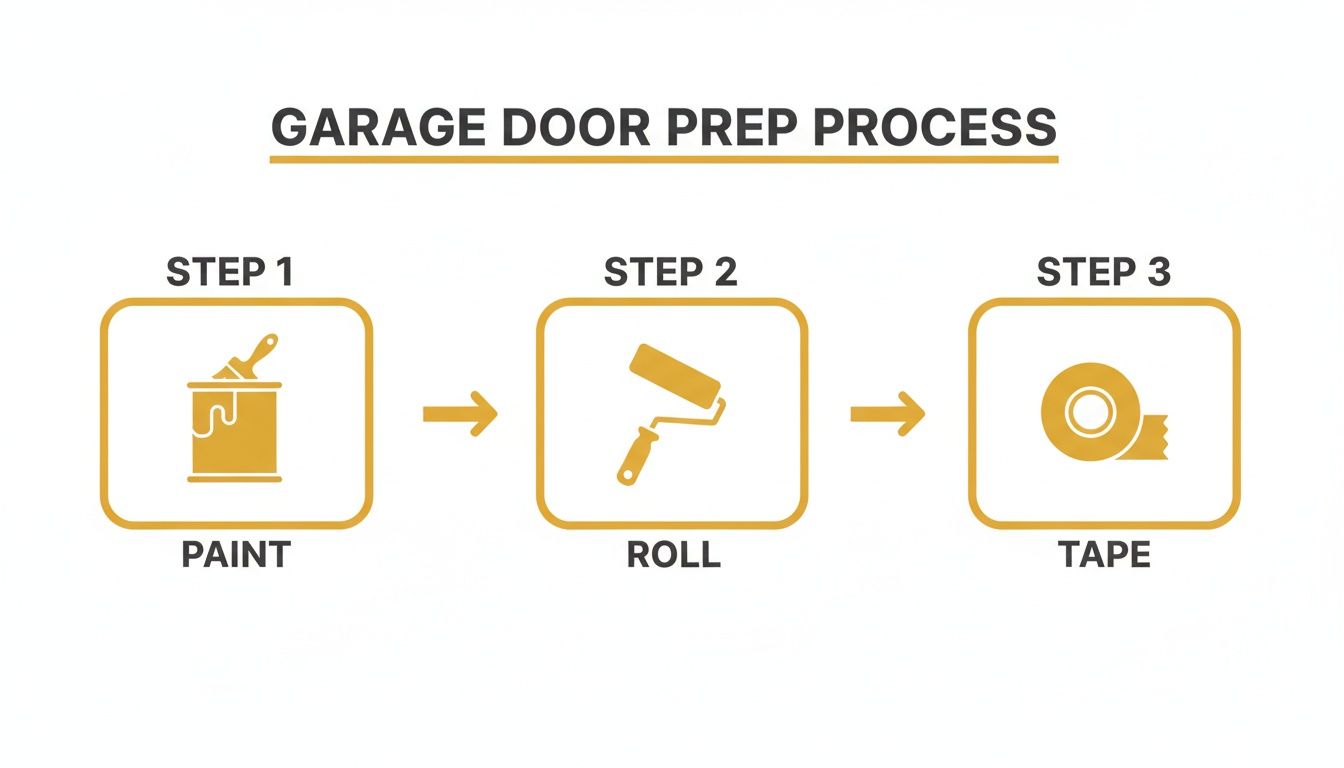
This workflow shows how each step builds on the last. It’s a deliberate sequence, and skipping a phase is asking for trouble down the road.
Deep Cleaning for Maximum Adhesion
Your garage door is a magnet for grime. It’s constantly bombarded with dirt, pollen, road salt, and even mildew. Paint simply can’t stick to any of that stuff. Your first mission is to get that surface surgically clean.
For most doors, all you need is a bucket of warm water, a little mild detergent (dish soap or a TSP substitute works great), and a long-handled scrub brush. Work from top to bottom in manageable sections, giving it a good scrub to lift all that built-up gunk. Don't forget the bottom panel—it's always the dirtiest.
So, what about a power washer? It can be a fantastic tool, but you have to use it right.
- When to Use It: A power washer on a low-pressure setting is perfect for a quick, thorough rinse-down.
- When to Avoid It: Never use a high-pressure nozzle. It’s powerful enough to force water behind weather seals, damage siding, or even leave dents in metal panels. It also won’t cut through oily residues on its own.
After you're done scrubbing, give the entire door a final rinse with a regular garden hose. Then, let it dry. And I mean completely dry. This might take a few hours, but patience is key here. Painting over a damp surface is a recipe for disaster.
The Art of Sanding and Repair
The goal here isn't to strip the door down to bare metal or wood. We’re just looking to "scuff sand" the surface. This quick process roughs up the existing finish just enough to create microscopic grooves—what we call a "tooth"—for the new primer and paint to grab onto. It makes a huge difference in adhesion.
A medium-grit sandpaper, something in the 120- to 150-grit range, is perfect. Just go over the entire door lightly until you’ve dulled the old sheen. If your door has a glossy or semi-gloss finish, this step is non-negotiable.
This is also your chance to inspect the door and fix any damage.
- Minor Dents: For small dings on a metal door, an auto body filler is your best friend. Apply a thin coat, let it cure, and sand it flush.
- Cracks in Wood: Grab a high-quality, paintable exterior wood filler to patch any cracks or holes.
- Rust Spots: If you find any rust, sand it down to the bare metal. It's critical to immediately treat that spot with a rust-inhibiting metal primer to stop the corrosion in its tracks.
A flawless final finish is impossible without a flawless surface underneath. Taking an extra hour to fill dents and sand rough spots is one of the most valuable investments you can make in this project.
Why Priming Is Not an Optional Step
I can’t stress this enough: skipping primer is one of the most common—and costly—DIY mistakes. Primer is the essential bridge between the old surface and your new topcoat. It does things that paint alone simply can’t.
Here’s why a quality exterior primer is so crucial:
- Ensures Adhesion: It’s specifically formulated to lock onto tricky surfaces like metal or glossy paint, creating a stable foundation for the topcoat to stick to.
- Blocks Stains: On a steel door, a rust-inhibiting primer prevents rust from bleeding through your new paint. For wood, it seals in tannins that can cause ugly brown or yellow discoloration over time.
- Creates a Uniform Finish: Primer gives you a blank, even slate. It ensures your topcoat dries to a smooth, uniform color without any blotchy or uneven patches.
The primer you choose must match your door's material. For any steel or aluminum door, a rust-inhibiting primer is the only way to go. If you have a wood door, you’ll need an exterior oil-based or acrylic wood primer.
Apply one even coat with your brush and roller, then let it dry completely according to the can's instructions. Once your prep work is done, you're finally ready to lay down that perfect finish, a process we detail in our guide to understanding professional painting techniques.
Choosing Your Weapon: Mastering Application with a Brush, Roller, or Sprayer
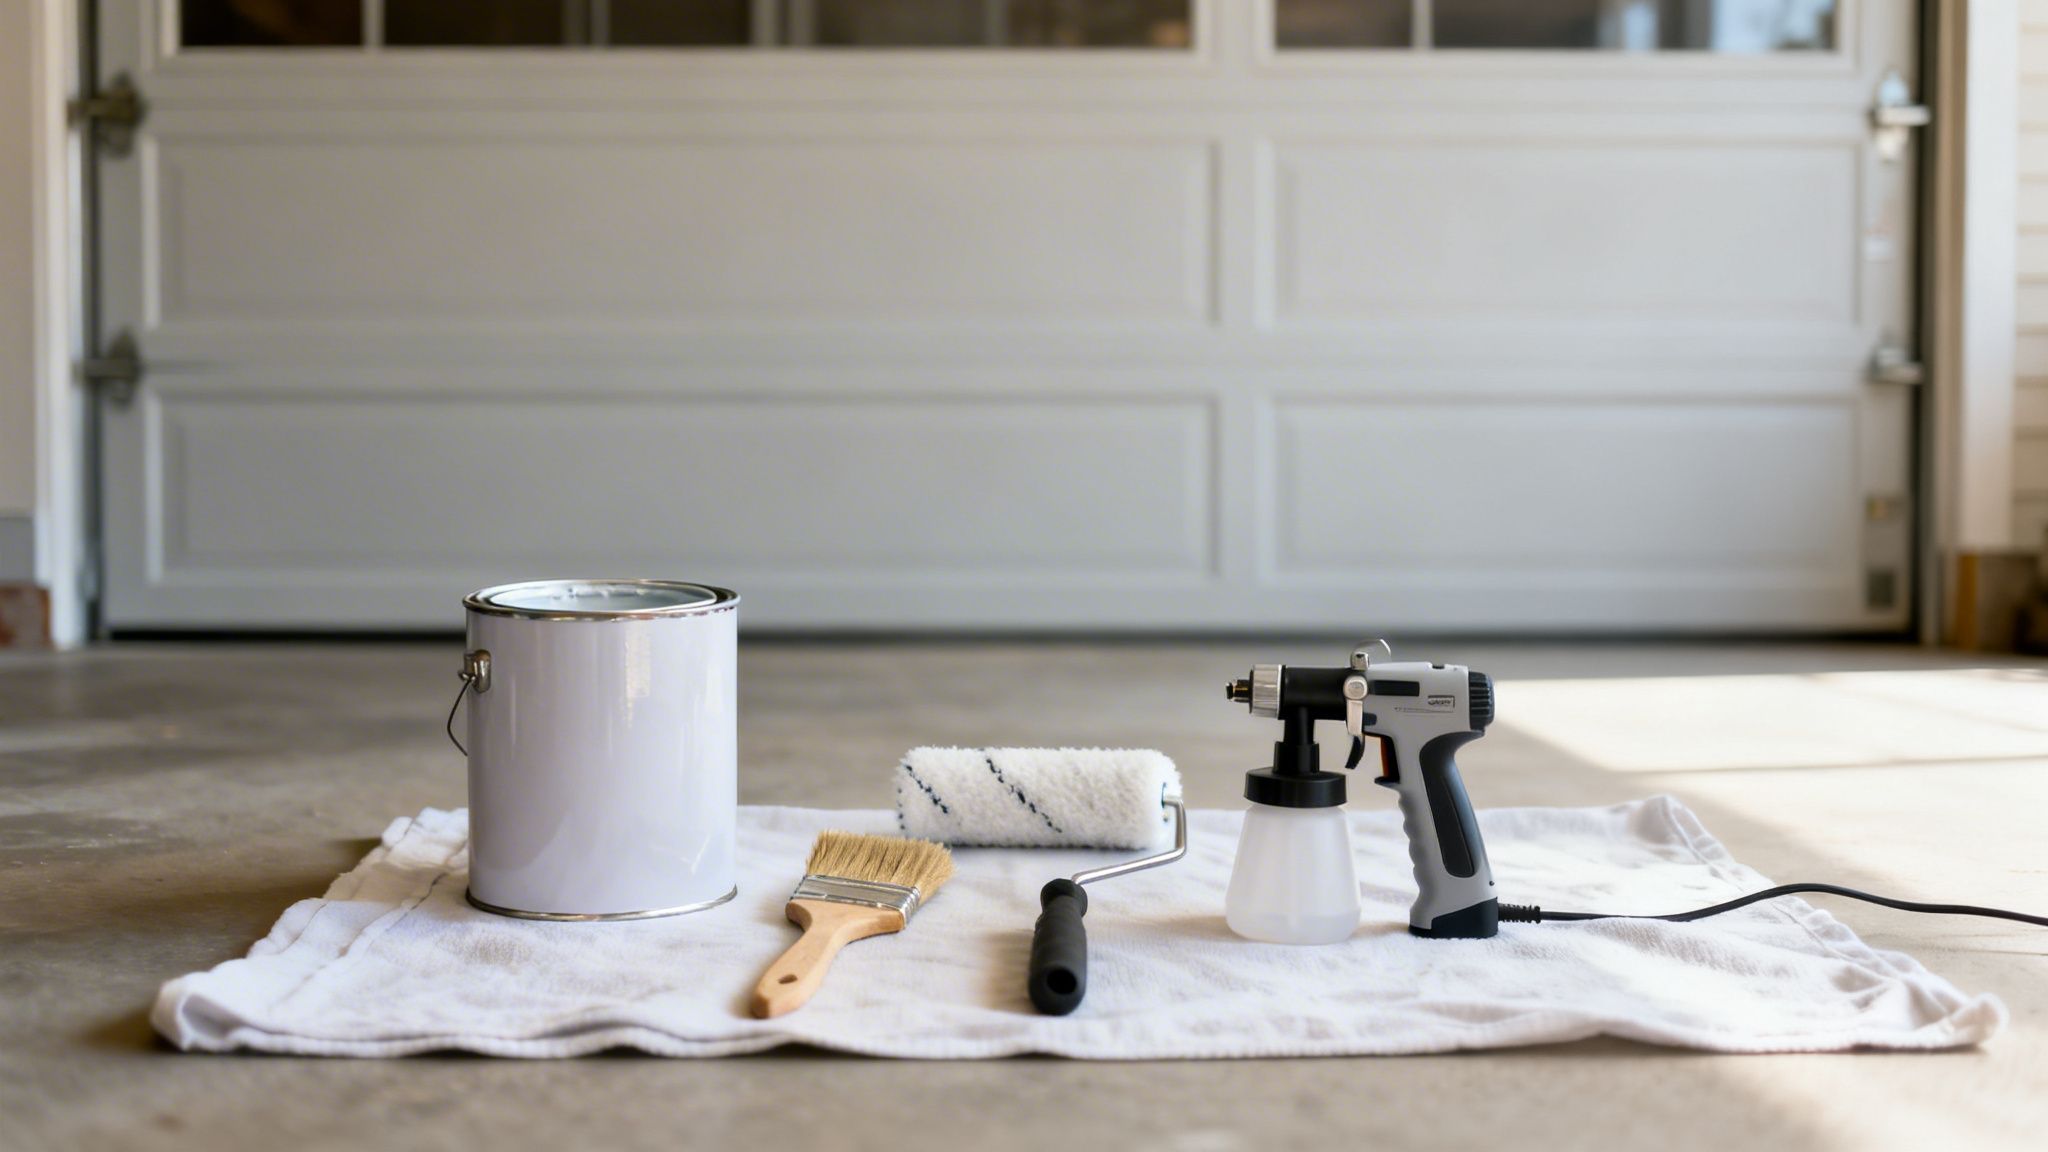
You’ve done the hard prep work, and now it’s time for the fun part—actually painting. But how you get that paint onto the door is just as crucial as the prep itself. Your choice of tool—whether it’s a classic brush, a trusty roller, or a high-speed sprayer—will directly impact the final texture, how long the job takes, and the overall quality of the finish.
There’s a right tool for every job, and the best one for you hinges on your door’s style, your own comfort level with painting, and how much time you’re willing to spend. Let’s break down the three go-to methods.
The Classic Brush and Roller Combination
This is the old faithful of DIY painting, and for good reason. It’s accessible, gives you fantastic control, and doesn’t require you to go out and buy expensive equipment. All you really need is a quality 2-inch angled brush for the detail work and a 9-inch roller to knock out the big, flat sections in no time.
This duo is especially effective for the paneled garage doors you see all over Connecticut and New York. The technique is simple, but to get a pro-level finish free of lap marks and drips, you have to follow a specific order.
Here’s how we tackle a paneled door:
- Start with the recessed panels. Use your angled brush to cut in and paint the indented sections first.
- Move to the horizontal rails. Next, use the brush to paint the horizontal strips that run between the panels.
- Finish with the vertical stiles. Lastly, paint the vertical sections on the outer edges of the door.
Working this way helps you maintain a "wet edge," which is the secret to a smooth, seamless look. It just means you’re always painting from a wet surface onto a dry one, allowing the new paint to melt perfectly into the last stroke.
The biggest win for the brush-and-roller method is control. You can manage the exact amount of paint you’re applying, which keeps runs and drips to a minimum and guarantees even coverage, especially around detailed trim.
When a Paint Sprayer Makes Sense
If you're after that perfectly smooth, almost-plastic finish you see on brand-new doors, a paint sprayer is the only way to get it. For modern, flat-paneled garage doors, a sprayer delivers a flawless look that a roller just can't replicate. It works by atomizing the paint into a fine mist, which lays down a thin, even coat without a single brush or roller mark in sight.
But there’s a catch. Using a sprayer demands a lot more prep work. You have to be incredibly thorough with your masking, covering everything you don't want painted—your siding, windows, driveway, and even your neighbor's car if it's too close. Overspray travels, and it gets on everything.
Sprayers also take some getting used to. I always recommend practicing on a big piece of cardboard to get your speed and distance right. You need to keep the nozzle a consistent distance from the door and move in smooth, steady passes to avoid drips and uneven patches.
For a side-by-side look, here’s a quick comparison of the three methods.
Paint Application Method Comparison
| Method | Best For | Pros | Cons |
|---|---|---|---|
| Brush | Detailed areas, trim, cutting in, and paneled doors. | Unbeatable control, low cost, minimal setup. | Very time-consuming for large areas, can leave brush marks. |
| Roller | Large, flat surfaces and lightly textured doors. | Fast coverage on big sections, creates a uniform texture. | Can’t get into tight corners, risk of stipple texture. |
| Sprayer | Smooth, flat doors for a factory-like finish. | Fastest application, perfectly smooth finish with no marks. | Extensive prep required, overspray risk, needs practice. |
Each tool has its place, but the goal is always a durable, professional-looking finish.
Two Thin Coats Are Always Better Than One
This is a non-negotiable rule in professional painting, no matter which tool you choose. It’s so tempting to load up your brush or roller and slap on one thick coat to get the job done faster, but that’s one of the most common DIY mistakes we see.
A single, heavy coat of paint is a recipe for disaster.
- Drips and Sags: It’s almost impossible to control, leading to ugly runs down the door.
- Poor Curing: The surface might feel dry to the touch, but the paint underneath can stay soft for days, leaving it vulnerable to scratches and dents.
- Weak Bond: A thick coat just doesn’t adhere as well to the surface, making it more likely to peel or crack down the road.
By applying two thin, even coats, you build up a much stronger, more durable, and far more professional finish. Be patient and let the first coat dry completely—usually 4-6 hours for a good acrylic latex paint—before you even think about starting the second. This simple step is what ensures your hard work will stand up to the tough Northeast weather cycles, from Fairfield County all the way to Westchester.
When to Hire a Professional Painting Company
The satisfaction of a DIY project is undeniable, but painting your own garage door isn’t always the best move. While it can certainly save you some money upfront, there are moments when calling in a professional crew is the only way to get a result that truly lasts and looks fantastic. Knowing when to put down the roller and pick up the phone is key to making sure your investment in curb appeal actually pays off.
Sometimes, the job is just too big for a weekend project. If your door is covered in peeling paint, has deep rust spots eating through the metal, or shows signs of wood rot, the prep work alone is a beast. This isn't just a simple scuff-and-paint job; it requires specialized techniques to fix the underlying problems. The same goes for doors with lots of intricate trim, small windows, or complex paneling—getting those clean, crisp lines takes a steady hand and years of practice.
Signs It’s Time to Call a Pro
Think about hiring a professional if any of these situations sound familiar. Time is a huge factor, too. A job that could easily eat up two or three of your weekends can be knocked out by an experienced team in a single day.
- Extensive Surface Damage: Widespread peeling, serious rust, or significant wood rot demand more than just a quick sanding. Pros know how to properly treat these issues so the new paint sticks and the damage doesn’t come right back.
- Complex Door Designs: If your door has a lot of small windows, detailed trim, or decorative panels, it’s incredibly tough to paint without making a mess of drips and crooked lines.
- You Lack the Right Equipment: That factory-smooth finish you see on new doors? It's usually achieved with a professional-grade paint sprayer. Most homeowners don't have one, and even if you rent one, there's a steep learning curve to using it correctly.
- Your Time Is Limited: Let's be honest, life is busy. If your schedule is already packed, a professional team ensures the job is done right and done efficiently, not dragging on for weeks.
The CP Painting Company Advantage in CT and NY
For homeowners in Stamford, CT, Fairfield County, and Westchester County, CP Painting Company is the go-to expert for a flawless garage door transformation without the hassle. We’re deeply familiar with the punishing New England climate and only use premium coatings formulated to stand up to harsh sun, snow, and salt. Our team has seen it all and worked on every type of material, from modern steel and aluminum to classic wood.
Our prep work is what truly sets us apart. We don’t just paint over problems—we solve them. We meticulously clean, sand, and repair every inch of the surface before applying a high-adhesion primer and two topcoats of premium paint. The result is a finish that not only looks incredible but is built to last.
At CP Painting Company, we believe a perfect paint job is built on a foundation of trust and transparency. From the initial free estimate to the final walkthrough, we ensure clear communication and complete satisfaction, guaranteed.
There's a reason the professional painting market is growing. A recent study showed that professionally painted exteriors can increase viewer showings by 23% and help homes sell 12 days faster in competitive markets like ours. As the painting contractor Westchester County NY residents recommend, we deliver that kind of market-ready quality. We also use eco-friendly, low-VOC coatings that reduce emissions by over 50% compared to traditional paints, which is better for your family and the environment.
Whether you're looking to boost your curb appeal or protect your home's value, we're here to deliver a perfect finish. To see what a professional touch can do, take a look at our portfolio of recent transformations.
Your Garage Door Painting Questions, Answered
Even the most detailed guide can't cover every question that pops up mid-project. To help you tackle this job with confidence, we’ve put together answers to the most common questions we hear from homeowners in Connecticut and New York. Getting these details right is what separates a good DIY job from a great one.
What Is the Best Time of Year to Paint a Garage Door in Connecticut?
In the Northeast, timing is everything. The weather can make or break your paint job, so planning is key.
The sweet spot for painting a garage door in places like Stamford, CT, or Westchester, NY, is almost always late spring or early fall. What you’re really looking for is a string of dry days with low humidity and moderate temperatures.
The ideal range is between 50°F and 85°F.
- Summer Heat is a Problem: Trying to paint in the blazing summer sun is a classic mistake. The heat causes the paint to "flash-dry"—drying too fast on the surface before it can level out. This is how you get ugly brush marks and a blotchy finish.
- Cold Snaps Ruin Durability: On the flip side, if temps are going to dip below 50°F within 24 hours of painting, it's best to wait. Cold weather stops the paint from curing properly, which means it won't bond to the door and will fail much sooner.
How Long Should I Wait Between Coats of Paint?
This is where patience really pays off. For most quality acrylic latex paints, you’ll need to wait four to six hours between coats. That gives the first layer enough time to set up so the second coat can be applied smoothly.
But here’s the most important tip: always read the back of the paint can. Every paint formula is a little different, and the manufacturer's directions are the final word.
Rushing this step is a recipe for disaster. If you roll on that second coat too soon, you can actually pull up the first layer, creating a clumpy, textured mess that’s a nightmare to fix. And if you’re using oil-based paint, plan on waiting much longer, often a full 24 hours.
Can I Paint a Vinyl or Fiberglass Garage Door?
Absolutely, but you have to use the right stuff. For slick surfaces like vinyl and fiberglass, you need a high-quality, 100% acrylic latex paint made for exterior use. This type of paint is flexible enough to expand and contract with the door as temperatures change.
Color choice is also a big deal here. We strongly advise against picking a color that's dramatically darker than the original. Dark colors absorb a lot more heat, which can cause vinyl or fiberglass panels to warp, bubble, and even melt. It’s a costly mistake.
Prep work is non-negotiable. You'll need to clean the surface meticulously, then give it a light scuff-sanding to create some "tooth" for the paint to grab onto. After that, a dedicated bonding primer is your best friend—it guarantees the paint will stick for the long haul.
A bonding primer isn't just a good idea for vinyl or fiberglass; it's essential. It's chemically engineered to grip slick surfaces where standard paint would simply peel away.
Do I Really Need to Use Primer on My Garage Door?
In nearly every single case, yes. Skipping primer is one of the biggest corners people cut, and it almost always leads to a paint job that fails prematurely.
Primer does a few critical jobs that your topcoat of paint just can't handle on its own.
- It Creates a Bond: Primer is the ultimate glue. It’s designed to stick to tough surfaces like bare metal, wood, or glossy old paint, creating a stable foundation for your new color.
- It Blocks Stains and Rust: If you have a steel door with any rust spots, a rust-inhibiting primer is the only thing that will stop them from bleeding through your beautiful new paint. For wood doors, it seals in tannins—natural oils in the wood—that cause yellowish-brown stains.
- It Ensures True Color: Primer creates a uniform, neutral base. This helps your final color look rich and even, and you'll often get full coverage with fewer coats of your more expensive topcoat paint.
Whether your door is bare metal, has a glossy old finish, or you’re just making a dramatic color change, priming is the professional step that guarantees a beautiful, long-lasting result.
If all this prep work sounds like more than you bargained for, or if you just want to guarantee a perfect, factory-smooth finish, CP Painting Company is here to help. We offer professional garage door painting across Stamford, CT, Fairfield County, and Westchester County. Contact us for a free, no-obligation estimate and let us handle the hard work.


